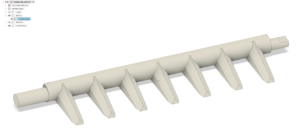
A friend of mine needed a replacement part for his fridge. It is the small mechanism
that pushes the ice out of the ice maker.
This is one of those situations where 3D printing really comes into its own.
Sourcing a small replacement part like this from the original manufacturer can be
nearly impossible. And even when it is available, manufacturers will often only sell
the complete assembly rather than the small plastic component that has actually failed.
So, instead, I made one.
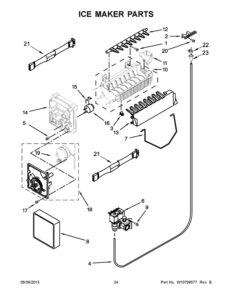
As usual, I documented a little of the process to share here.
Designing the Part
I started by measuring the original part and recreating it in Fusion 360.
This is probably the most interesting part of the process: taking a physical object,
working out its important dimensions and geometry, and recreating it in the virtual world.
Preparing It for Printing
Once the model was finished, I exported it to the printer software.
The slicer converts the 3D model into hundreds of thin layers that the printer can
build one at a time.
For this part, I used a layer height of 0.16 mm and printed it in
PETG. I chose PETG because it is reasonably tough and handles low
temperatures well, making it suitable for this type of application.
Print, Test, Adjust
Of course, designing a replacement part rarely works perfectly on the first attempt.
There are usually a few iterations: print it, try it, discover what doesn’t quite fit,
adjust the model and print again.
In this case, it took three versions before I reached a design that I was happy to
give to my friend.
He is going to install it in the fridge, and hopefully it will give him a few more
years of use.
The nice thing is that the difficult part is now done. The replacement part exists
as a digital file. If it ever breaks again, making another one is simply a matter of
loading the file and pressing Print.
About an hour later, a new replacement part exists.
A tiny example of local, on-demand manufacturing — but a very satisfying one.