 We are all makers at heart, building something from scratch is so much more rewarding than purchasing from the Internet. With recent technology enhancement, machines that would have been only available for big companies with deep pockets can be purchased by the weekend hobbyists.
A couple of months ago, I purchased a digital sewing machine….yes I know….
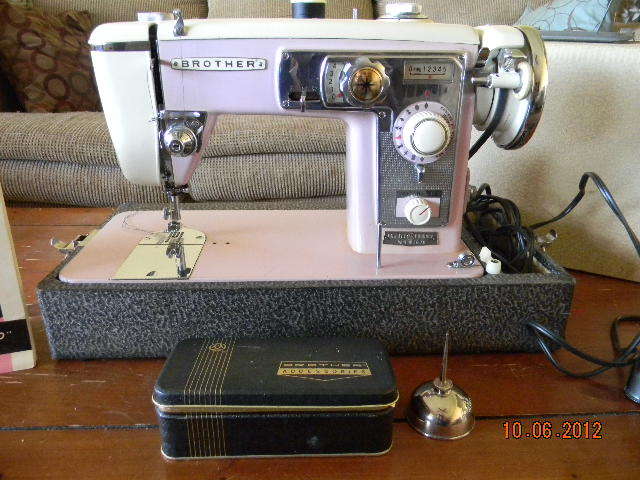
I was planning to purchase a sewing machine to make some repairs on garden furniture chairs and potentially make some new covers for my living room sofa. I thought this would be a good winter project and purchased the various bits required. I discovered a new world of materials and techniques that I had not explored since I made my first kites with my mums “brother” sewing machine.
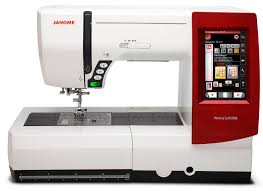
I decided to follow the theme of my hobby for digital manufacturing and purchased a computerised sewing machine from Janome.
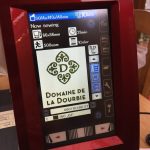
As for many of the new technologies, there is a huge gap between the hardware capabilities and the available software to control it. For the machine I purchased, there is essentially no software included to create the embroidery. You can download freely designs that other people have made, or use a very basic on-machine fonts, but that is about it. Very frustrating when you come from a very open source world of 3D printing. Some of the digitising software can cost thousands of sterling. Simply ridiculous and essentially exploiting a niche market. The software is very average, using very old programming and extremely fragmented in terms of capabilities.


I am still exploring which software I want to use and have not done very much with the machine other than an oversized pencil pouch !!
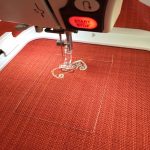
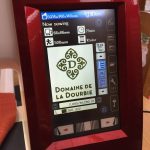
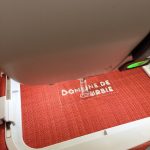
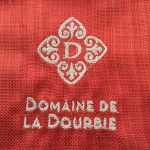
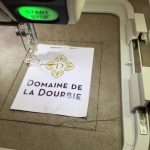
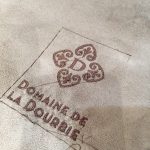
Recently a friend of mine asked for some help with embroidery of a few designs on a couple of different material. I converted a few JPG files into the proper format and resized as required. I also noticed that the files were better imported if converted first into SVG format. I also reduced the number of colors to 2 (black and white) and ensured that the various paths for the sewing of the stitches was going to be ok. Most of the designs result in approximately 5000 to 10000 stiches, depending on the size of the stitches chosen. The designs take approximately 30 minutes to “print”. There is a little bit of finishing required to remove the “move” stitches, but overall I am pleased with the results.
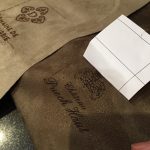
I also tried to use the good old trusted laser, to see if it was possible to “Laser engrave” the material without setting fire to the material or the garage (!). A fine adjustment of 10% power was just right to make a print on the material without damaging the fiber of the material.
Here is a link to a short video of the whole process : link