Very proud of my little boy…coming back home after 3 years in Bristol for University.
Next will be his first day at work in September!

Very proud of my little boy…coming back home after 3 years in Bristol for University.
Next will be his first day at work in September!
 [This post was first done in July 2012 !]
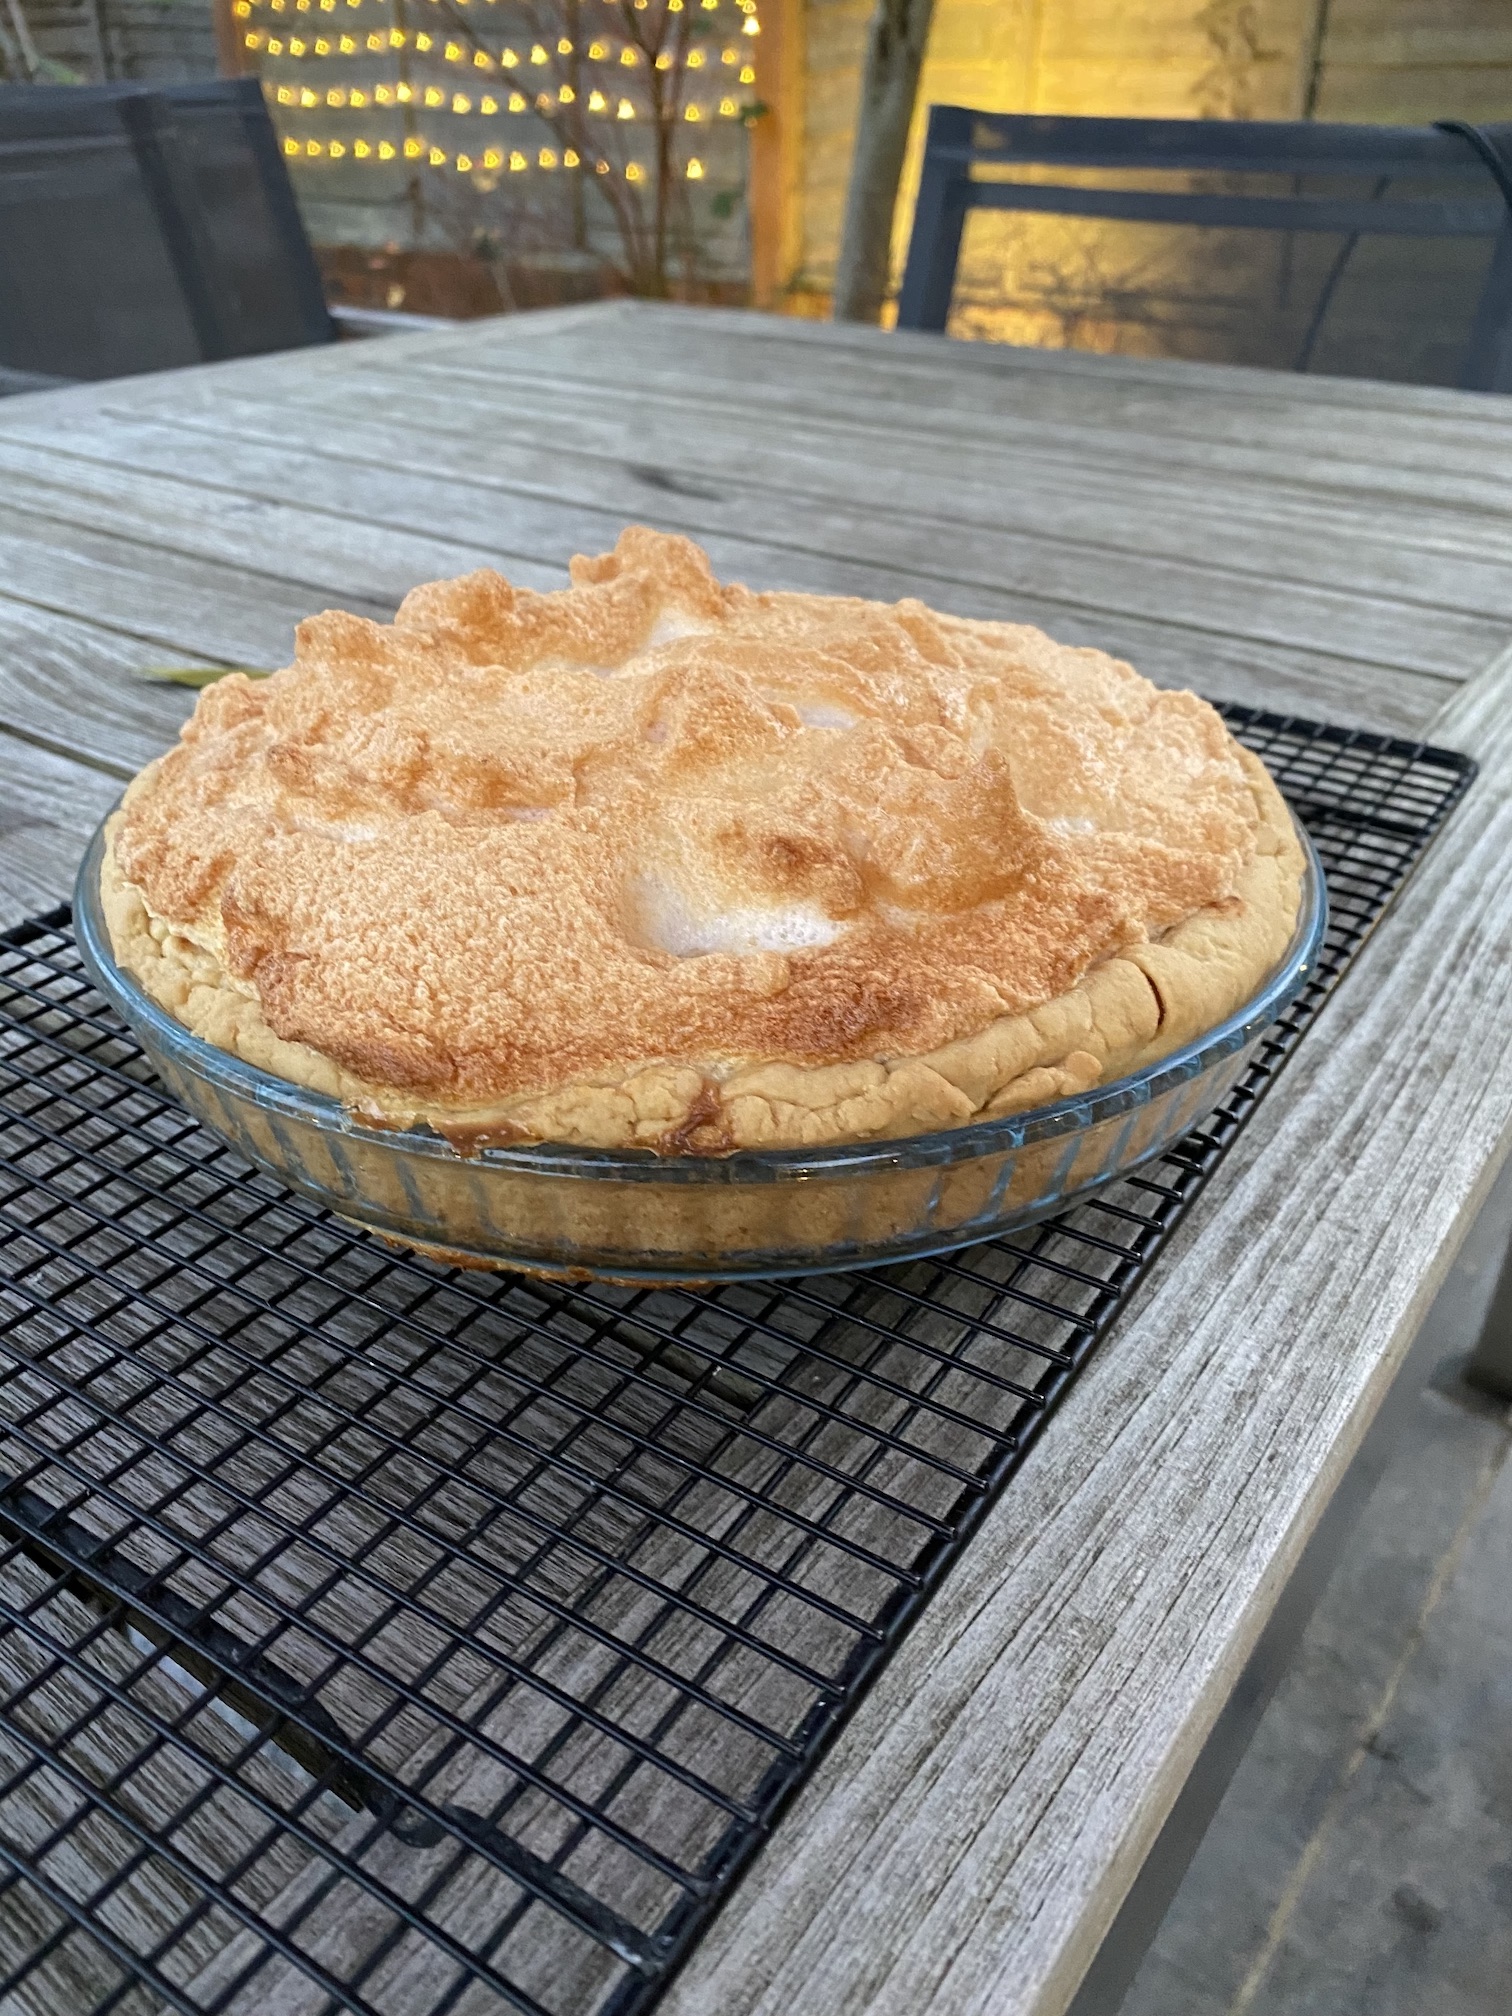
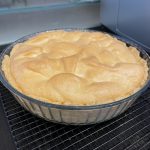
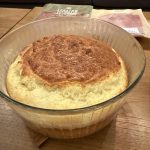
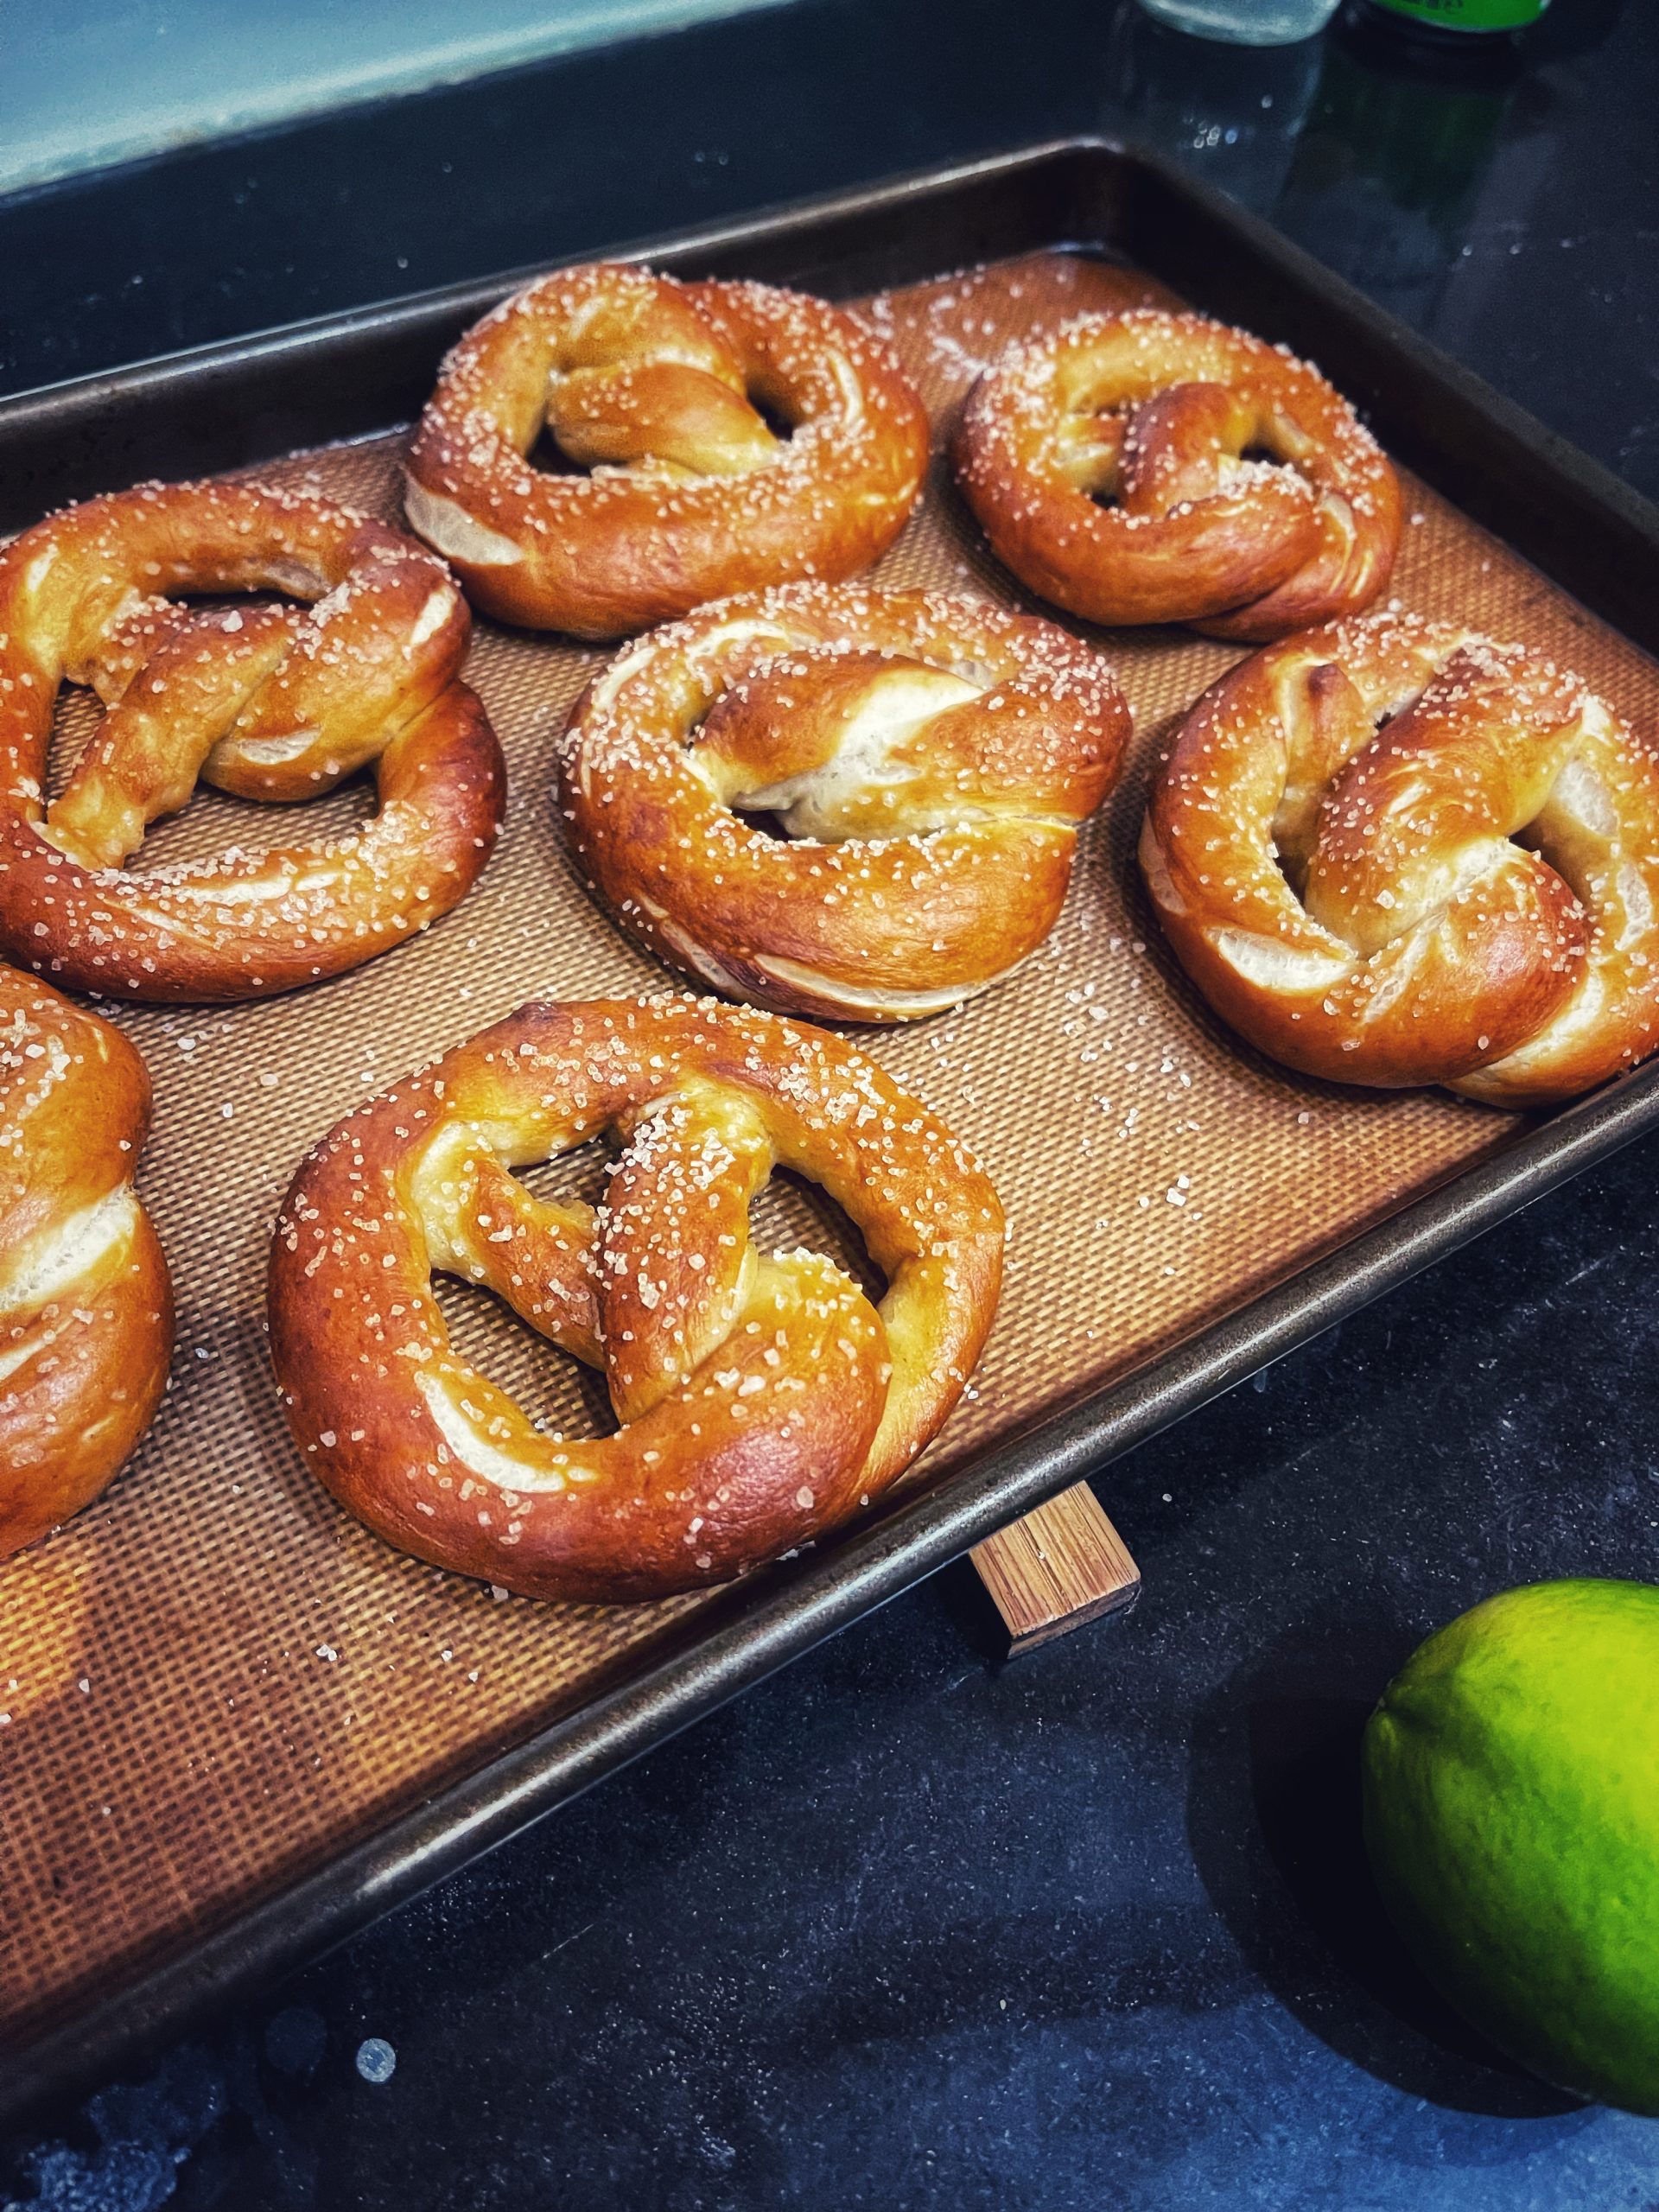
I like Rhubarb tart, especially if I make it with the Meringue top…below the recipe and a picture of the actual thing being eaten…Enjoy.
See the last update of 2025…


Tarte a la Rhubarbe Meringuee facon “Mamy”.
Ingredients:
250g Farine
125g Beurre
5 oeufs
20cl creme fraiche
40g sucre normal
60g sucre glace
1 sachet sucre vanille
levure boulanger / eau tiede
1 pincee de sel
Quelques tiges de Rhubarbe
sucre pour faire degorger la rhubarbe
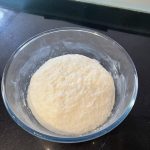
1- Pate comme la tarte au sucre.
250g de Farine
125g de beurre (ramolis un peu)
2 jaune d’oeuf. (garder les blancs pour meringue)
Levure (une dose, 1 cuiellere a cafe) bien diluee dans de l’eau tiede avec une cuillere de sucre
melanger a la main ou au robot
ajuster farine si necessaire pour obtenir une obule de pate non collante aux doigts.
laisser monter dans le four pour 1 heure (off)
2- Preparation de la rhubarbe
laver la rhubarbe, couper en des de 2cm. Mettre a degorger avec du sucre pendant 1 heure. (quand la pate monte)
passer la rhubarbe a la peole a feu moyen pour degorger encore un peu.
ne pas faire trop cuire. rhubarbe doit etre encore solide/croquante.
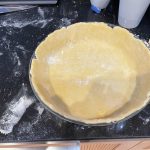
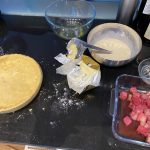
3- Preparation Tarte
rouler la pate. / poser sur platine en utilisant le rouleau.
poser la rhubarbe sur la pate.
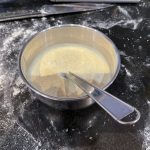
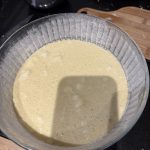
4- Appareil / Flan
1 oeuf entier, et 2 jaune d’oeuf (garder 1 blanc pour la meringue), 20cl de creme fraiche et du sucre vanille. (une bonne dose). foueter legerement. verser sur la pate.
Mettre au four a 180. Cuire presque completement. Environ 20/25 minutes. Garder un peu de marge pour pouvoir faire la meringue.
5- Meringue
3 blanc d’oeuf. 60g sucre glace. Monter les blancs (solide / 2 minutes avec robot) avec une pincee de sel. melanger le sucre apres que les blancs soit monte. mettre sur la tarte chaude et remettre au four pour 15 minutes. bien verifie pour ne pas bruler. Reduire la temperature vers 160 degres.
Sortir tarte et laisser refroidir.


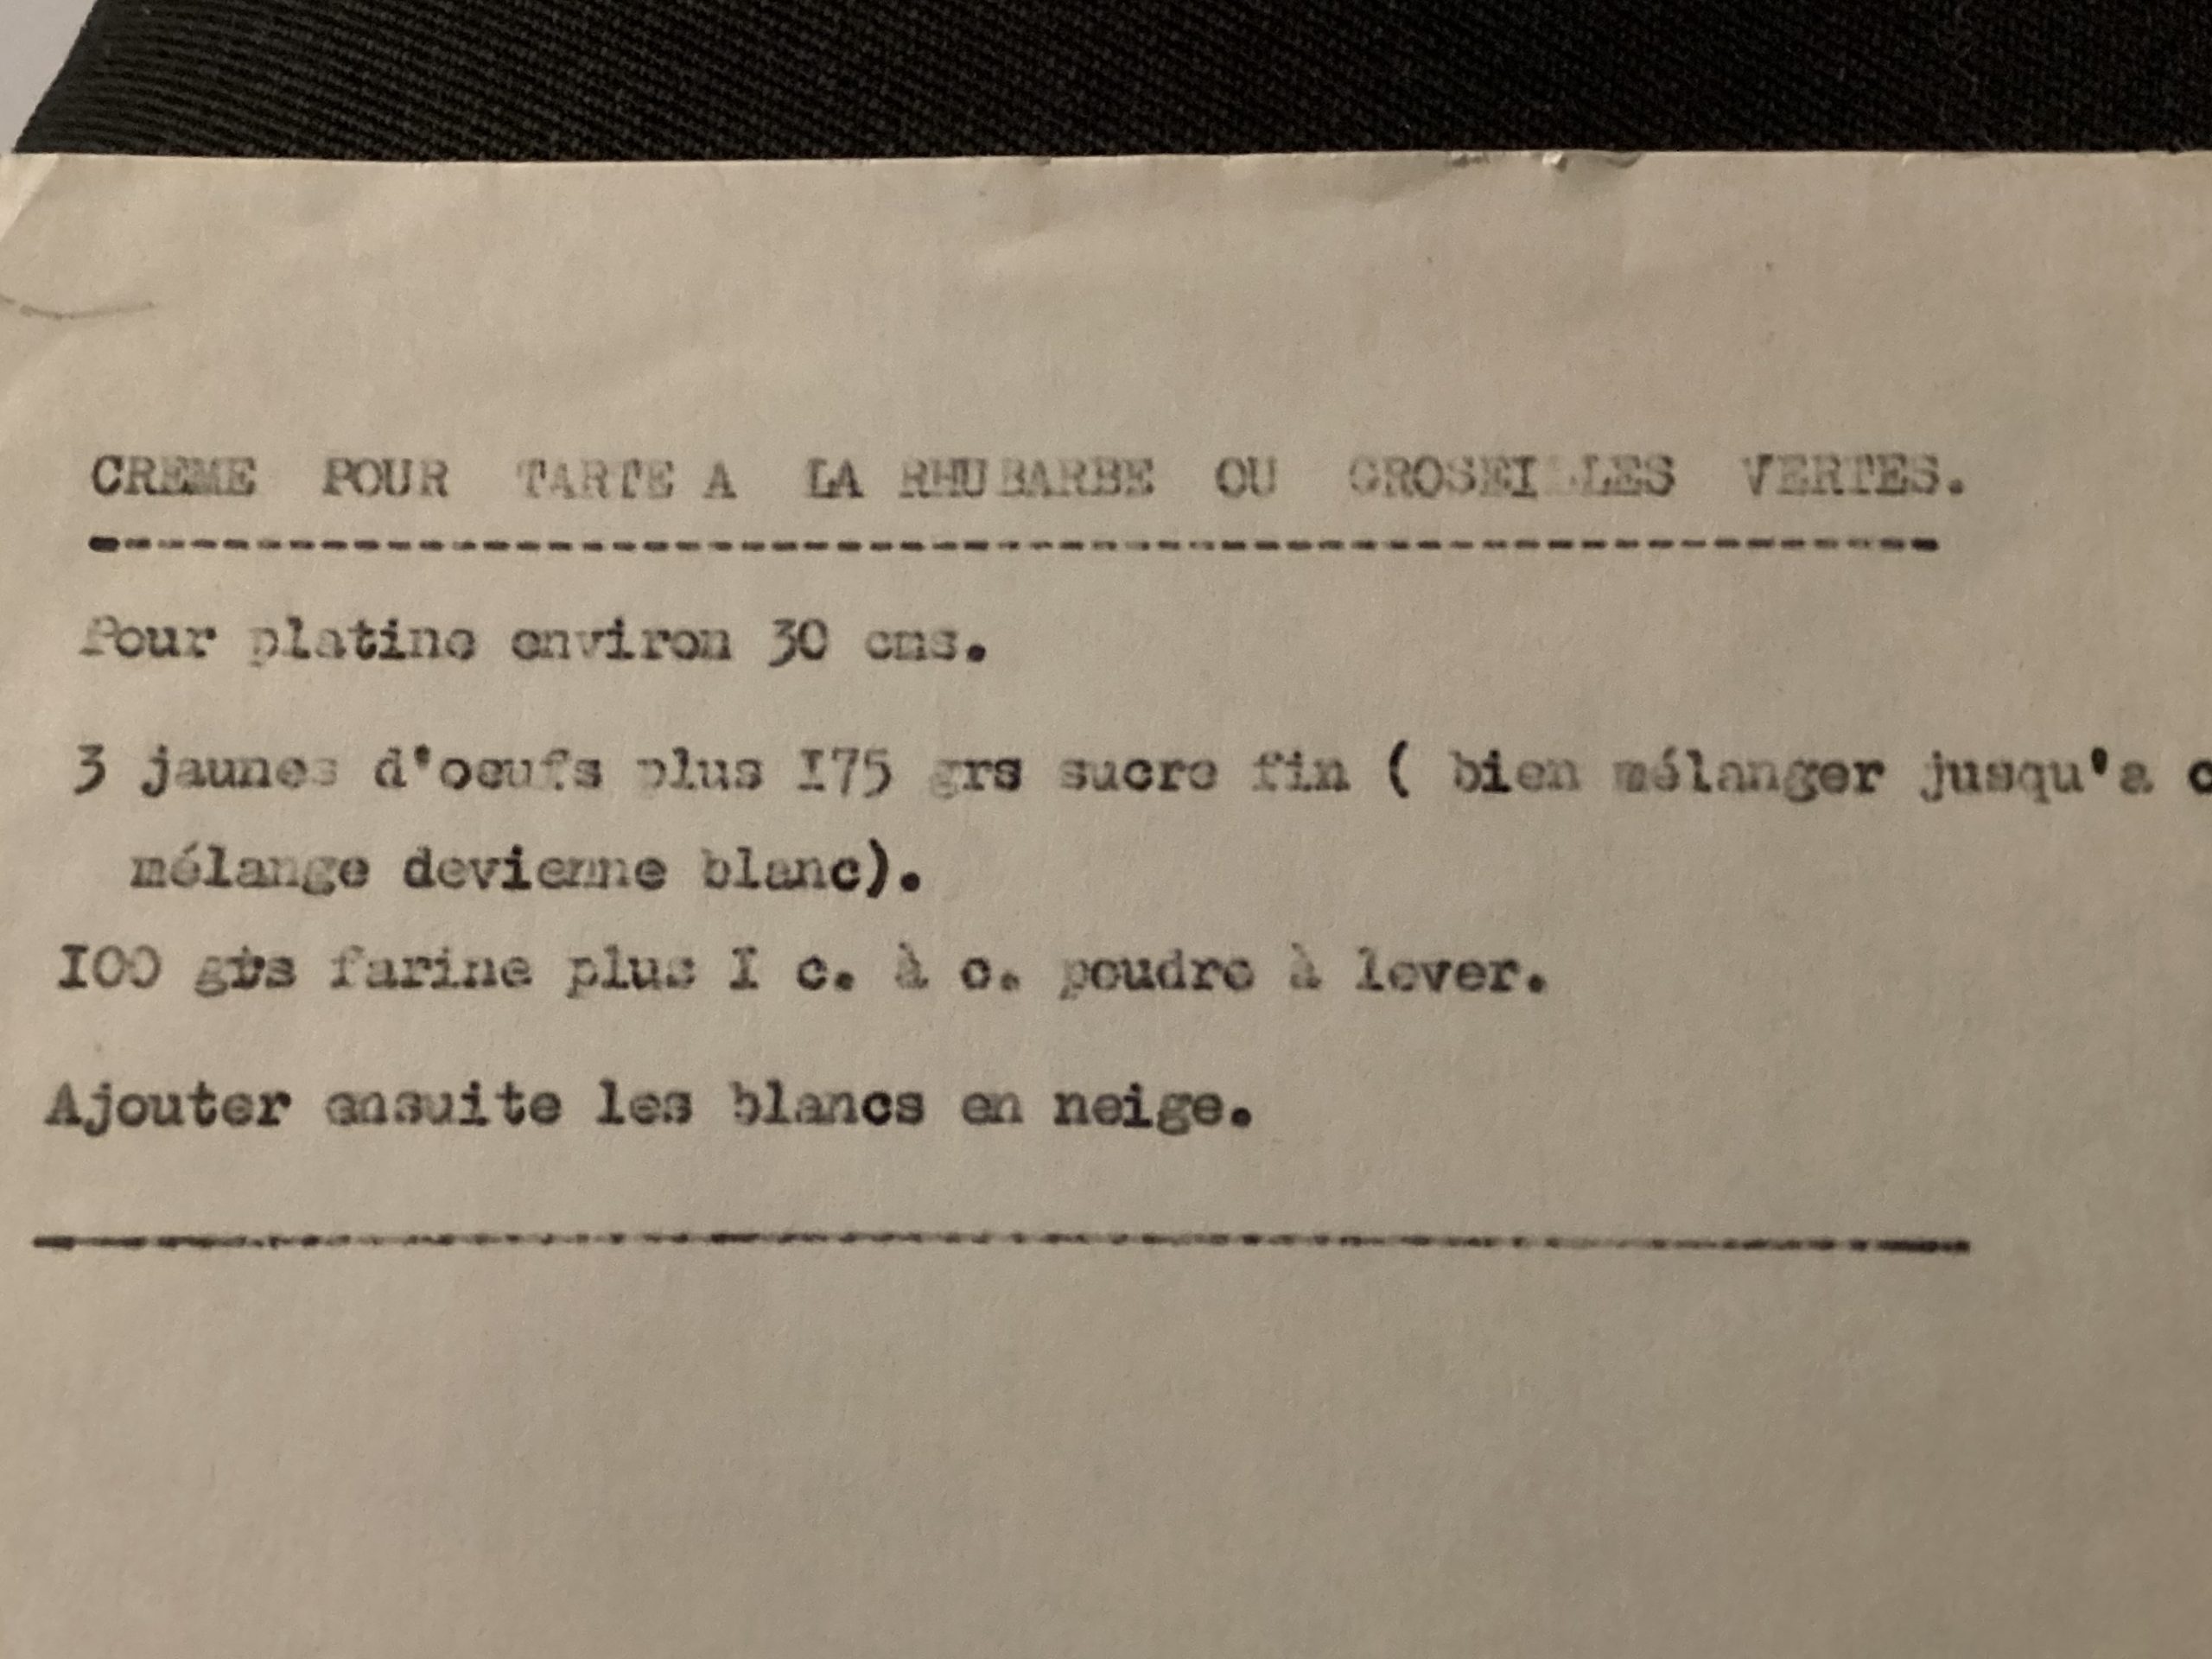
In 2025, I received an updated version of the Merringue from my mum…the recipe is more like a cream with more egg yolks etc…
|
Name |
Type |
Texture |
Best For |
|---|---|---|---|
|
Maris Piper |
Floury |
Fluffy, dry, light |
Chips, roast potatoes, mash, baked |
|
King Edward |
Floury |
Fluffy, slightly creamy |
Roast potatoes, mash, baking |
|
Charlotte |
Waxy |
Firm, smooth, moist |
Salads, gratins, tartiflette |
|
Desiree |
All-rounder |
Creamy yet holds shape |
Moussaka, mash, dauphinoise, casseroles |
|
Jersey Royals |
Waxy (seasonal) |
Delicate, nutty, firm |
Boiling, buttered new potatoes, salads |
|
Red Rooster |
All-rounder |
Creamy, slightly floury |
Wedges, mash, gratins |
|
Vivaldi |
All-rounder |
Buttery, low in starch |
Mash, boiling, steaming |
|
Anya |
Waxy |
Nutty, firm |
Salads, roasting whole, skins-on dishes |
|
Rooster |
All-rounder |
Smooth, dense |
Chips, roasting, stews |
Ideal Potato: Charlotte or Anya
Why: Tartiflette benefits from waxy potatoes that hold their shape and absorb flavour without collapsing. You want layers that stay defined as they bake with Reblochon cheese, lardons, and cream.
Ideal Potato: Desiree or King Edward
Why: Moussaka layers involve pre-fried or baked potato slices, so you want something slightly floury or all-purpose that can crisp at the edges yet remain creamy inside. Desiree is excellent for this balance.
Ideal Potato: Maris Piper
Why: High starch, low moisture content gives that golden, fluffy interior and crisp exterior when double-fried.
Ideal Potato: King Edward or Vivaldi
Why: King Edward creates airy mash; Vivaldi gives a more buttery and rich result if you want indulgence.
Ideal Potato: Maris Piper or King Edward
Why: Their fluffy interior creates that crisp shell and soft core when parboiled and roasted.
Ideal Potato: Desiree or Charlotte
Why: Needs potatoes that hold slices well but absorb cream. Desiree leans creamy, Charlotte leans structured.

I have been making a few of these cottage or shepherd’s pies, so I thought I would document the recipe, which is essentially the same for both pies, except that the meat used is Beef for Cottage Pie and Lamb for shepherd’s pie.
Ingredients:
How to Make:

A coach-style breakdown of three popular strings at the same tension of 25kg.
| Feature | Babolat RPM Blast | Yonex Rexis Comfort | Babolat VS Team (Natural Gut) |
|---|---|---|---|
| Material | Co-polyester | Multifilament | Natural gut (cow serosa) |
| Feel | Firm, muted | Plush, smooth | Exceptionally soft and elastic |
| Power | Low-medium | High | Very high |
| Control | High | Decent | Surprisingly high |
| Spin Potential | Very high | Moderate | Moderate to high |
| Tension Maintenance | Poor | Good | Excellent |
| Comfort | Low | High | Very high |
| Durability | High | Moderate | Low to medium |
| Price | Mid | Mid-high | High |
| Your Style / Priority | Best String |
|---|---|
| Heavy topspin baseliner | RPM Blast |
| Comfort + power with some control | Rexis Comfort |
| Touch, feel, and all-court finesse | VS Team |
| Elbow/shoulder issues | VS Team or Rexis Comfort |
| High performance hybrid setup | VS Team (mains) + RPM Blast (crosses) |

A quick chart to help when you want to know if a battery is almost empty etc…use a volt-meter and check against this chart…
It’s the nerd in me that makes me do these things….
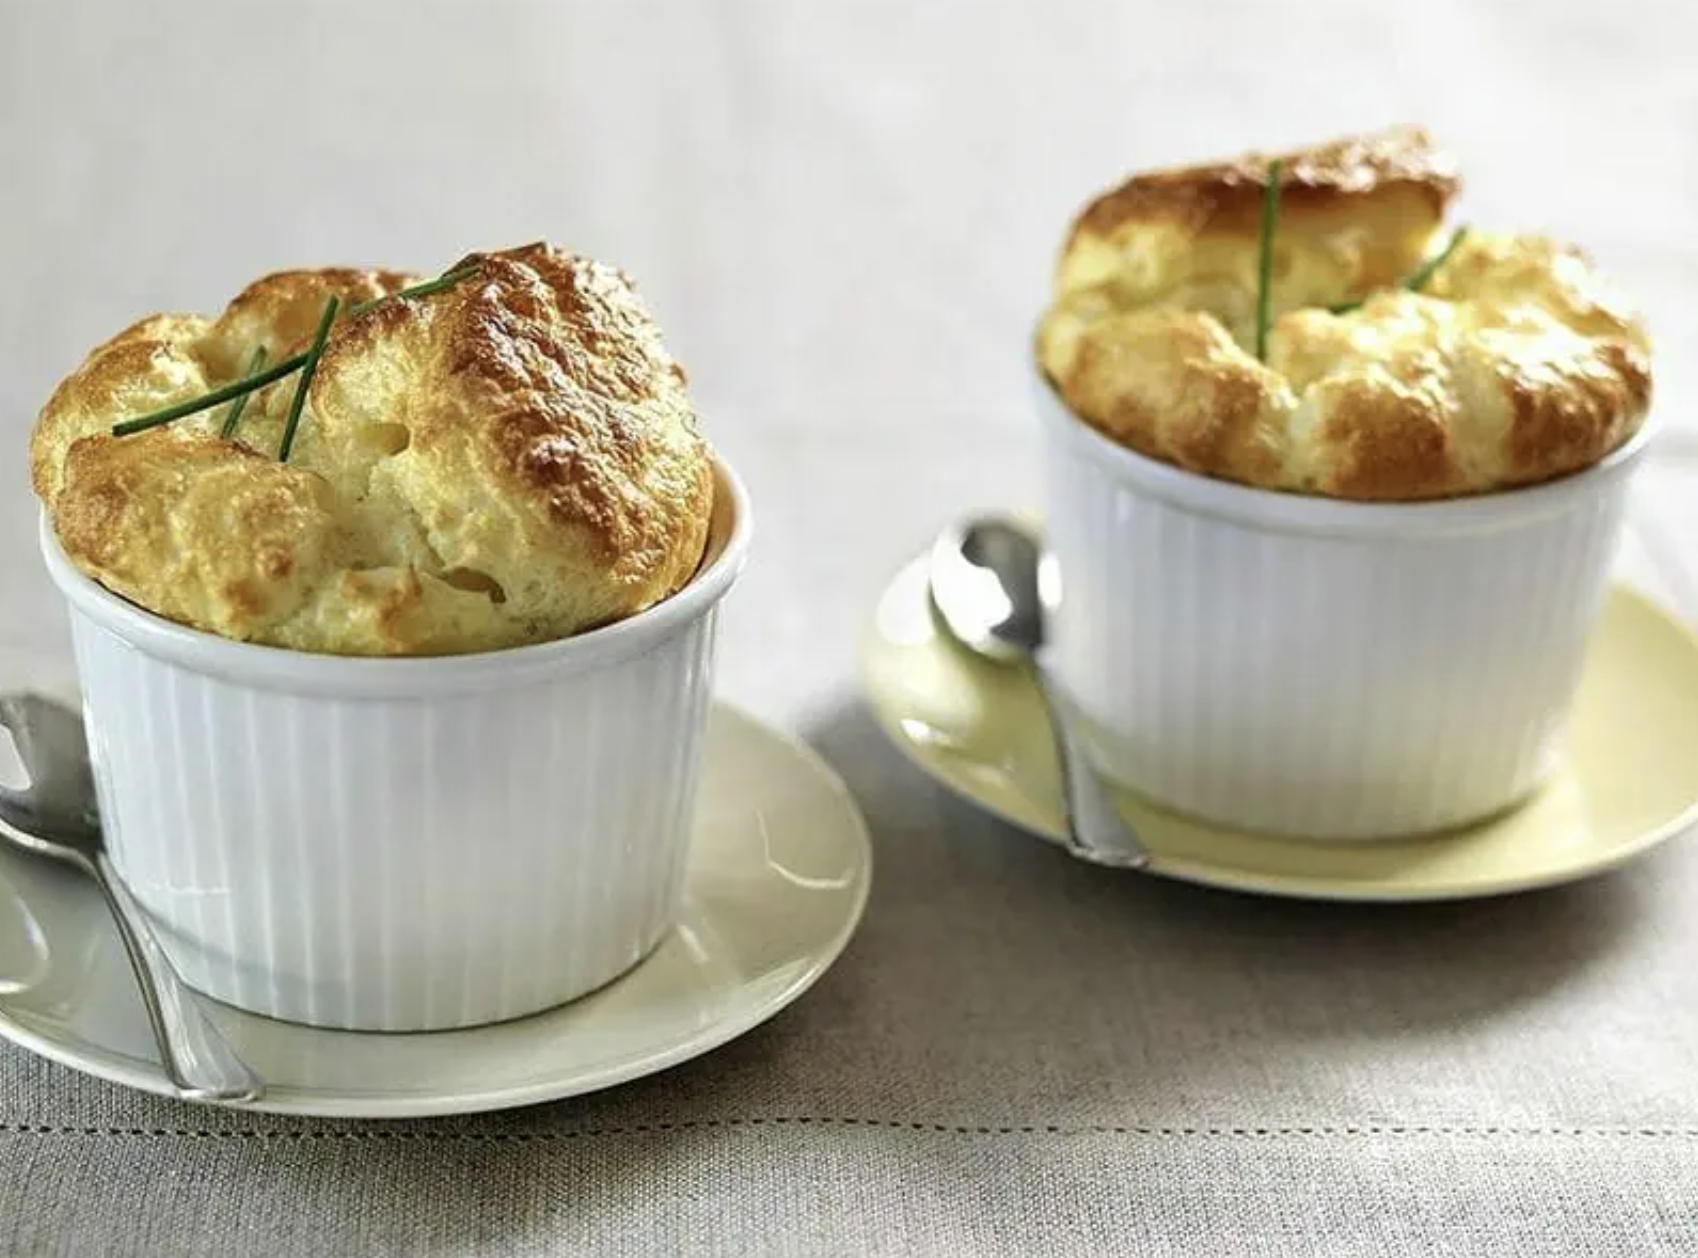
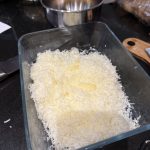
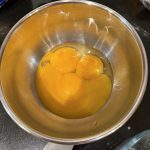
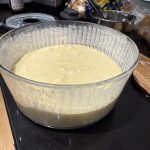
Simple soufflé recipe.
With modern tools, making a soufflé is now very easy, and I should make it more often.
Ingredients:
How to Make:
Eat straight away !!

I saw this, and I thought I should keep it….
“Le bon sens n’a qu’un sens…le bon !”
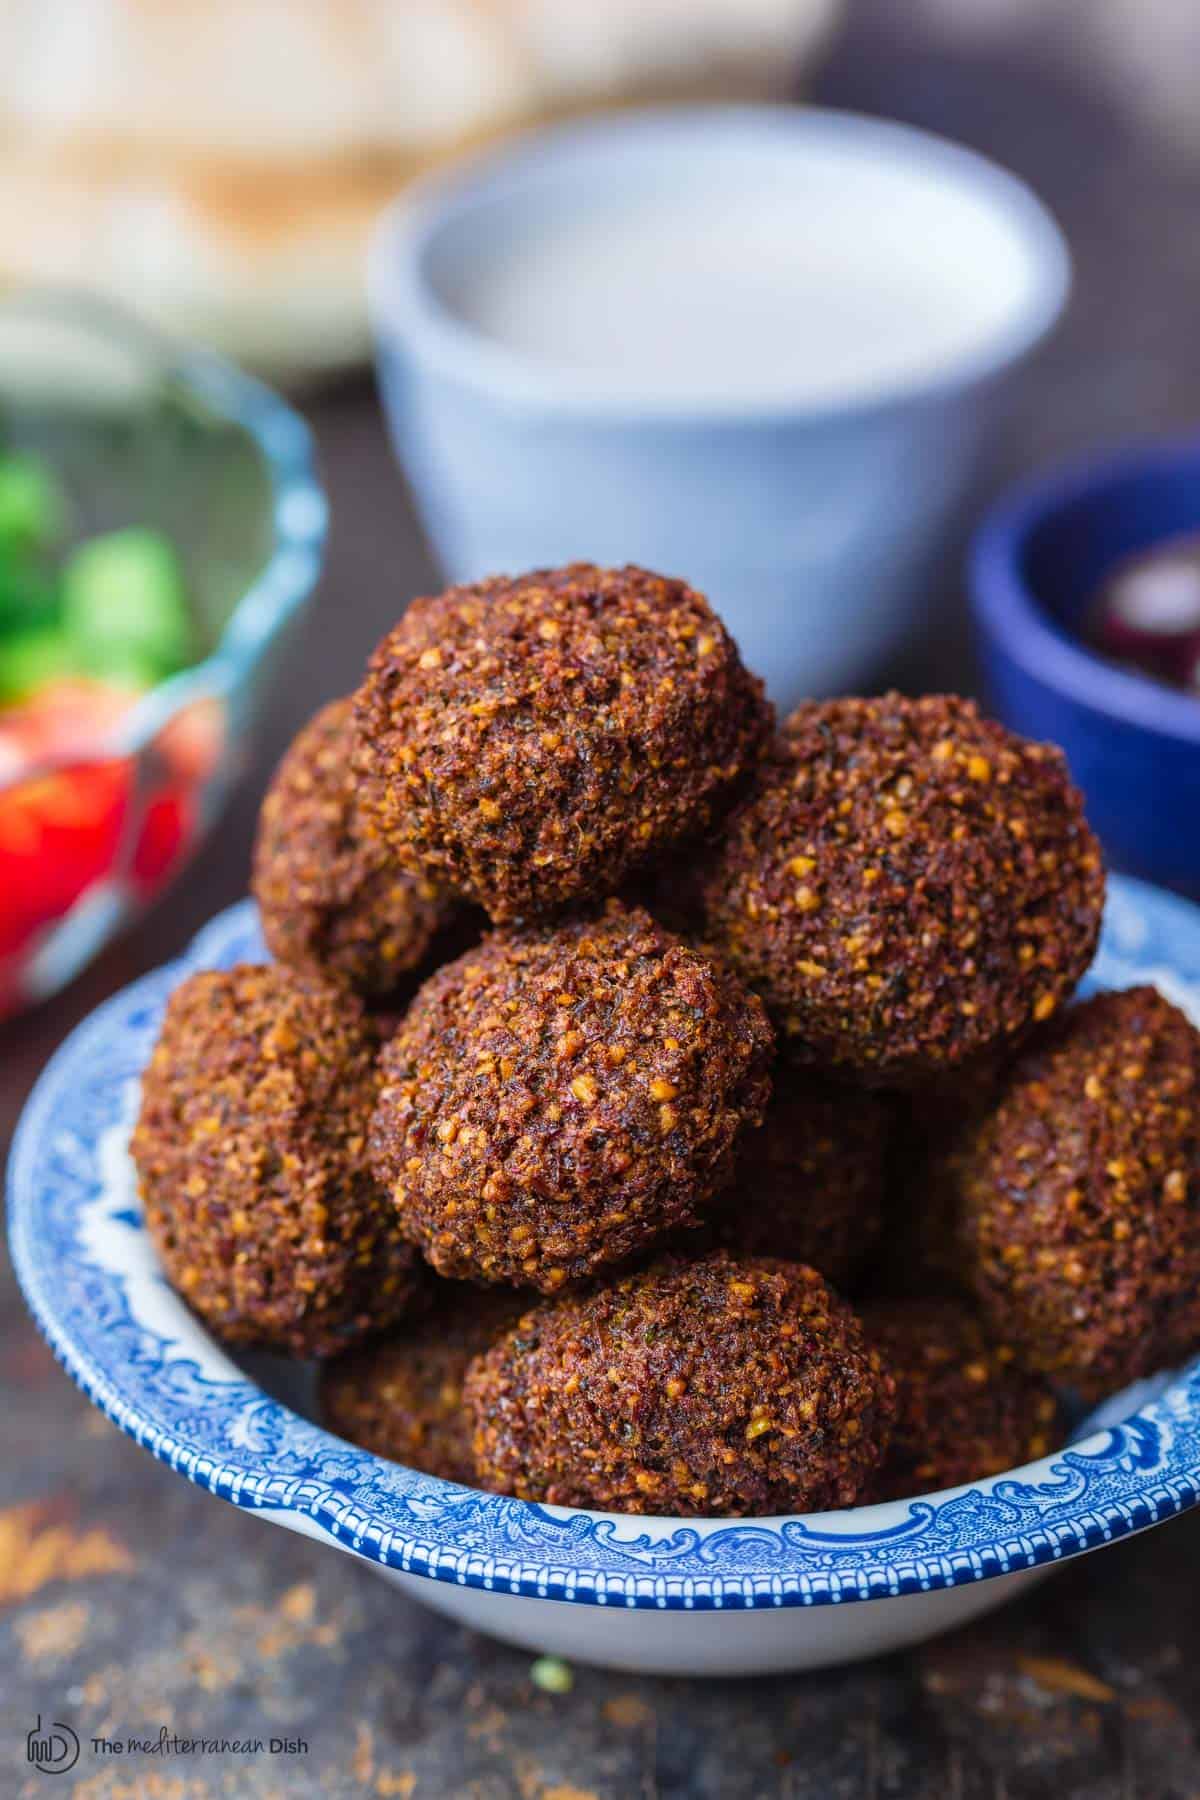 Falafel is a popular Middle Eastern “fast food” made of chickpeas, fresh herbs, and spices formed into small patties or balls. It’s thought that falafel originated in Egypt as Coptic Christians looked for a hearty replacement for meat during long seasons of fasting or lent. It has also become a popular vegan food in Egypt and throughout the Middle East.
Ingredients:
How to Make:
I like this and have empirical evidence :
“Never attribute to malice what can be adequately explained by stupidity.”
I am proud of what I have done with my friends and colleagues to build something amazing that will hopefully be meaningful to millions in the future.

 It’s been months since I’ve properly updated this blog, and I feel a bit sad about that. This space has always been important to me—a quiet corner of the world where I can reflect and document my thoughts. Lately, though, my mind has been so preoccupied with my business that I’ve struggled to find the headspace to focus on this part of my life. I’m looking forward to a time when things feel less chaotic, so I can re-energize this blog and reconnect with what it means to me.
On another note, I’ve been observing the incredible, ground-shaking developments happening in the world of Artificial Intelligence. It’s hard not to feel optimistic about AI’s potential benefits to humanity. I know innovation can feel intimidating to some, but I’m not one of those afraid of change. I see it as an opportunity—a chance to improve our world in ways we can barely imagine. I encourage my friends and family to embrace this new era and actively be part of the amazing transformations unfolding before us.
The future feels bright, and I hope to channel some of this optimism and energy back into my writing here. Let’s see where this journey takes us.
Mother sauces and their derivatives, a French cuisine must know !
1. Béchamel (500ml milk, 30g butter, 30g flour, nutmeg, salt, white pepper)
├── Mornay (60-80g cheese, 1 egg yolk)
└── Soubise (250g onions finely chopped)
2. Velouté (500ml chicken stock, 30g butter, 30g flour, salt, white pepper)
├── Allemande (2 large egg yolk, 100ml cream)
├── Suprême (100ml heavy cream, 30g butter extra at the end)
└── Normande (100ml heavy cream, 50g finely chopped mushrooms, 1 teaspoon lemon)
3. Espagnole (500ml beef or veal stock, 30g butter, 30g flour, mirepoix [1 carrot, 1 onion, 1 celeray stalk, 1 bay leaf, thyme, parsley ], 2 Tbsp – 30g tomato paste, salt, black pepper)
├── Demi-Glace (reduced Espagnole)
├── Bordelaise (100ml red wine, 1 shallots)
└── Chasseur (100g mushrooms, 100ml white wine, 2 shallots, parsley)
4. Hollandaise (2 egg yolks, 125g butter, 2 tsp lemon, salt, pepper, cayenne)
├── Béarnaise (2 Tbsp tarragon, 1 X 30g shallots, 30ml white wine)
├── Mousseline (100 ml heavy whipped cream)
└── Maltaise (30-45ml blood orange, orange zest)
5. Tomato Sauce (500ml chicken stock, 800 g tomatoes, 2 Tbsp olive oil, 2 garlic, 1 onion, 1 celery stalk, 1 carrot, dry herbs, 2 Tbsp tomato puree, 1 tsp sugar, salt, black pepper)
├── Provençale (50g olives chopped, provence herbs)
└── Créole (100g peppers, celery more, cayenne pepper)
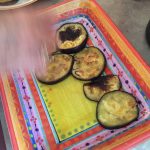
 Even my mum is now following internet recipes for things that she has been doing for years ! Here is the link :http://www.lacuisinedebernard.com/2013/07/la-moussaka-grecque.html
Obviously there is a few small secrets…
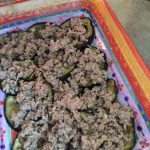
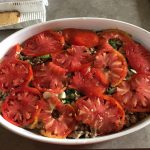
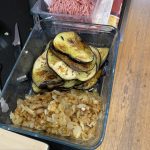
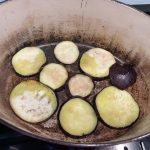
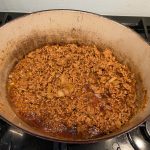
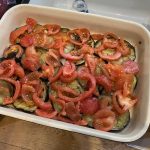
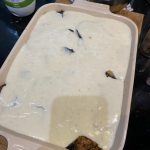
She uses half-cooked potatoes as the first base layer for the Moussaka. On this particular occasion, we did 2, one with and one without the potatoes. The outcome is that it is definitely nicer with the layer of potatoes. You can see in picture 3 the layers, don’t be fooled by picture 1.
It is my understanding that the Moussaka with Potatoes is a Greek recipe whereas the one without is more Turkish.


UPDATE : (Original was 11th of August 2015, then spetember 2020 !)
I have just tried to make this recipe and clearly my mum was not following that recipe at all…
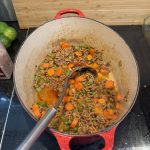
Well, I am going to do the same and make my own version and see if it is any good. I am starting with a version without potatoes. It is a bit of work but it is well worth it!
Ingredients:
How to Make:
This was very nice and the white sauce was great as well. All very moist and tasty.
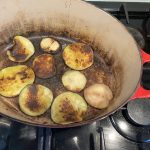

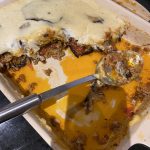
Might have noticed the disaster of the burning of the le creuset pan….I tried everything to clean it and it was not coming off at all….been a complete mystery on how to take the stuff out and clean it properly. I bought at least 4 different products on amazon etc…baking soda, hydrogen peroxide, le creuset own brand cleaning product, boiling vinegar, magic sponge, overnight soak with dishwasher soap, boiling baking soda, etc…etc….etc…
I finally decide to simply put the pot into my oven during a full cycle of pyrolytic wash….was a bit afraid of destroying the whole thing but NO !! it worked brilliantly.
Simply had to wipe the ashes of the burned off stuff afterwards it was almost new.
Will now use this method on a yearly basis or something like that.


Below is a list of dishes I like and can cook to a standard that I would be happy to serve to my friends. Maybe one day, I should make a book of those recipes.
It has recently evolved into a Database of the things I like and the ones that I can cook…
| Name | Country Inspiration | Type | Recipe on my Blog ? |
| Cramique Bread | Belgian | Bread | yes |
| Bao | Chinese | Bread | yes |
| Pain au cereales | French | Bread | yes |
| Baguette | French | Bread | yes |
| Pain maison | French | Bread | yes |
| Brioch Bread | French | Bread | yes |
| Pitta Bread | Indian | Bread | no |
| Panettone | Italian | Bread | no |
| Gnocco Frito | Italian | Bread | yes |
| Ciabatta | Italian | Bread | yes |
| Focacia Bread | Italian | Bread | yes |
| Saint Marcellin | French | Cheese | no |
| Saint Felicien | French | Cheese | no |
| Cervell de Canut | French | Cheese | no |
| Fromage Blanc au sucre | French | Cheese | no |
| Donuts | American | Dessert | yes |
| Cookies | American | Dessert | yes |
| American Biscuit | American | Dessert | yes |
| Tarte au sucre | Belgian | Dessert | yes |
| Tarte a la Rhubarbe | Belgian | Dessert | yes |
| Waffles | Belgian | Dessert | yes |
| Couques Suisses | Belgian | Dessert | yes |
| Lemon Meringue Tart | Belgian | Dessert | yes |
| Boules de Berlin | Belgian | Dessert | yes |
| Eton Mess | British | Dessert | no |
| Tarte Tatin | French | Dessert | yes |
| Creme Brulee | French | Dessert | no |
| Mousse au chocolat | French | Dessert | no |
| Madeleines | French | Dessert | yes |
| Macarons | French | Dessert | no |
| Ile Flottante | French | Dessert | no |
| Tarte aux myrtilles | French | Dessert | no |
| Croissants | French | Dessert | no |
| Gaufres maison | French | Dessert | yes |
| Blue Berry Jam | French | Dessert | yes |
| Marons Glace | French | Dessert | yes |
| Pear and Chocolate Crumble | French | Dessert | yes |
| Pecan Spiced Canides | French | Dessert | yes |
| Creme Brulee | French | Dessert | yes |
| Pates de fruits | French | Dessert | yes |
| Plum Tarte Tatin | French | Dessert | yes |
| Caramel au beurre sale | French | Dessert | yes |
| Prune Tart | French | Dessert | yes |
| Candied Oranges | French | Dessert | yes |
| Flan Tart | French | Dessert | yes |
| Tiramisu | Italian | Dessert | no |
| Crema Catalana | Spannish | Dessert | no |
| Turron | Spannish | Dessert | no |
| Pancakes Americain | USA | Dessert | yes |
| BBQ Ribs | American | Main | yes |
| Moules frites | Belgian | Main | yes |
| Aubergines Farcie | Belgian | Main | yes |
| Waterzoi | Belgian | Main | no |
| Boudin Blanc | Belgian | Main | no |
| Boudin noir | Belgian | Main | no |
| Cervelle de veau | Belgian | Main | no |
| Meat balls | Belgian | Main | no |
| Vol au Vent | Belgian | Main | yes |
| Fish and chips | British | Main | no |
| Full English Breakfast | British | Main | no |
| Bangers and Mash | British | Main | no |
| Chicken Tika Massala | British | Main | no |
| Sheppers Pie | British | Main | no |
| Scotch Egg | British | Main | no |
| Toad in the hole | British | Main | no |
| Jambon cuit au four | British | Main | yes |
| Canard asiatique | Chinese | Main | no |
| Sausage Roll | English | Main | yes |
| Tartiflettes | French | Main | no |
| Cassoulet | French | Main | yes |
| Poulet grille | French | Main | no |
| Hachis Parmentier | French | Main | no |
| Confit of duck legs | French | Main | yes |
| Lamb shanks | French | Main | yes |
| Soupe bouillabaise | French | Main | yes |
| Ouef brouliier | French | Main | no |
| Ouef Benedicte | French | Main | no |
| Cheese Soufle | French | Main | no |
| Quennelles | French | Main | yes |
| Magrets de Canard | French | Main | yes |
| Fondue Savoyarde | French | Main | no |
| Pain de viande | French | Main | yes |
| Andouillette | French | Main | no |
| Saucisson de Lyon Brioche | French | Main | no |
| Quiche Lorraine | French | Main | yes |
| Choucroute Garnie | French | Main | no |
| Tartine et Fromage | French | Main | no |
| Artichaud | French | Main | no |
| Pommes Dauphines | French | Main | yes |
| Beef Casserole | French | Main | yes |
| Moussaka | Greek | Main | yes |
| Giro meat | Greek | Main | no |
| Tandori Chicken | Indian | Main | no |
| Osso Bucco | Italian | Main | yes |
| Spagetti Carbonara | Italian | Main | no |
| Lasagna | Italian | Main | no |
| Pizza | Italian | Main | yes |
| Carpacio | Italian | Main | no |
| Sushi | Japanese | Main | no |
| Panko Vegetables | Japanese | Main | no |
| Tagine lamb | Lebanese | Main | yes |
| Tagine de Poulet | Lebanese | Main | yes |
| Monk fish with Chorizo | Spannish | Main | yes |
| Fruit Liqueur | Belgian | Other | yes |
| Liqueur de Cassis | Belgian | Other | yes |
| Thai Sauce Spicy | Chinese | Other | yes |
| Pickled Beetroot | English | Other | yes |
| Pickled Shallots | English | Other | yes |
| Butter | French | Other | yes |
| Gerkin / Parsley / Egg Mayonnaise | French | Other | no |
| Aioli | French | Other | yes |
| Hollandaise Sauce | French | Other | yes |
| Bechamel Sauce | French | Other | yes |
| Almond Butter | French | Other | yes |
| Mayonnaise | French | Other | yes |
| Limoncello | Italian | Other | yes |
| Yorkshire Pudding | British | Side | no |
| Gratin dauphinoises | French | Side | no |
| Ratatouille | French | Side | no |
| Haricots Vert a l’ail | French | Side | no |
| Salade Lyonnaise | French | Side | no |
| Tarka Dal | Indian | Side | no |
| Samosas | Indian | Starter | no |
| Patatas Bravas | Spannish | Side | no |
| Tomate Crevette | Belgian | Starter | no |
| Crab meat spread | Belgian | Starter | no |
| Hate Levee | Belgian | Starter | yes |
| Ham Terrine | Belgian | Starter | yes |
| Rillettes of porc | French | Starter | no |
| Rillettes of Duck | French | Starter | yes |
| Cougeres | French | Starter | yes |
| Pate de foie de volaille | French | Starter | yes |
| Soupe a l’oignon | French | Starter | no |
| Soupe de Champignons | French | Starter | no |
| Soupe Artichaud de Jerusalem | French | Starter | no |
| Escargots de bourgogne | French | Starter | no |
| Steak Tartare | French | Starter | no |
| Foie Gras | French | Starter | yes |
| Moutabal | Lebanese | Starter | yes |
| Houmous | Lebanese | Starter | yes |
| Padrons Peppers | Spannish | Starter | no |
| Gazpacho | Spannish | Starter | no |
| Chorizo | Spannish | Starter | no |
| Gambas al Ajillo | Spannish | Starter | no |
| Calamares a la Romana | Spannish | Starter | no |
| Croquetas | Spannish | Starter | yes |
More to come in the future….
We need to update the recipe to make it using Thermomix! This recipe was first published on the 5th of June 2022.
Ingredients:
Once done, 15g melted butter.
How to make :


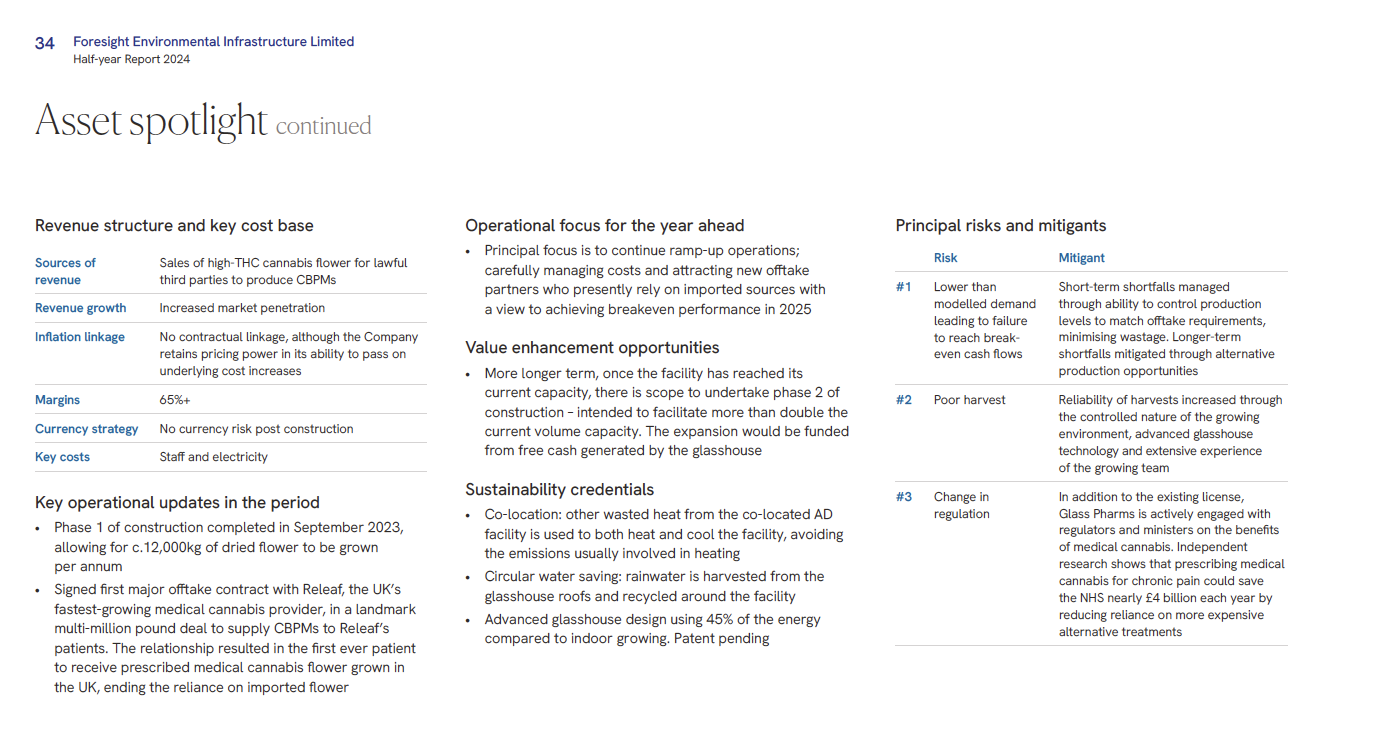
Legal cannabis by post_ inside the farm behind a British first 2
Although I am very proud of what we have achieved as a team, I must admit that the last few months have been very testing.
Our team has made history by delivering a UK-grown flower to a patient through a legal, commercial route for the first time.
I am proud of my work and would do it again if needed.
Starting from scratch four years ago, there are certainly a few things I would do differently today based on what I have learned along the way.
Despite all the successes, I still find it challenging to enjoy the moment, as nothing is ever perfect in the present.
“As you ascend a mountain, you focus on your hands, gripping the rocks to ensure you don’t fall. The more challenging the climb, the tighter your grip becomes, but in doing so, you might overlook the beauty behind you. Take a moment to stop and look back at the path you’ve traveled. Appreciate the unique view you’ve created for yourself.”
I should listen to this inner voice more often…and will do TODAY.
Cooking a large entrecôte (rib-eye steak) to be nicely warm inside while achieving a good sear on the outside can be approached in a few ways. Here are some considerations and methods for each technique:
Pan-Seared and Oven-Finished
Oven-Roasted
Sous Vide (if you reconsider)
Recommendation
For the best balance of flavor, texture, and warmth throughout the steak, I recommend the Pan-Seared and Oven-Finished method. This approach provides a well-developed crust from the searing process and allows you to gently bring the steak up to the desired internal temperature in the oven, ensuring even cooking and warmth.
Ensure you use a meat thermometer to avoid overcooking, and remember to let the steak rest before slicing to retain its juices.
Resting the meat after cooking is a crucial step for several reasons:
How Long to Rest Meat
Practical Tip
Cover the meat loosely with aluminium foil to keep it warm while resting. This prevents it from cooling too quickly without trapping steam and making the crust soggy.
By incorporating a resting period, you ensure that your entrecôte (or any meat) is juicier, more flavorful, and better presented, ultimately enhancing the dining experience.