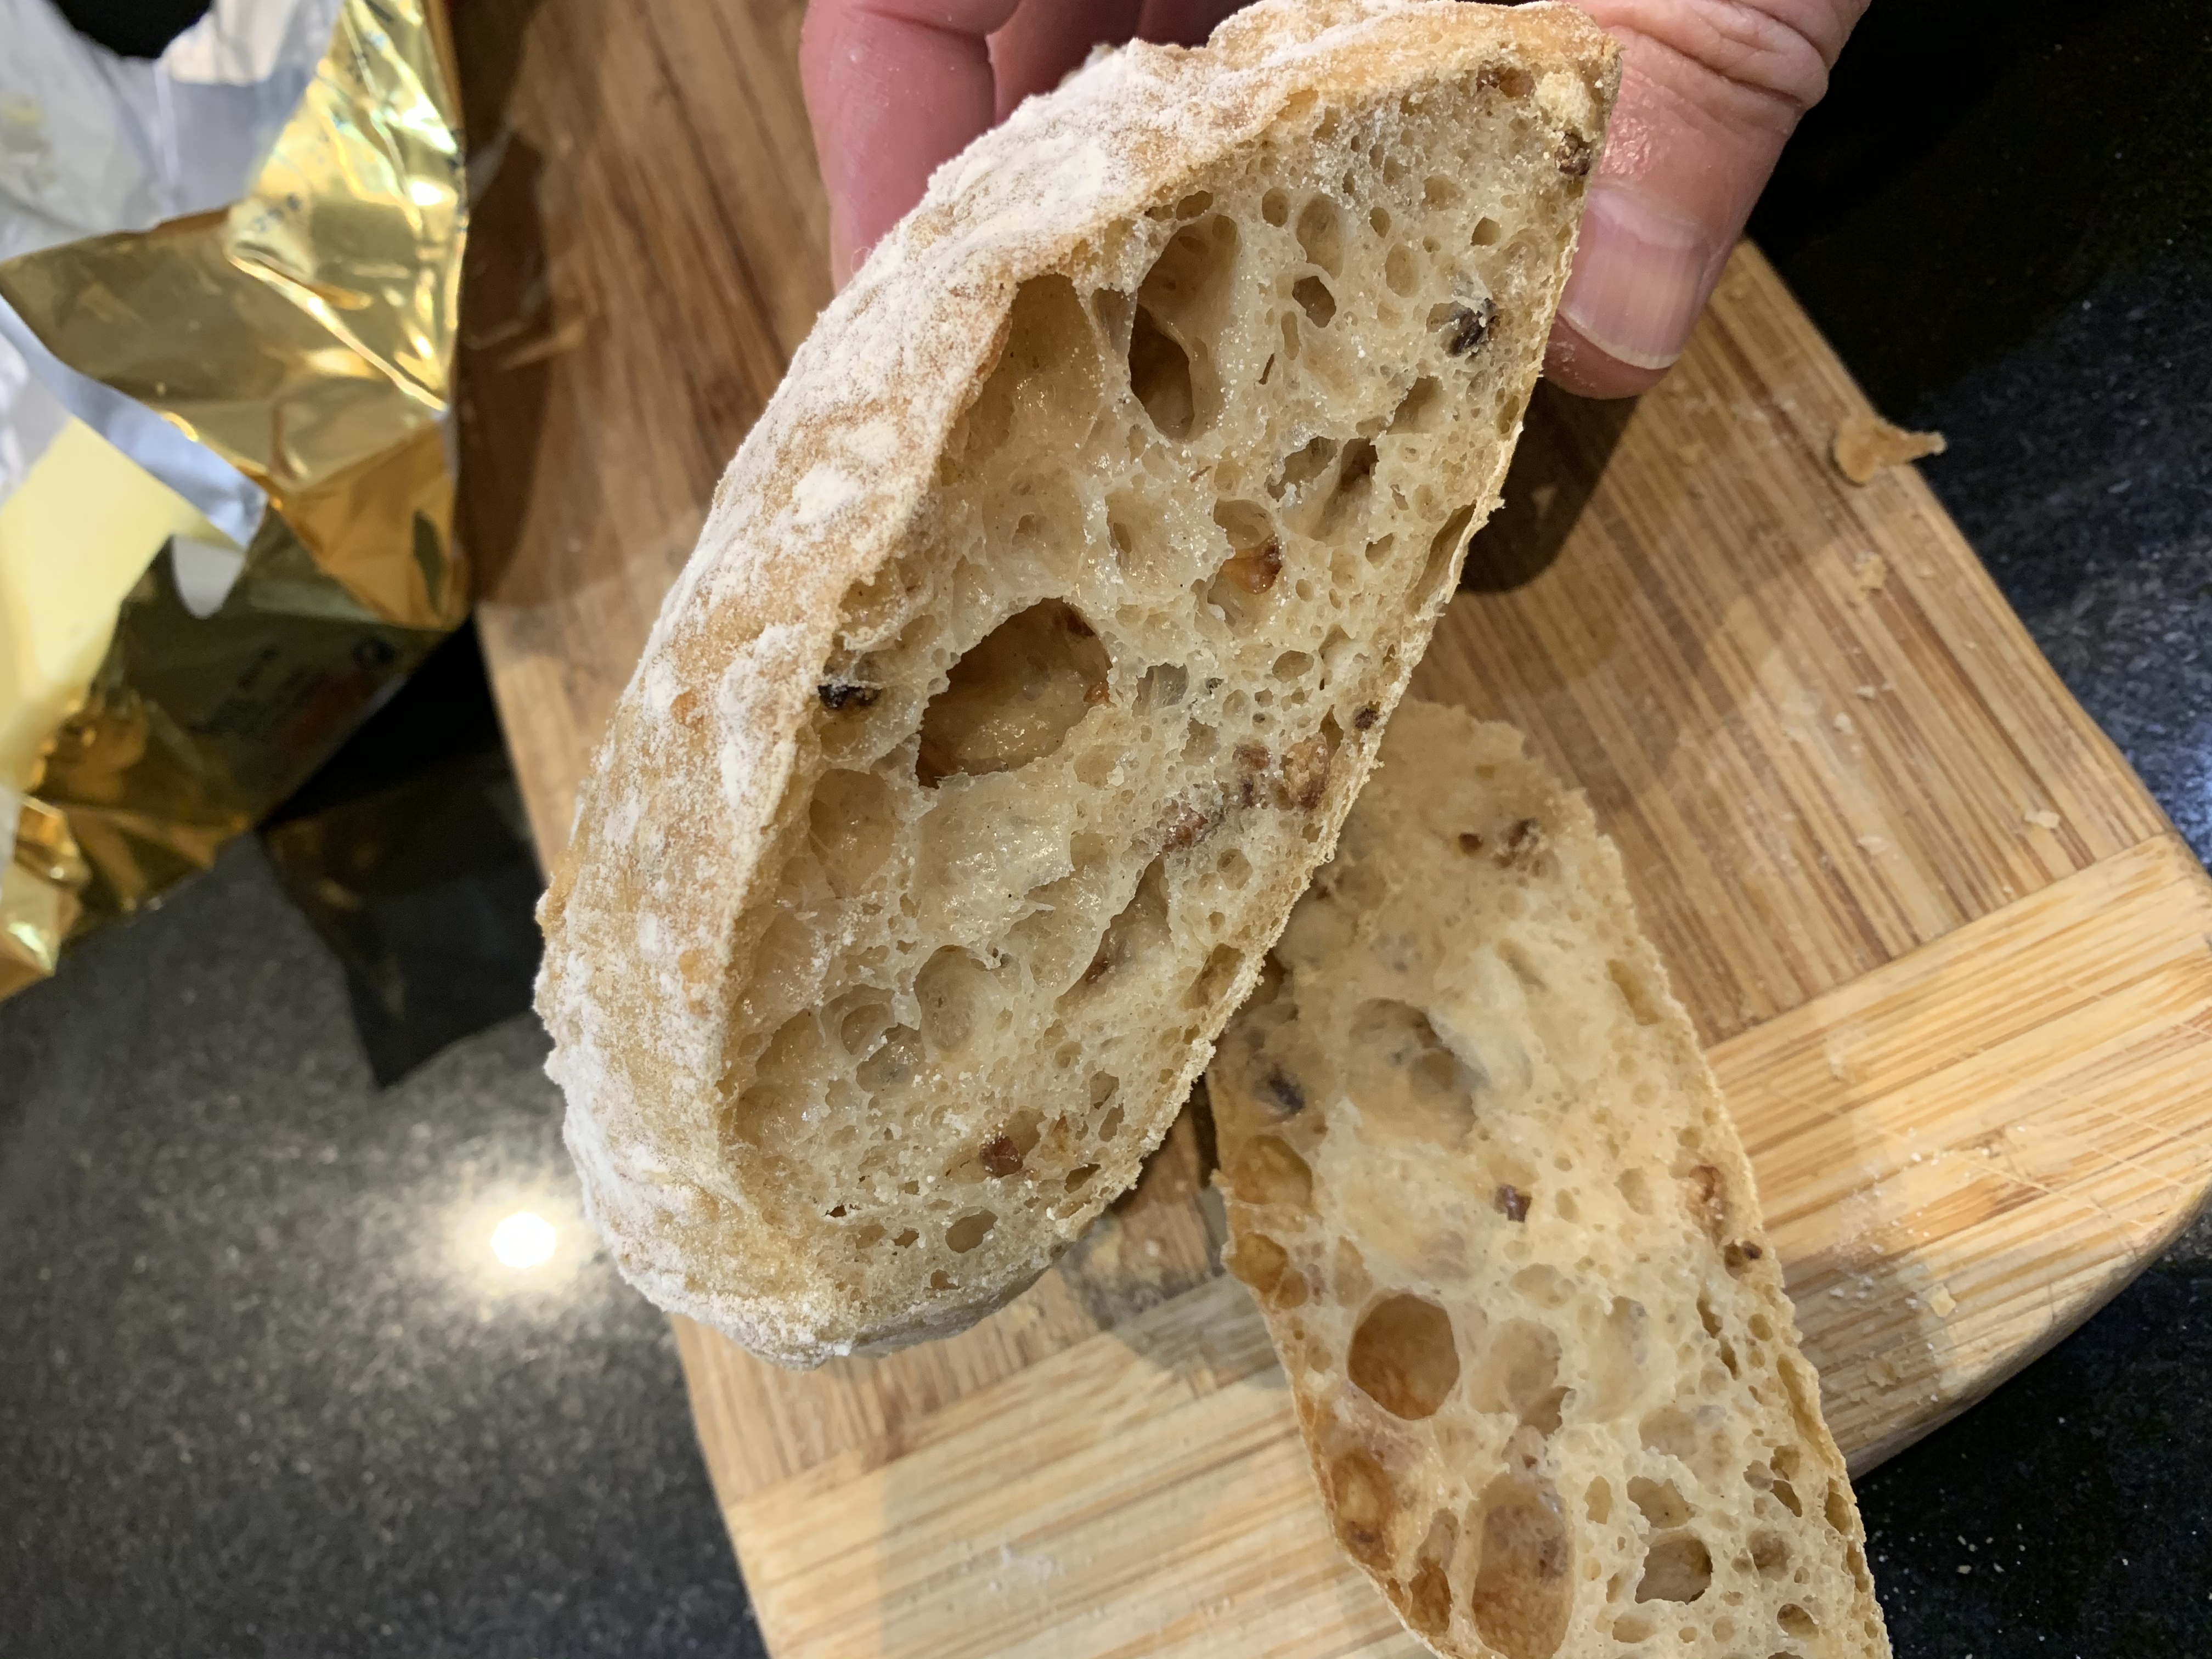
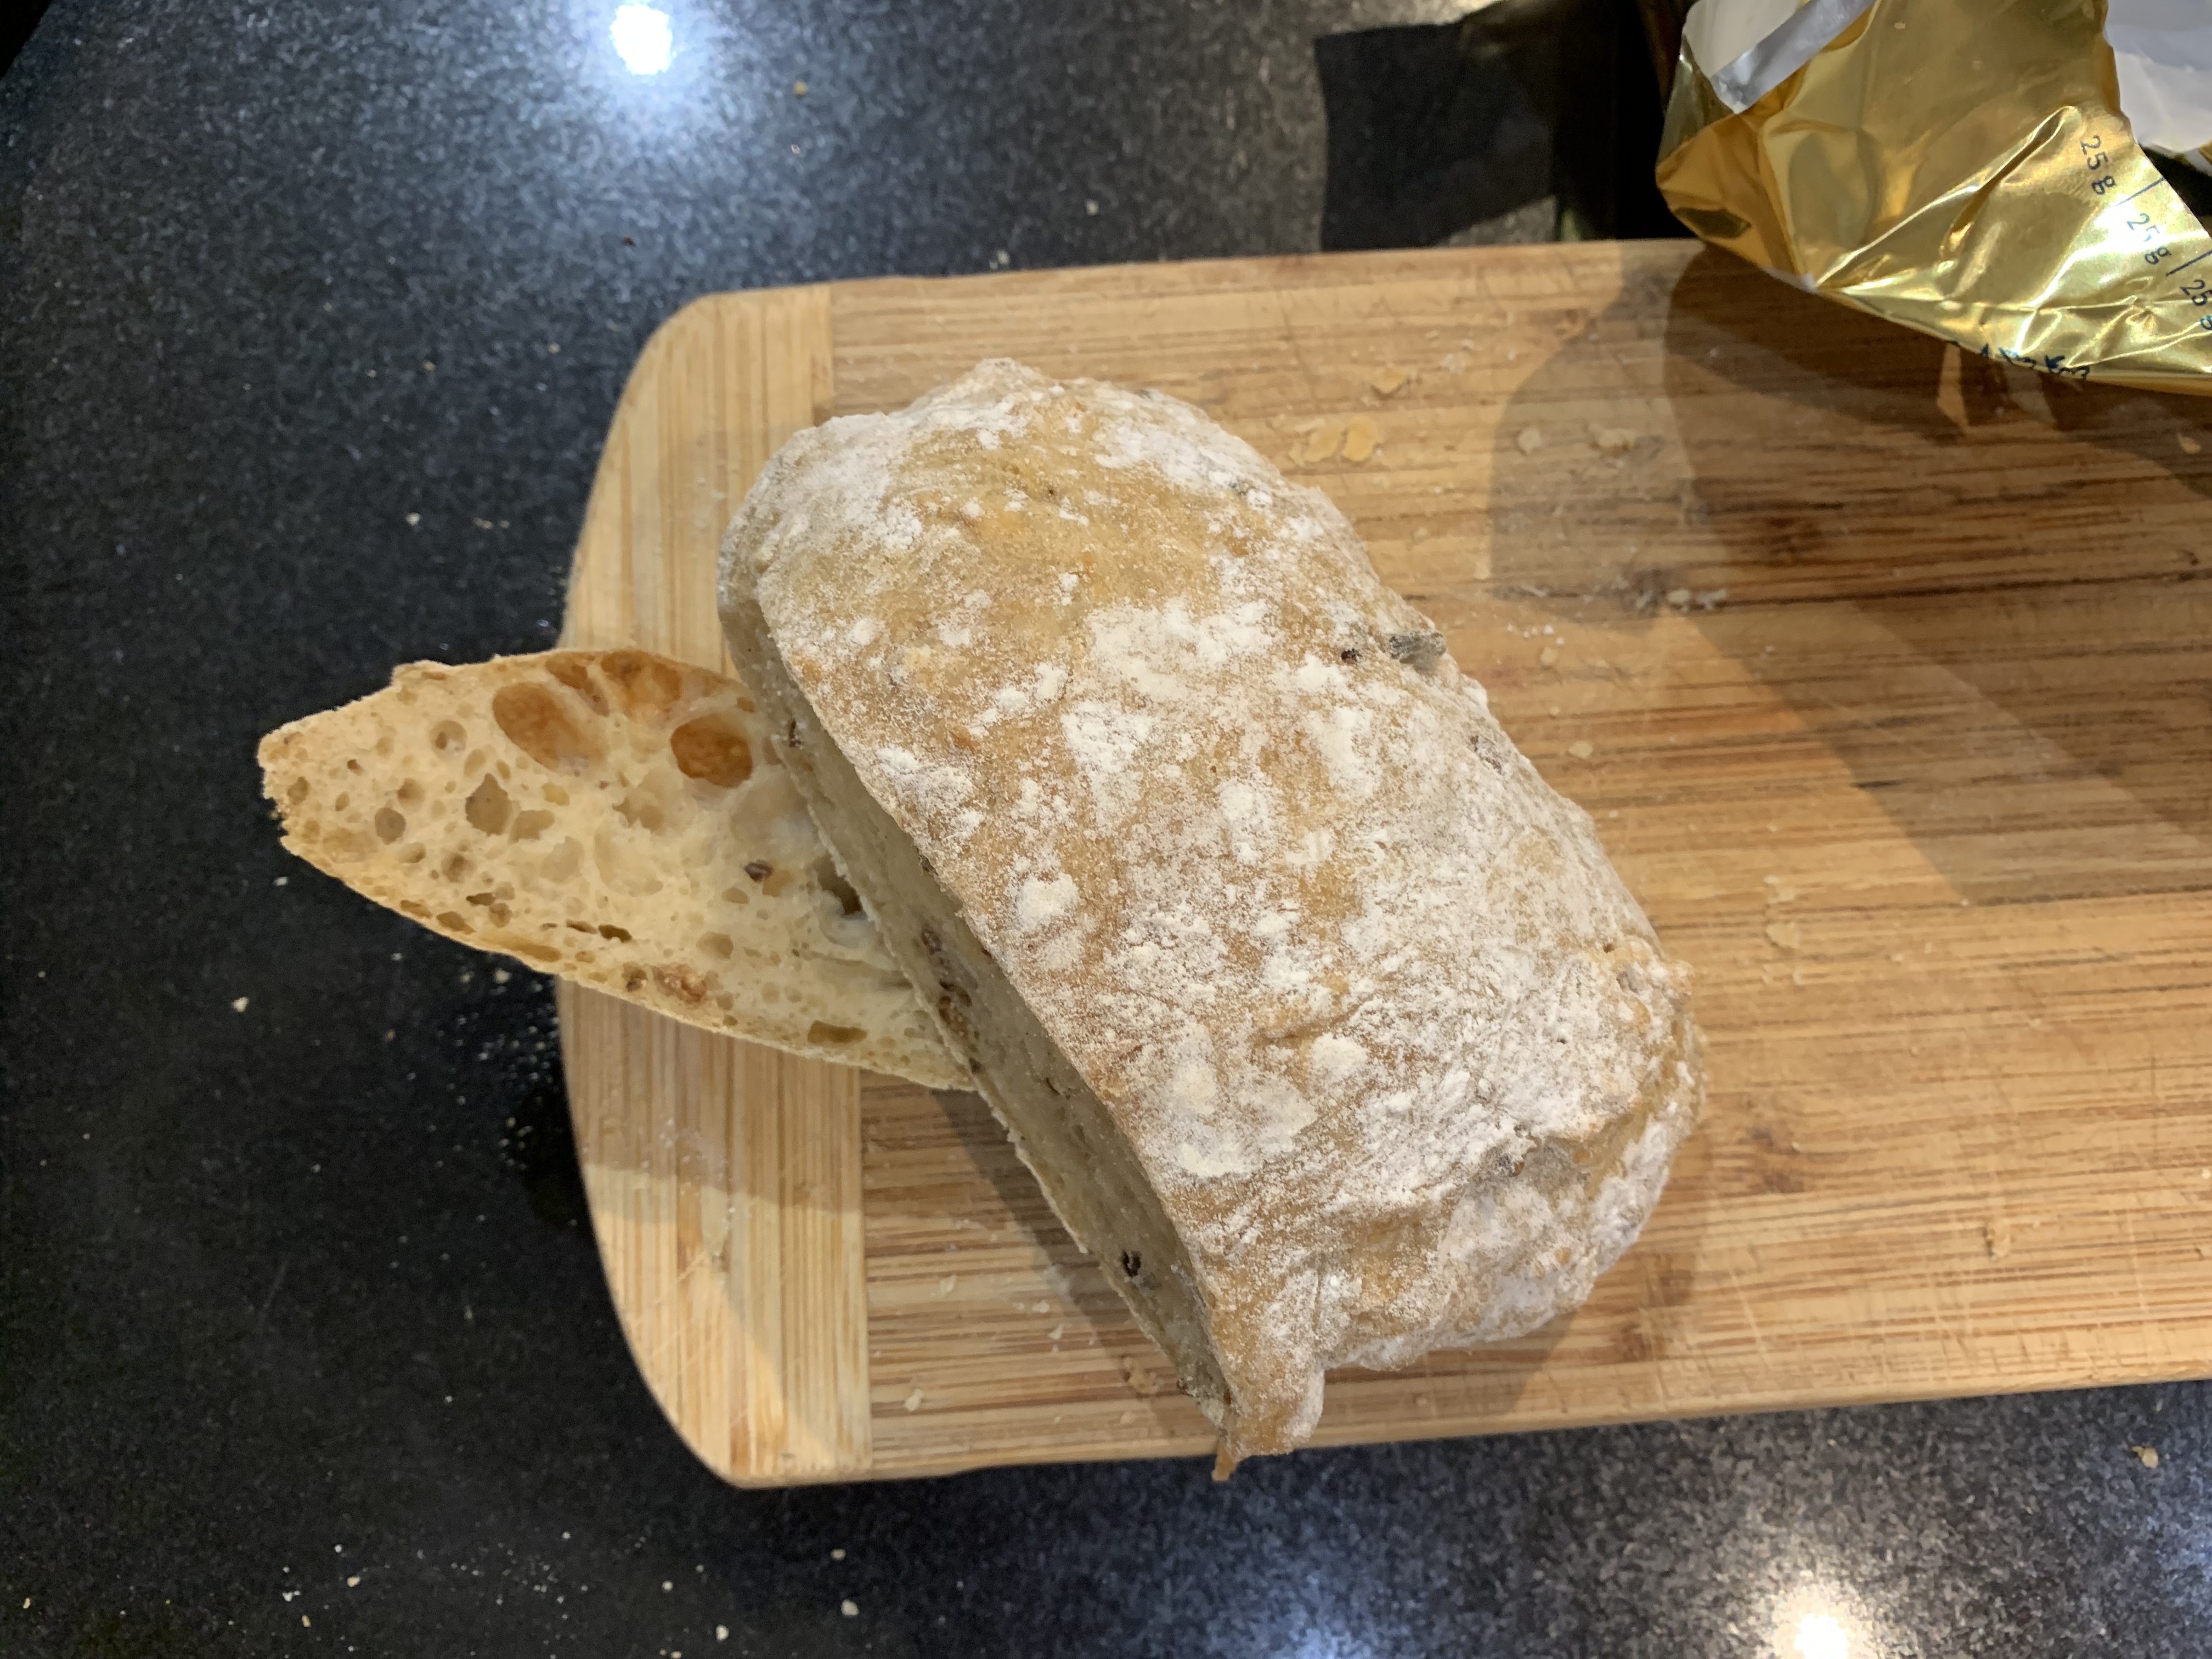
 Found this recipe and method on the internet and had to try it…really a cool and easy way to make a superb Ciabatta from scratch.
Check out my Bread making top 10 tips as well. (note half of yeast and olive oil are core difference to “standard” bread)
Ingredients :
- A large Tupperware container or equivalent with a good lid
- 385g White Flour
- 288g water at 25 degrees Celsius or warm
- 7g Salt
- 38g olive oil
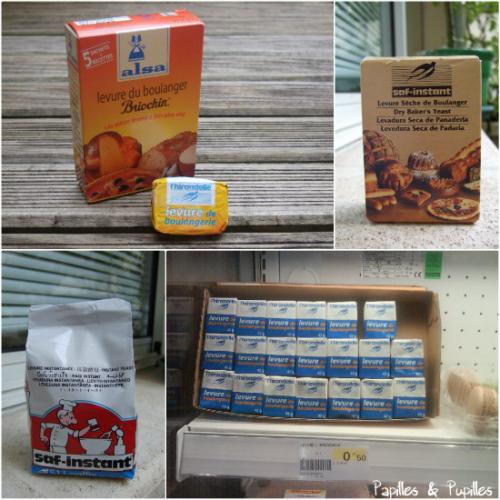
- 2g dry yeast (yes “only” 2 g)
The how to make it easy to follow video.
How to make :
- Dilute the yeast in the water in the Tupperware
- Wait for the yeast to fully dissolve (3 minutes) before pouring the oil into it.
- Add the flour and the salt
- mix a bit but there is no need to knead the dough. A bit like making a sourdough starter.
- The clever part of this recipe is several folds of the dough as it is rising in the container. Essentially a fold similar to a wallet fold on both sides. then let rest for 30 minutes.
- Do this 2 or 3 times.
- Then split the dough into 4 balls and shape with flour.
- Place the 4 loaves of bread on a cloth with some flour
- Then the last rise on a cloth, so that you can transfer into the hot oven at the end.
- Cook in a 220 degrees celsius oven until golden or about 20 minutes.
Summary for rising :
- 45 minutes first rise
- Fold X4 then rise 30 minutes
- Fold X4 then rise 30 minutes
- Fold X4 then rise 40 minutes (not sure if 40 or 30 really make a big difference here)
- Sprinkle flour on top of the dough and on worktop, place dough on the worktop by putting container upside down on the countertop.
- Shape dough to have a square to make 4 bread loaves. Then cut in 4 pieces
- Sprinkle flour on dough and shape into small loaves of bread
- Place on canvas with flour and let rise one last time for 30 minutes
- Transfer onto oven delicately. cook at 220 for 15-18minutes.