[Original Post was 18th Feb 2019]
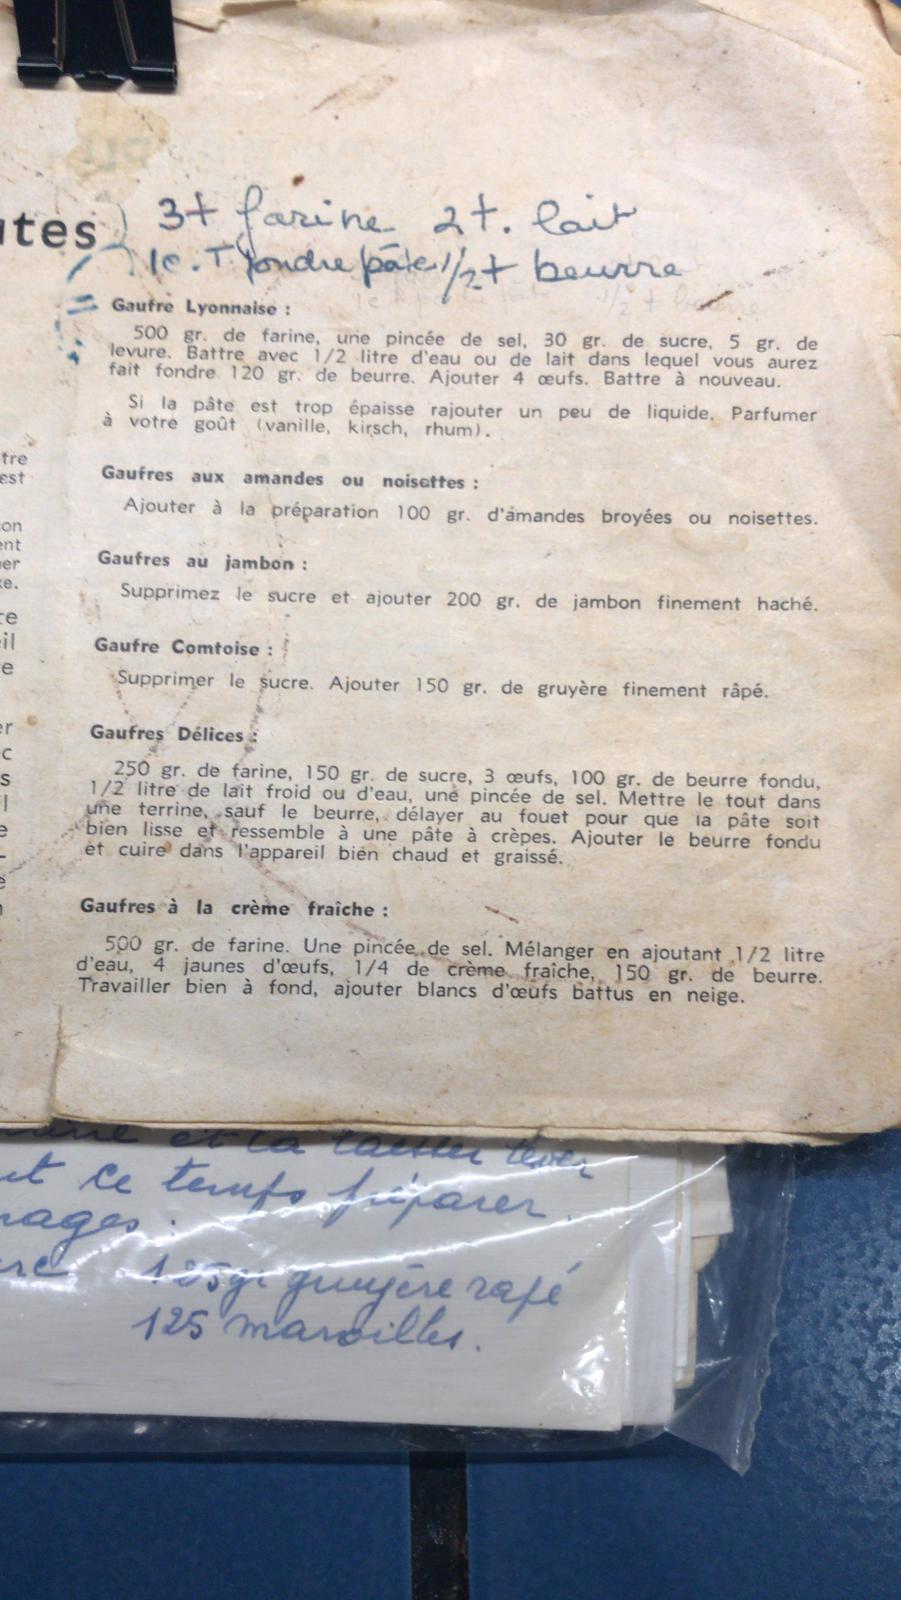
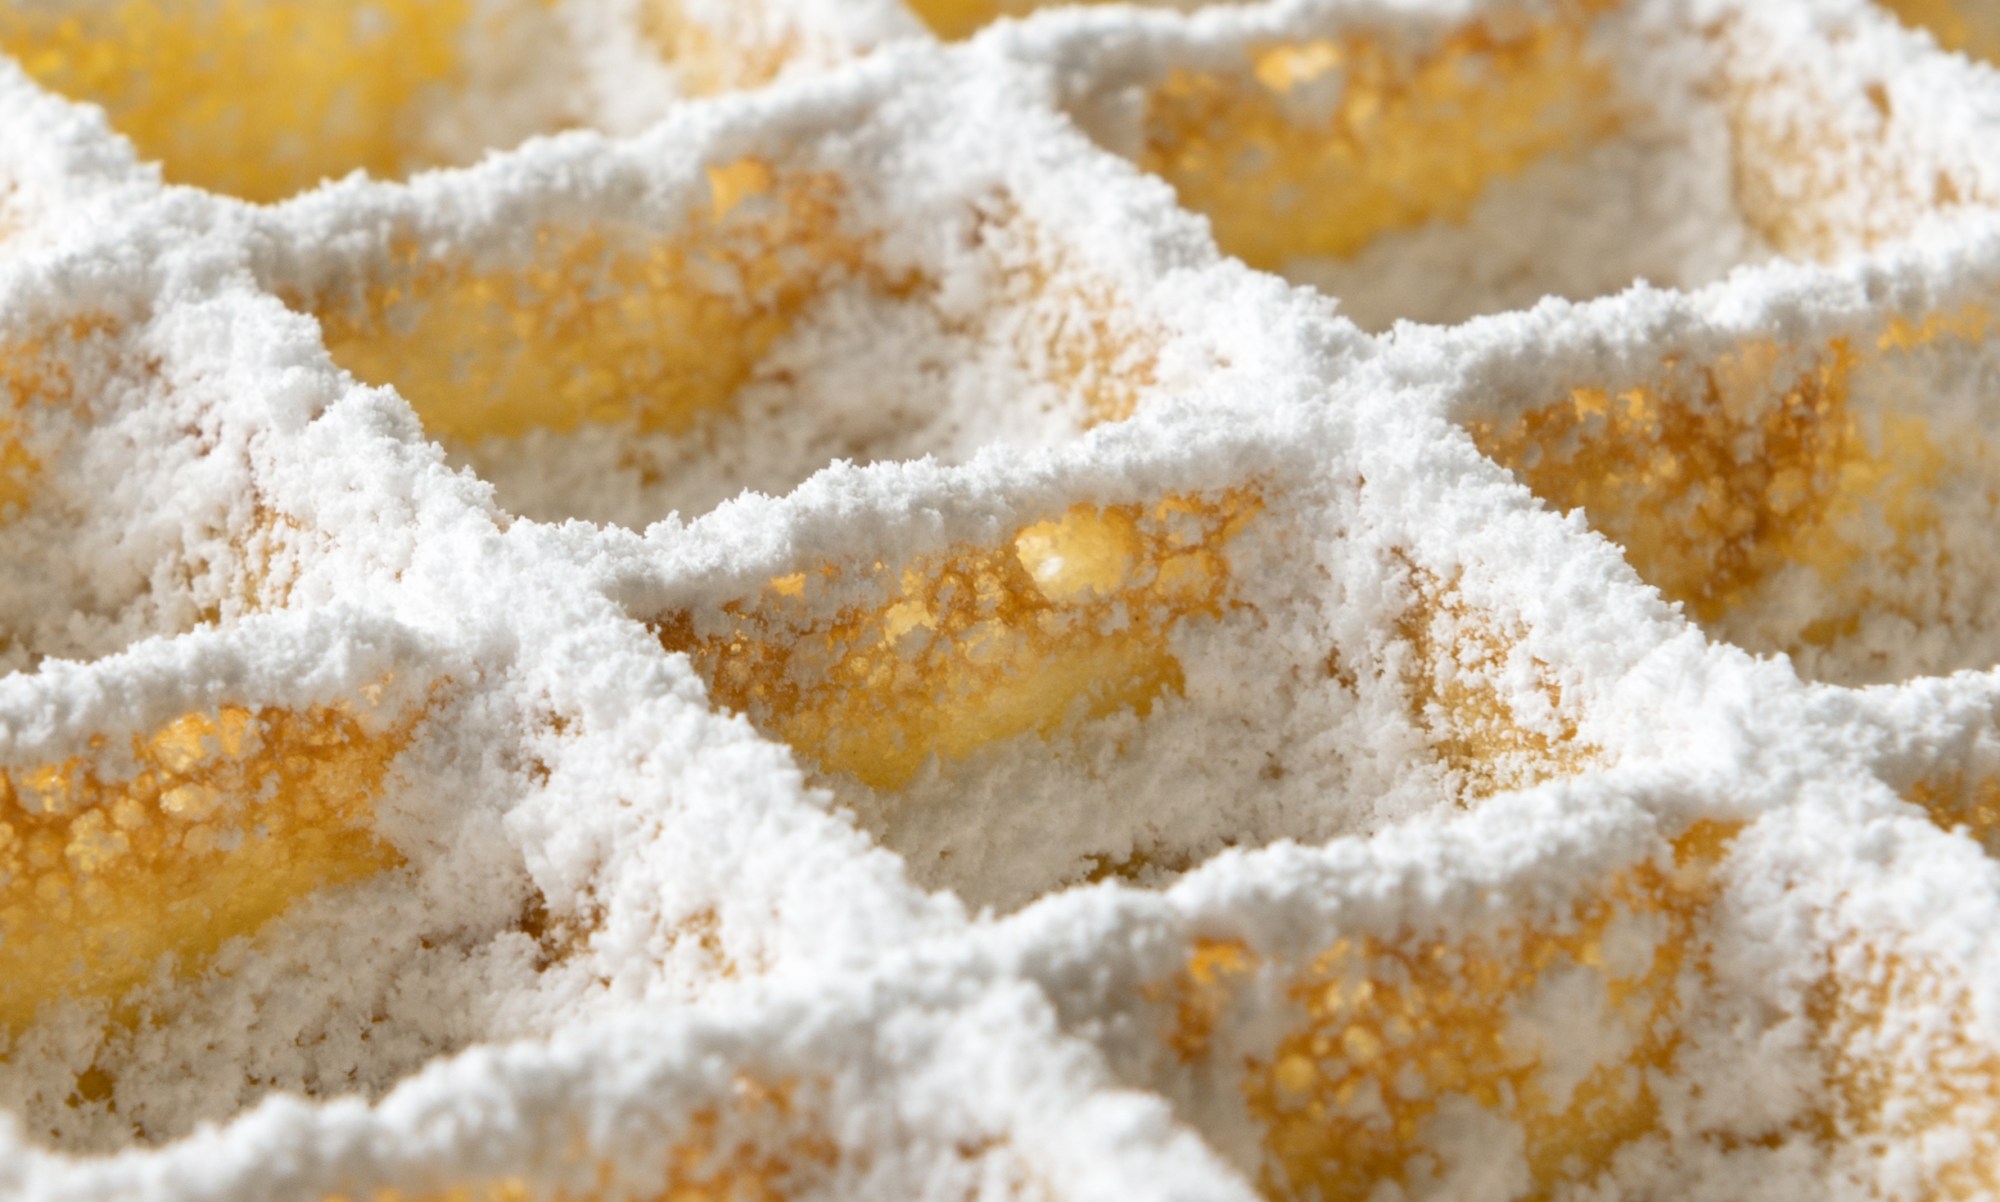
This is how you make waffles…
If you are not using these recipes you cannot be making the true traditional recipes
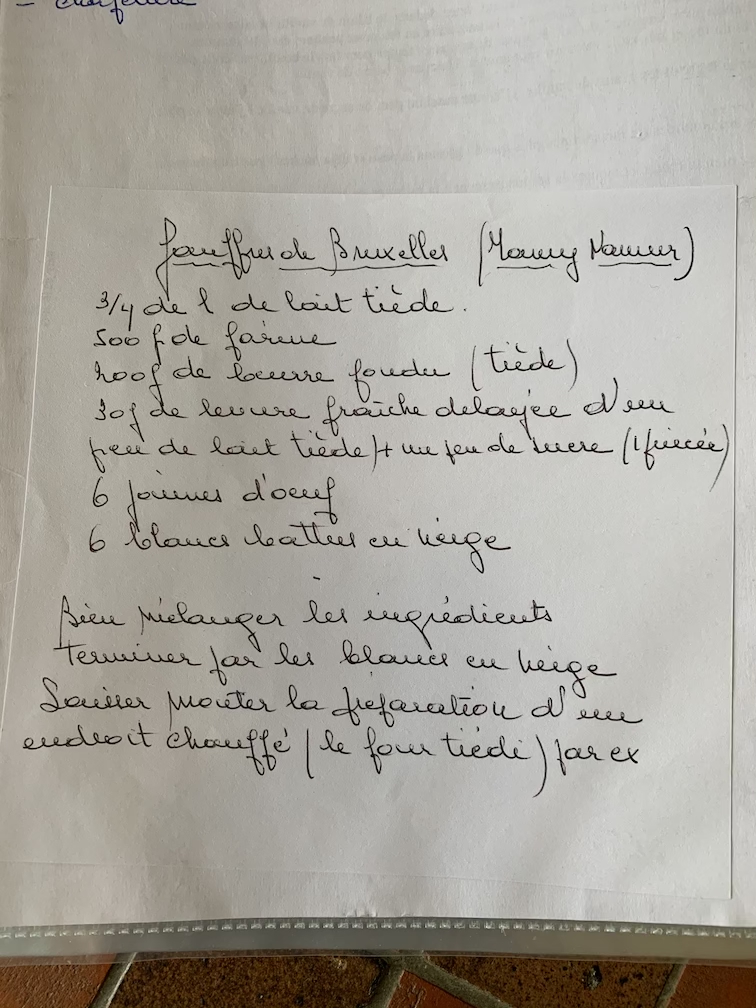
The Brussels ones
The Liege ones
Latest update !! July 2020 :
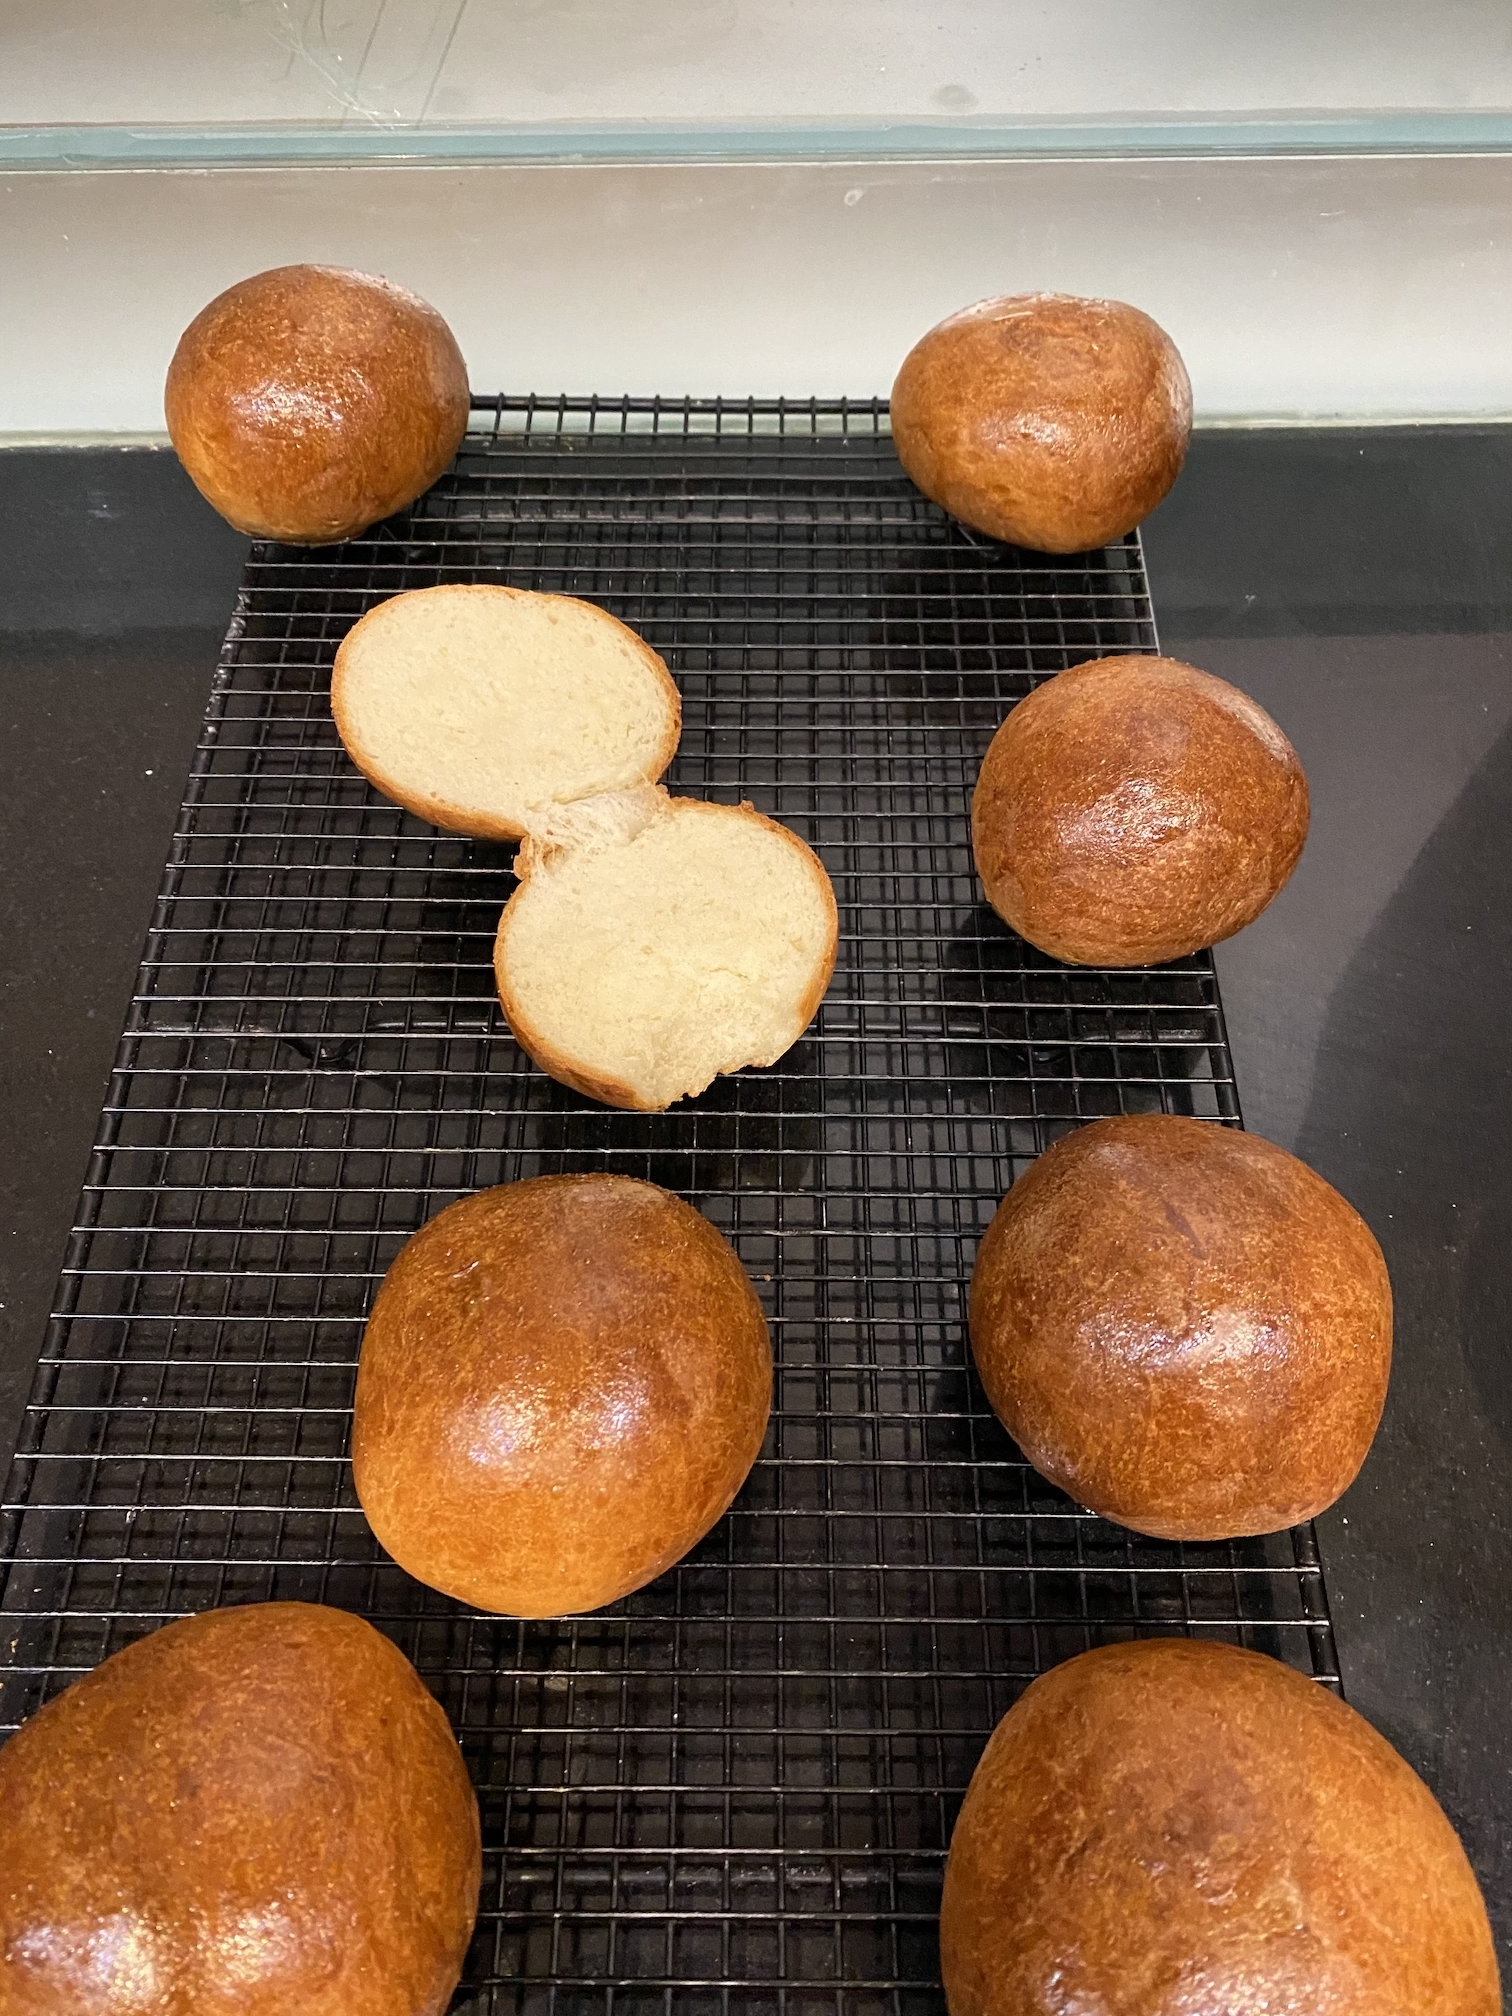
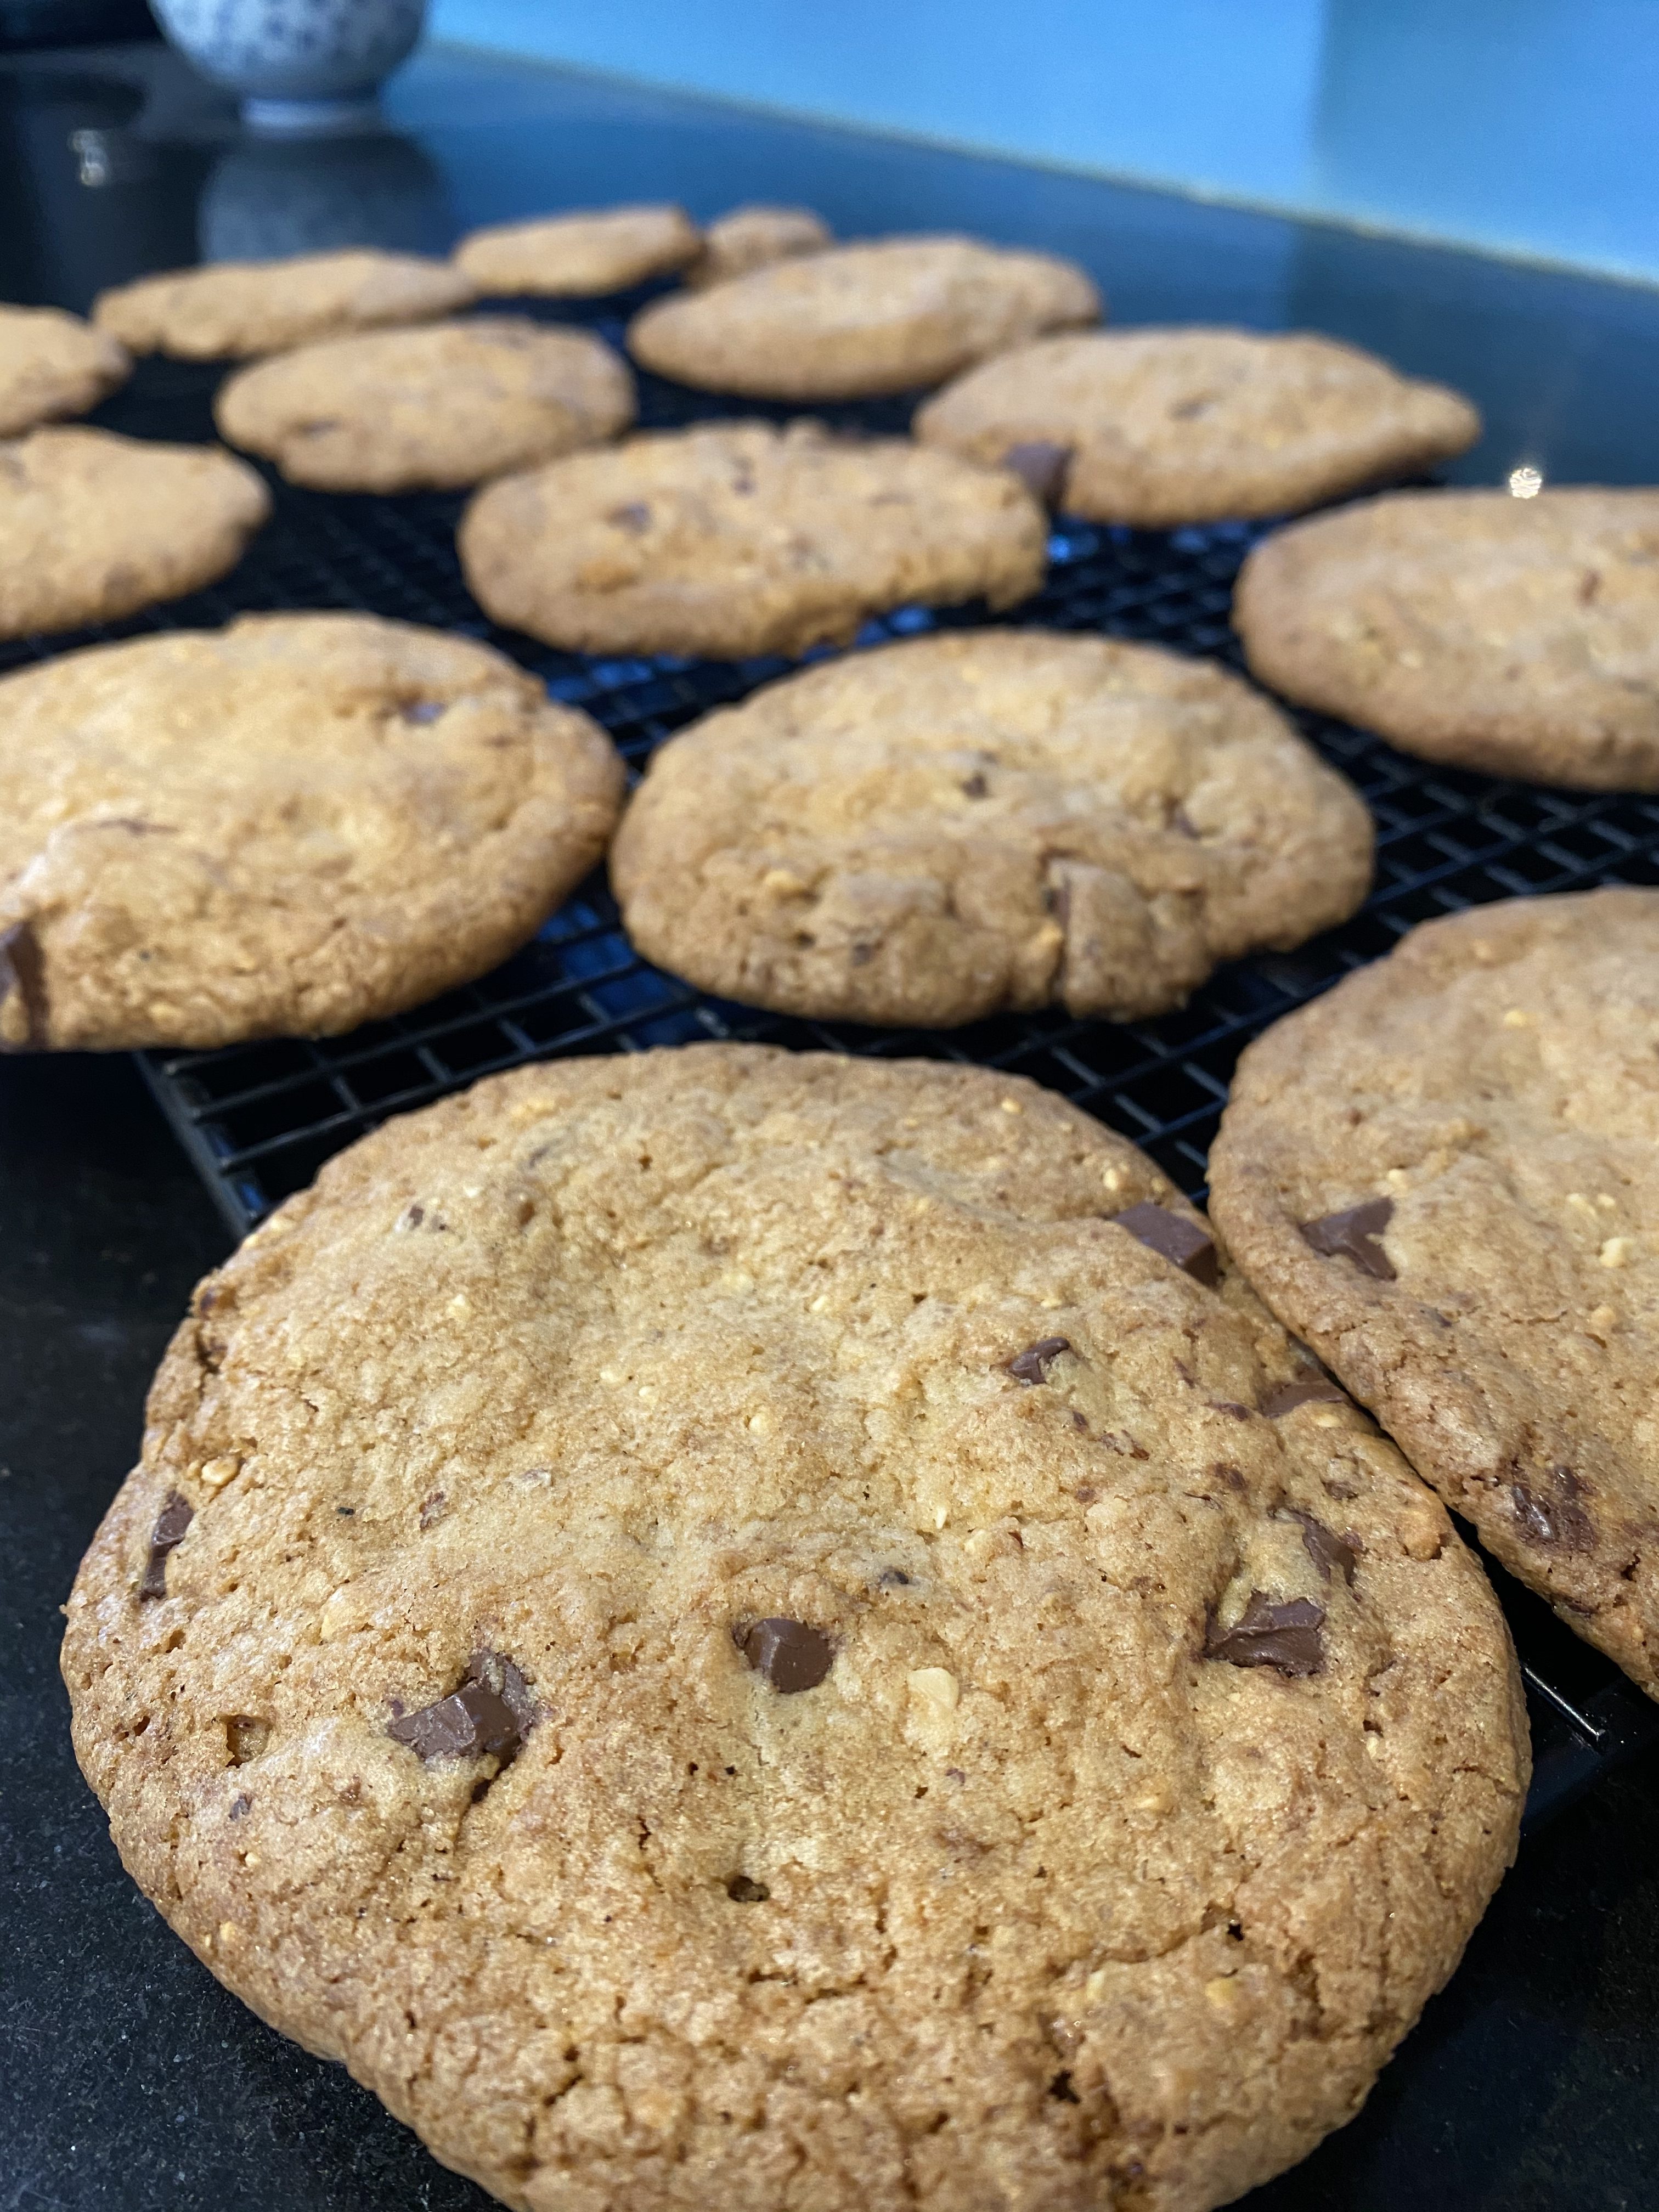
After many attempts at making the best Waffles in the world, I have settled on my “Mum’s” recipe….not a surprise really as it brings so many memories in my mind. These a light and crispy, exactly as I prefer them.
A picture of the recipe is below but I tend to make a smaller batch at week-ends and for reference wanted to provide the quantities of the ingredients on my blog.
Ingredients:
- 3 eggs yokes
- 3 egg whites, hard peaks. (3 to 4 minutes high speed)
- 250g Flour. I use the Canadian Strong white flour
- 100g Melted Butter (1-minute microwave but with a cover to avoid splashes!)
- 375ml warm Milk (1minute in the microwave)
- 6g of dry yeast diluted in a bit of warm water
Mix all ingredients until smooth mixture, add the milk slowly so that you do not make lumps in the dough, leave the mixture to rise for at least one hour.
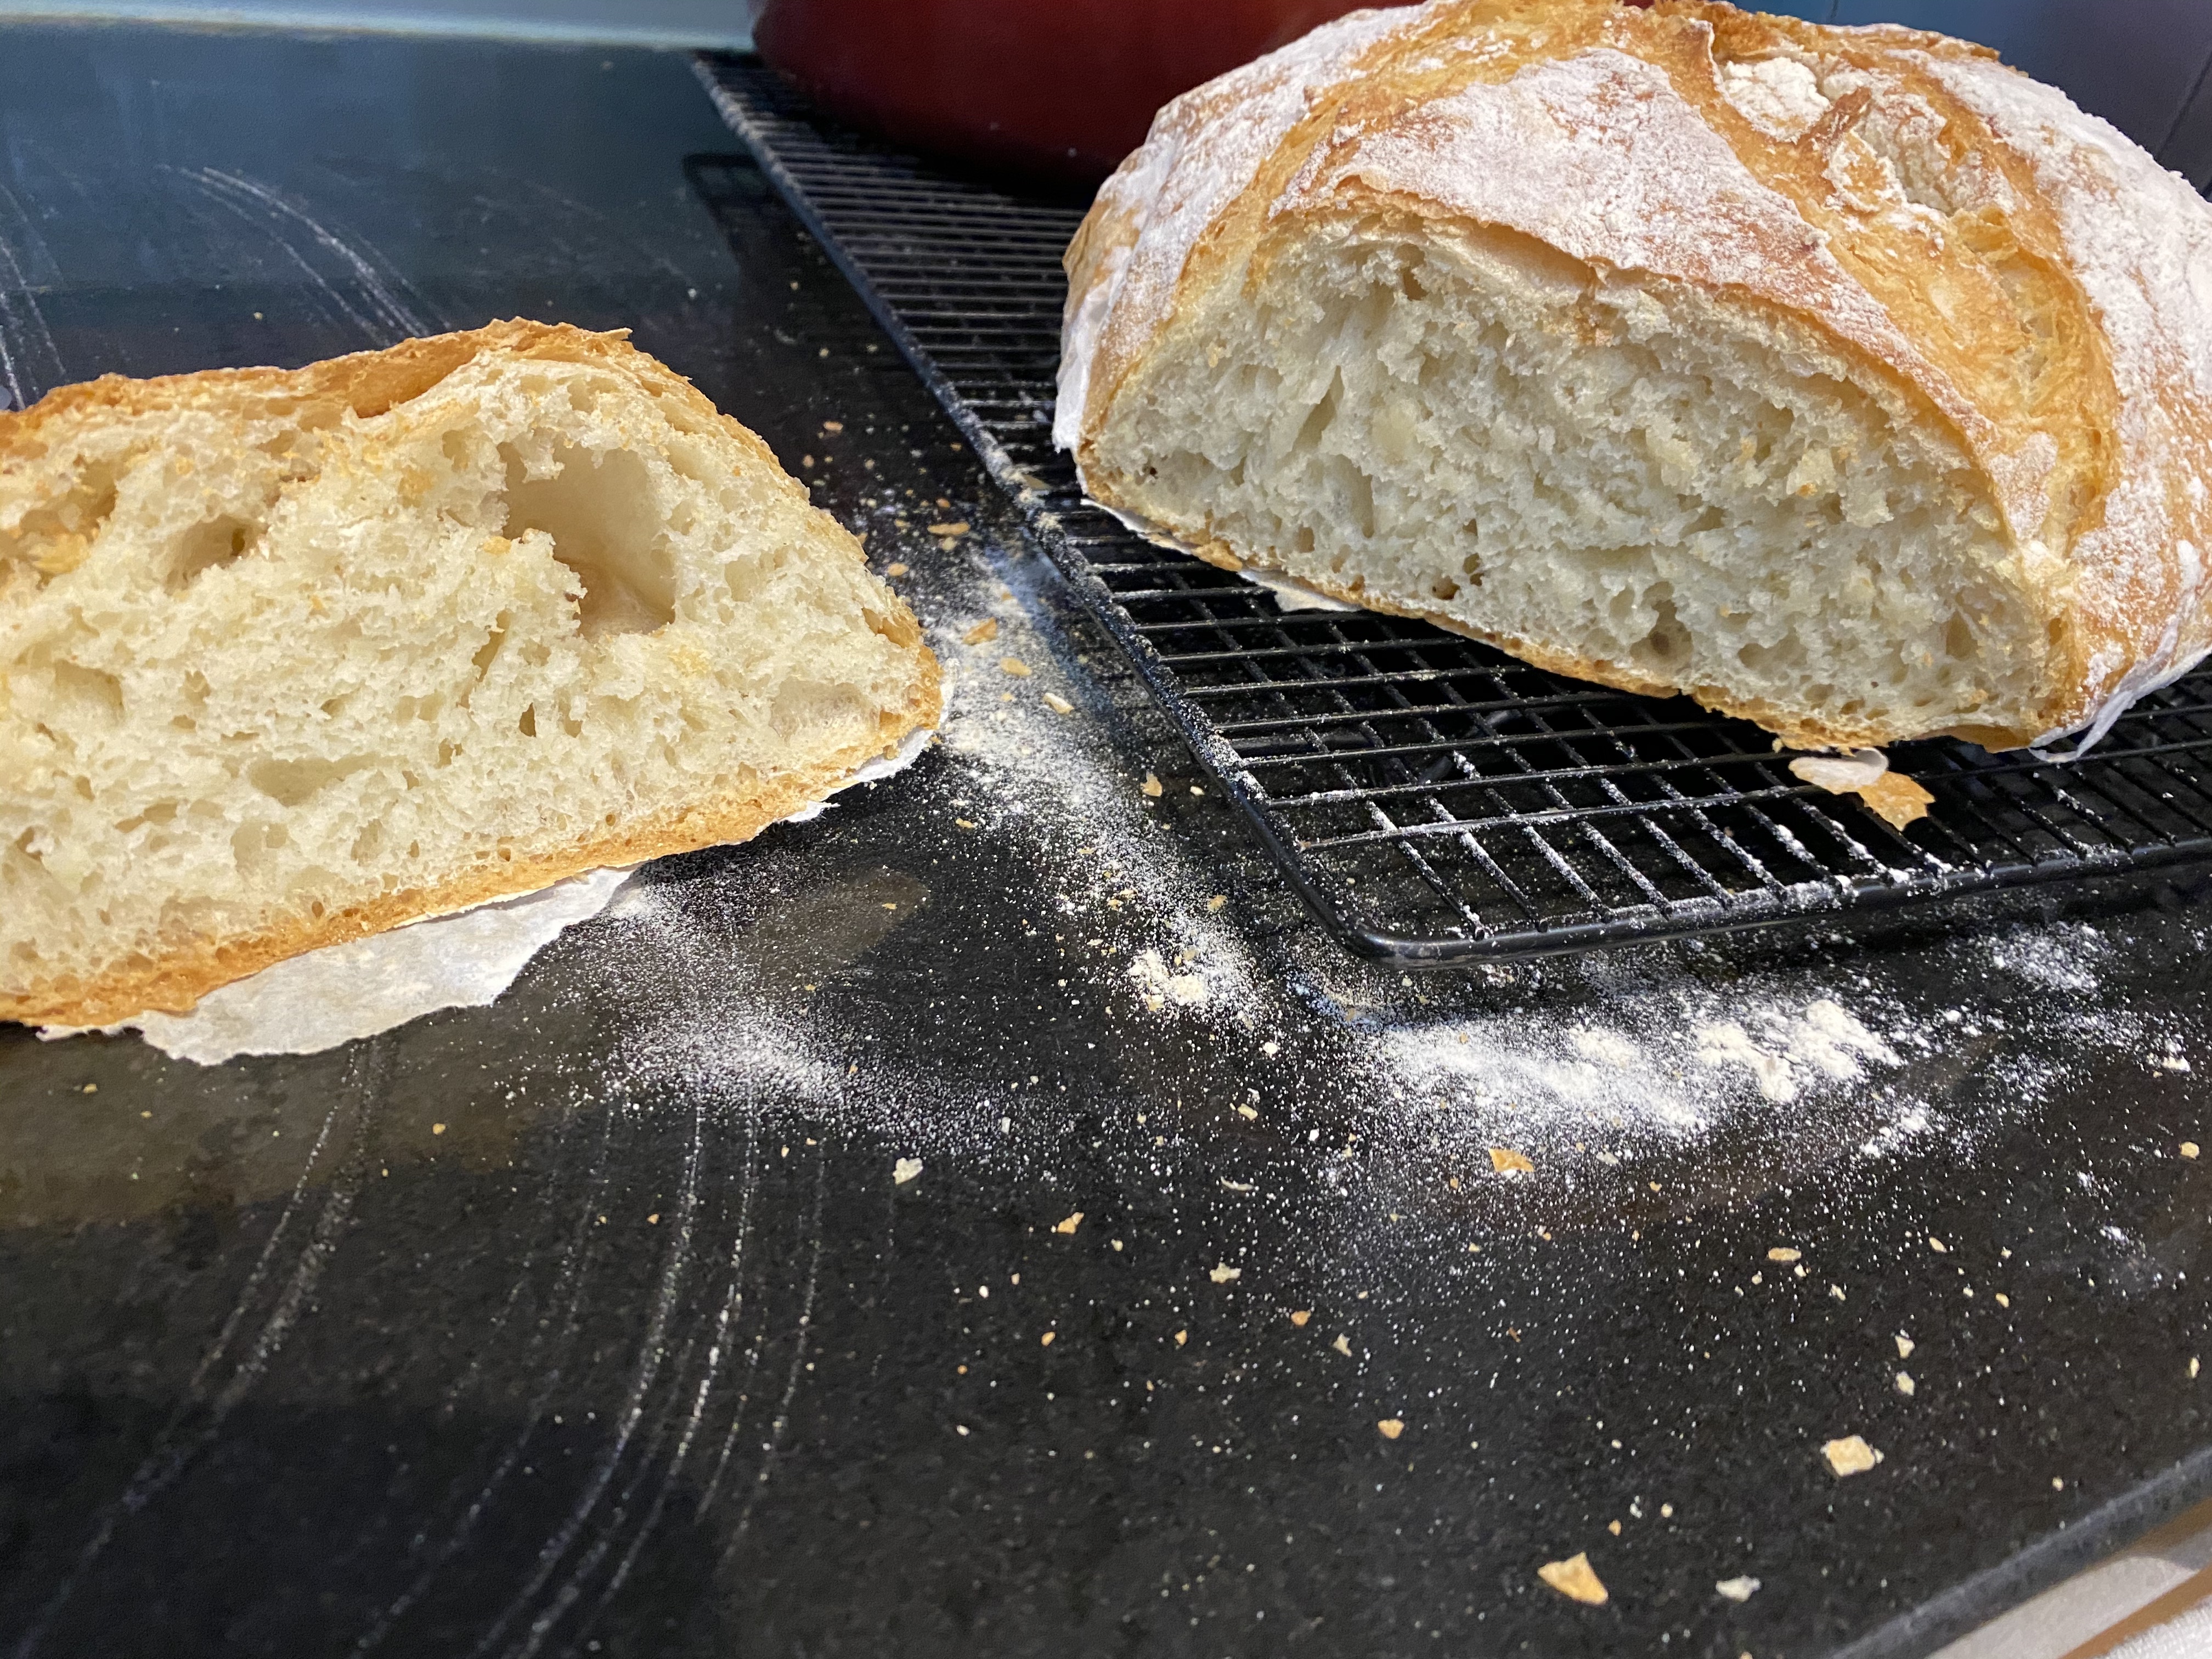
Voila, the best Waffles ever!
Below is the quick version which does not require a rise period.
However, there is salvation for a quick substitute version for when you simply do not care of having the true recipe and simply want Waffles quickly!
Ingredients (probably 12 waffles):
- 6 eggs
- 500g Flour
- 100g Maizena (Corn Flour)
- 200g Butter
- 500ml Milk
- 400ml / 500ml Cold Water (depending on how light you want the waffles)
- 4 packs of Vanilla Sugar
- 2 packs of Levure Chimique (Baking Powder)
- 2 pinches of Salt
How to Make :
Melt all the butter in a pan and let boil for a few minutes. (Get a blonde butter but not brown)
Put all the dry ingredients in a large bowl. Make a well in the middle.
Incorporate the milk and water into the dry ingredients by mixing with a fork.
Beat all the eggs in a separate bowl. Then incorporate into the above mixture.
Finally, add the melted butter into the mixture. Make sure the butter is not too hot so that it does not cook the eggs.
Voila! The mixture is ready to be used with your waffle maker.
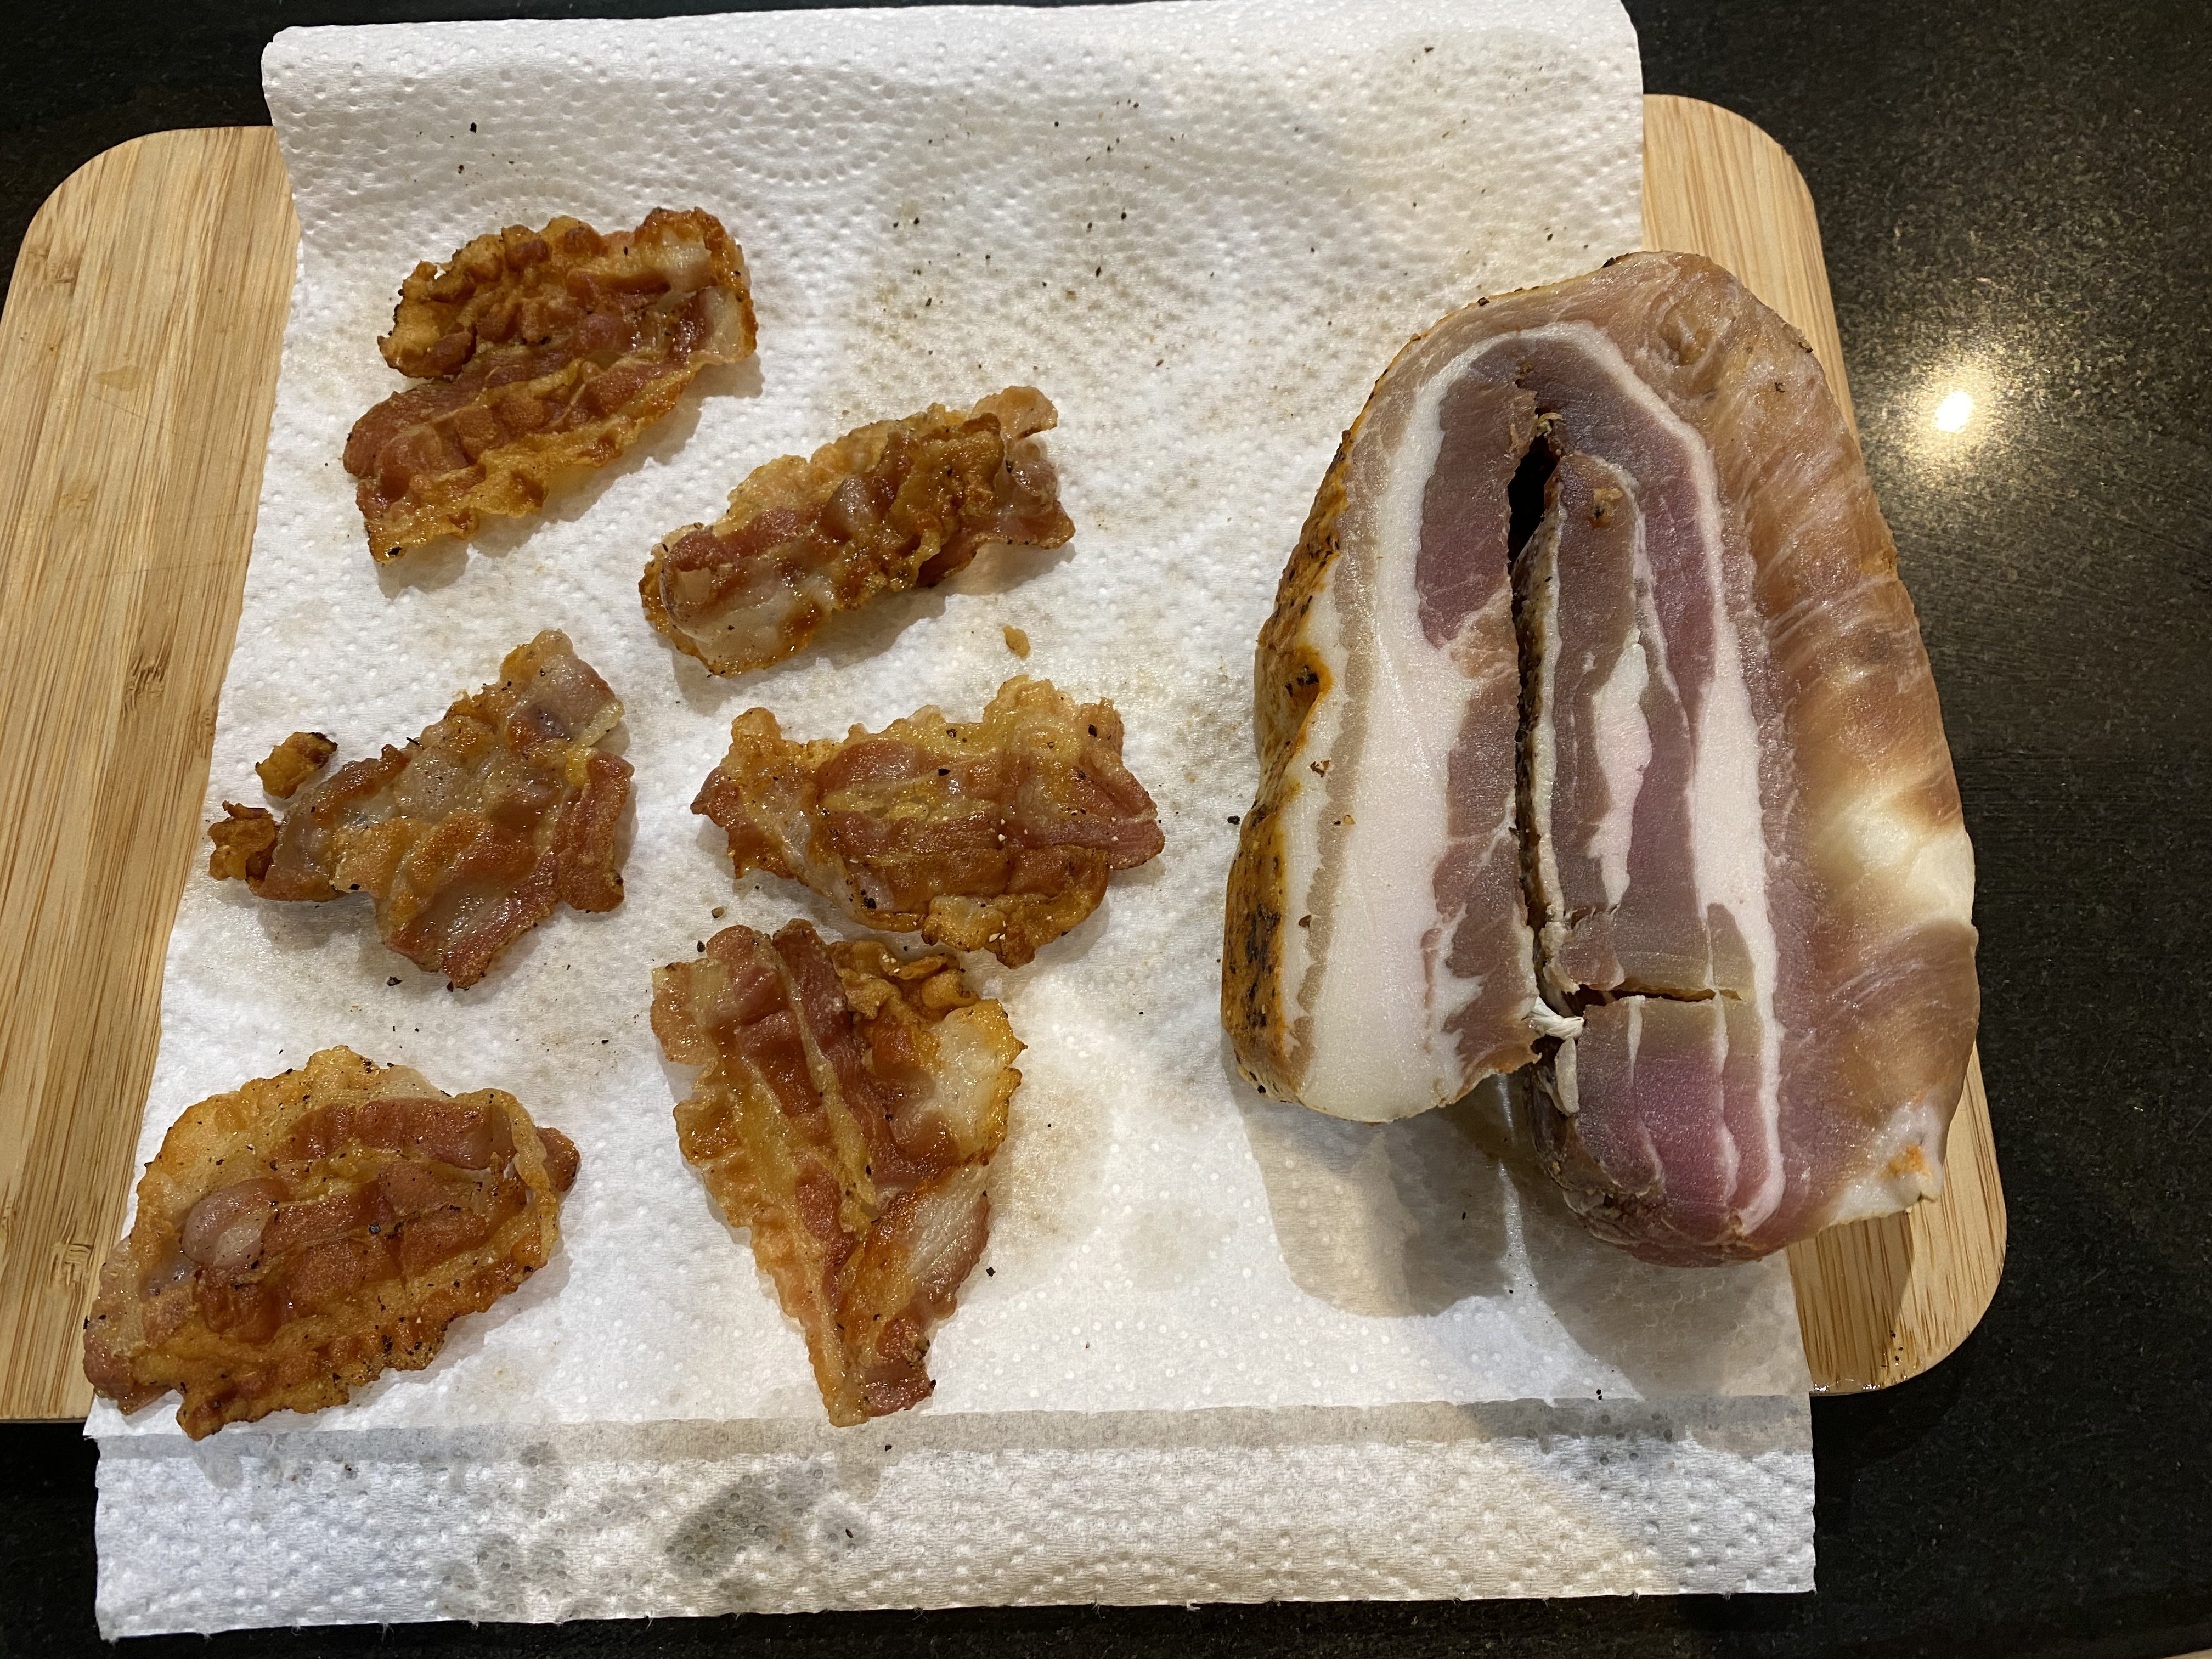
Have been experimenting with this recipe and more water makes the waffles more crispy and light. I want to try with fewer eggs and also try with more sugar or cassonade sugar. I also want to try with splitting the yoke and whites and bringing the whites to soft peaks, etc…
Here is the perfect waffle maker…reassuringly expensive. Got this one for a few weeks now, and definitely the best I have ever used.
[Update 1: Just been to my mum’s….and got the secret recipe from Grandma…]
Update 2, following a visit to family in Belgium, got this recipe for the Liege Waffles. Need to try this one urgently in 2020!
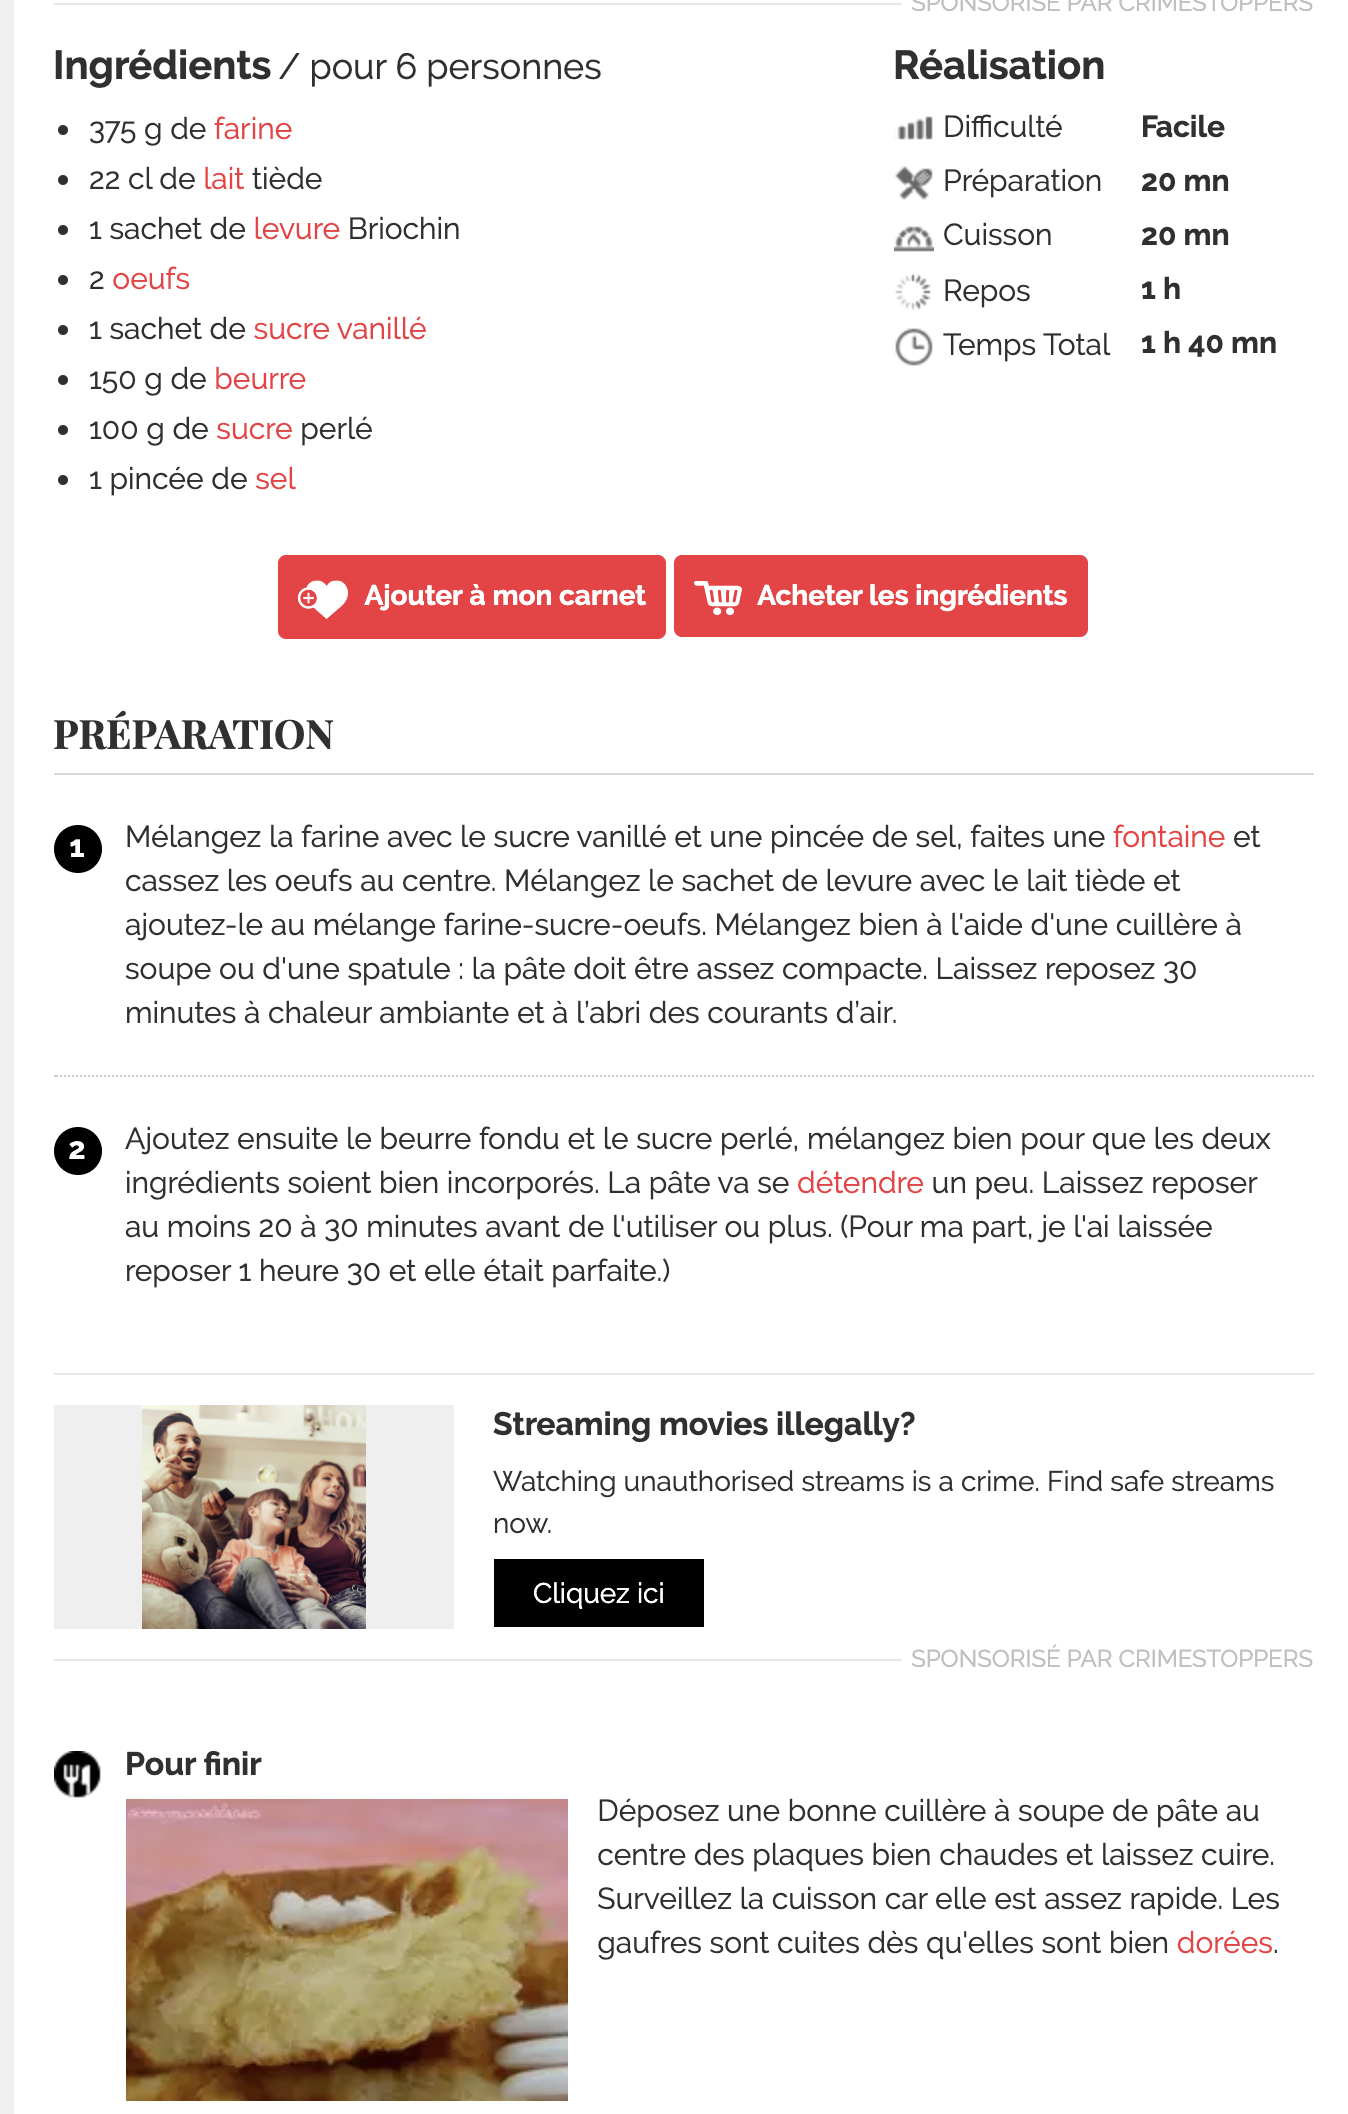
Ingredients updated after a few tries :
- 2 eggs
- 375g Flour
- 150g Butter / Melted
- 100g of “Perles de Sucre” (large sugar)
- 220ml Warm Milk
- 2 packs of Vanilla Sugar (maybe even 3)
- 1 pinch of Salt
How to make :
- Put Flour, Salt and Vanilla Sugar in a bowl, make a well
- Add eggs
- Add yeast diluted in milk
- Mix for a few minutes
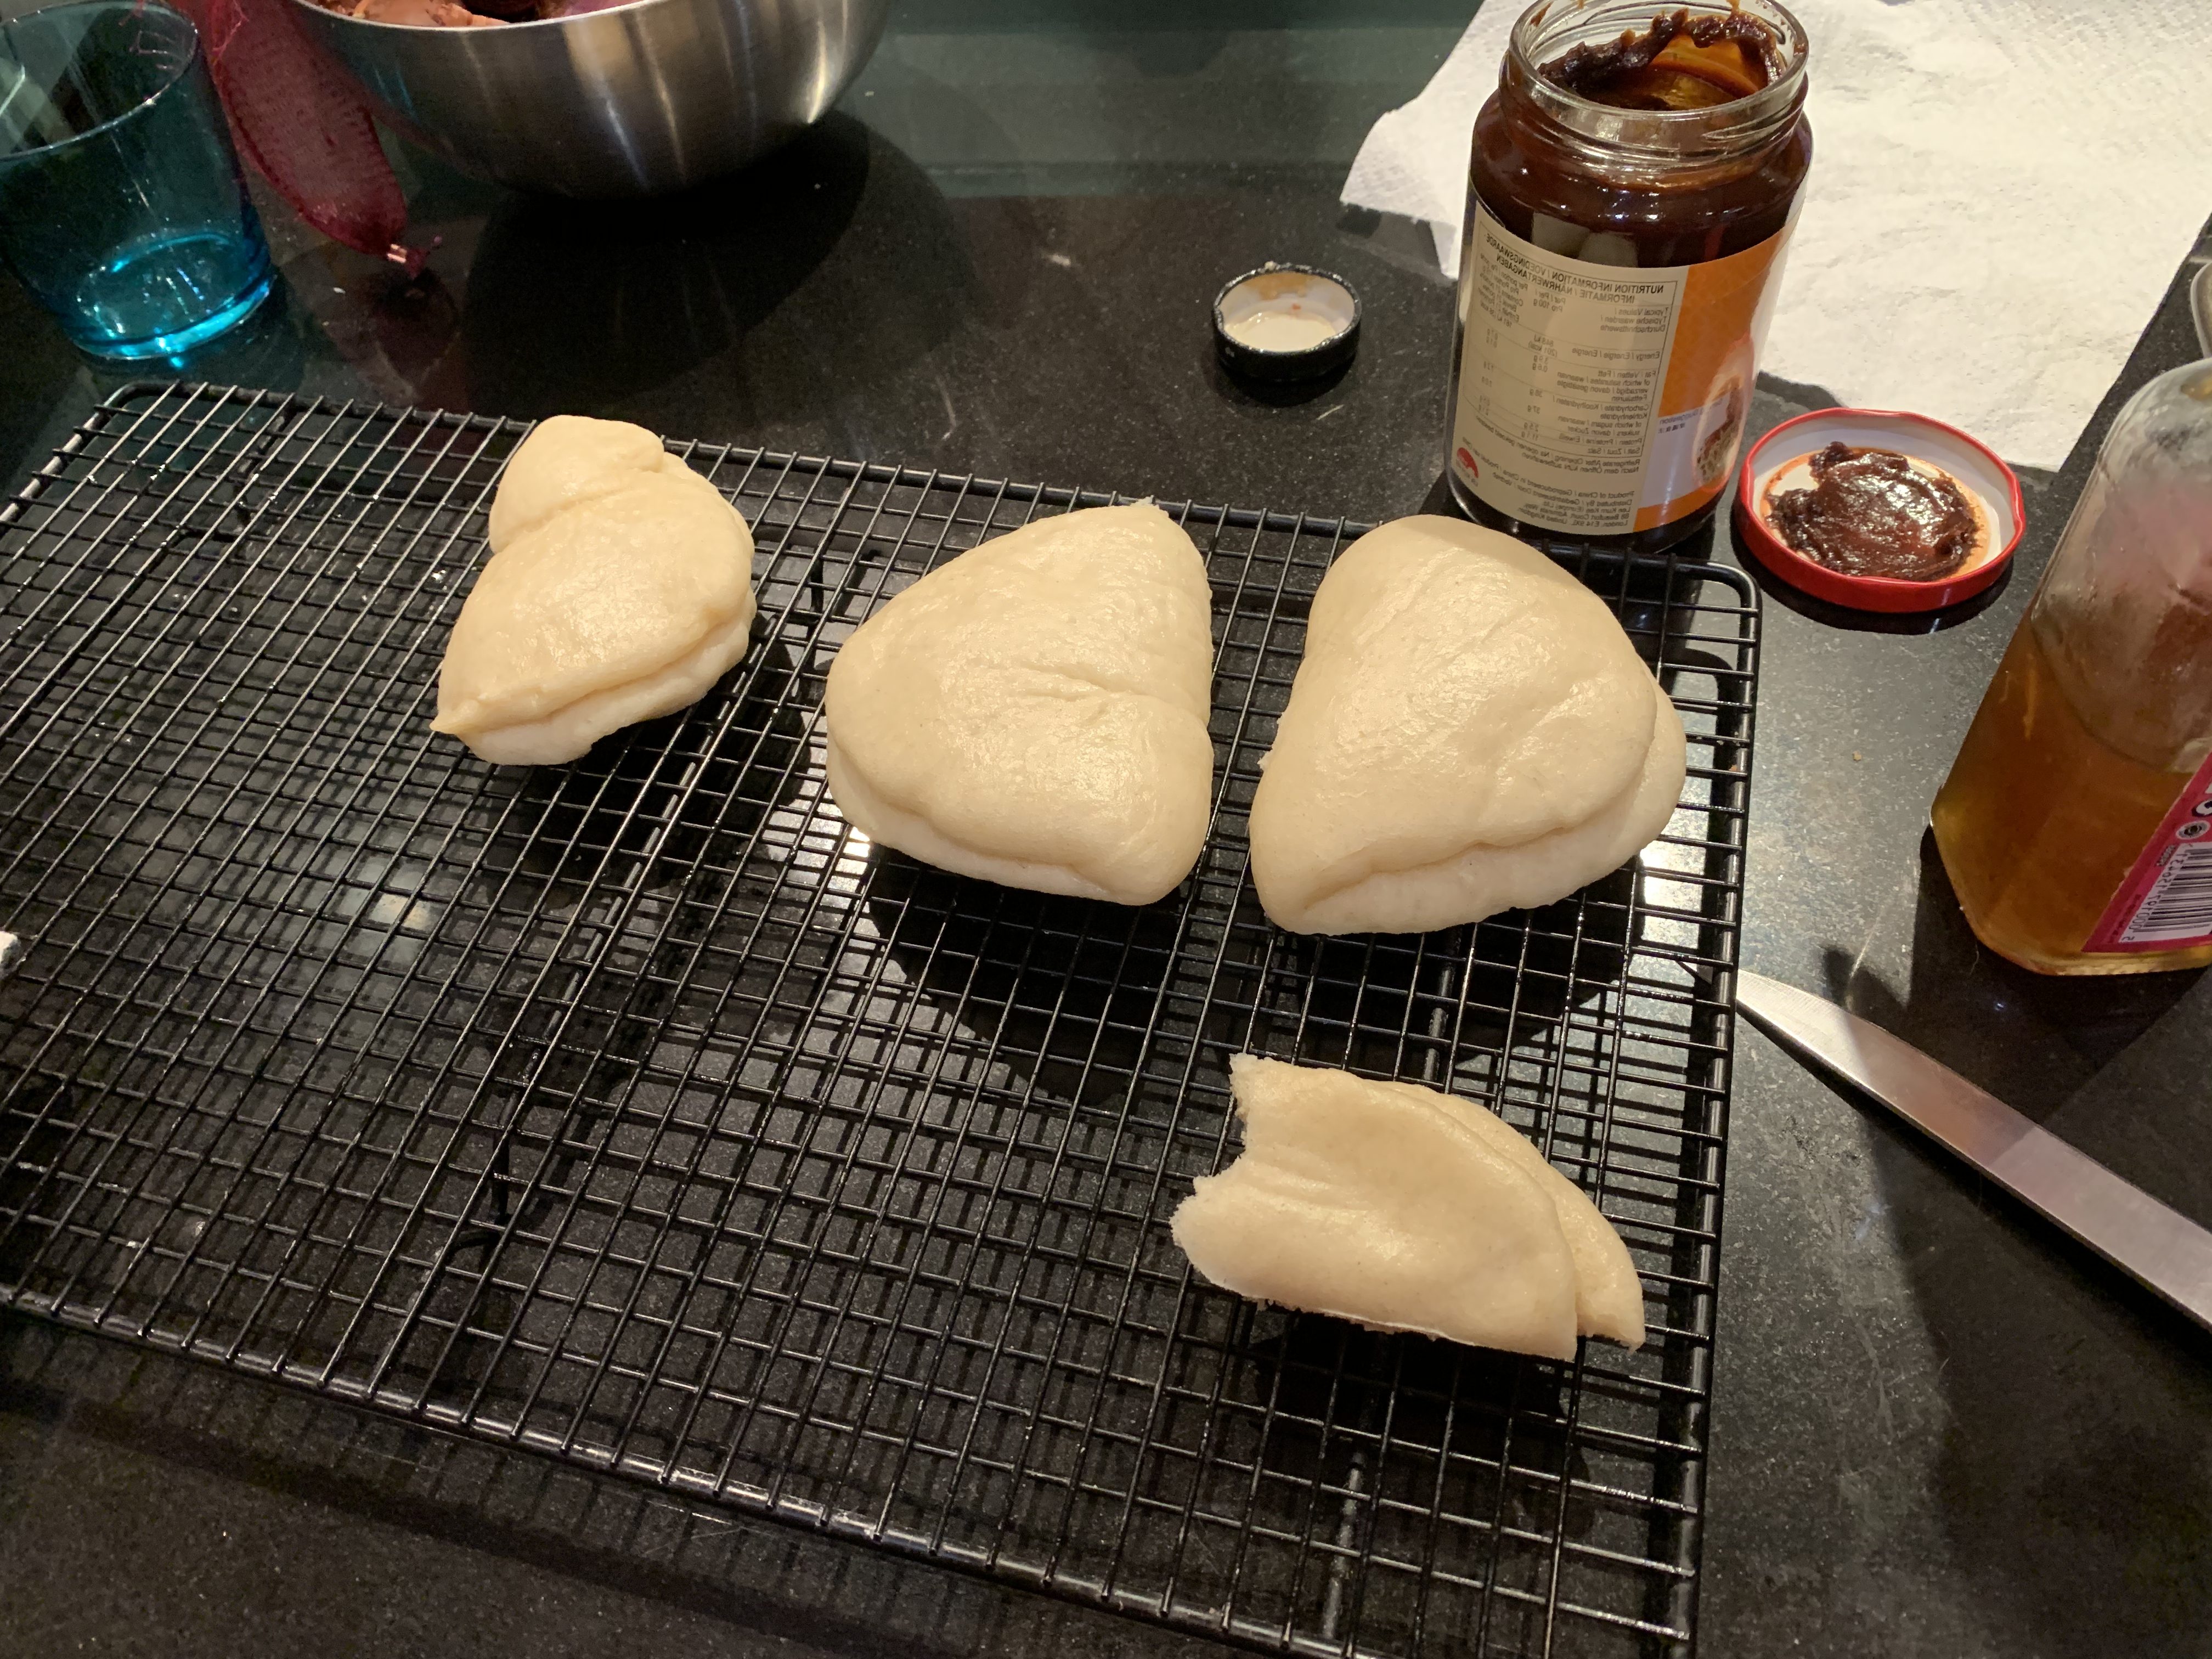
- Keep above dough for 30 minutes to rise a bit
- Add melted butter and sugar pearls
- Mix a bit a let rise for 1h (or overnight in the fridge)
- Cook with the Waffle maker.
Original Recipe from Emmaelle below :
UPDATE 3 !!!! – Below is the recipe used by my cousins in Canada directly from “Colette Ansseau”, one of the daughters of the sister of my grandmother !….This is the grandmother that married the brother of her sister’s husband…;) All true!


 [Original Post was 18th Feb 2019]