This is actually a lot easier if you can source the raw ingredient from a quality source.
In particular, if you can buy a fresh de-nerved foie and have a temperature probe.
Ingredients :
- 1 Foie Gras (de-nerved)
- 2 Teaspoons of Salt
- 1/2 tsp of Madagascar Pepper
- 1/2 tsp of White Pepper
- 2 tbsp of Armagnac
- 1 Terrine for the cooking
How to Make :
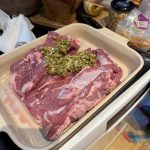
- Assuming you have a de-nerved Foie Gras (fresh, uncooked, but the veins have been removed already). Check my 2012 recipe if required. You can do this yourself.
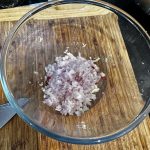
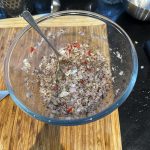
- Sprinkle the Salt and Pepper on all sides of the foie
- Pour the Armagnac
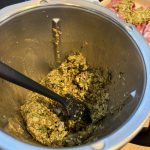
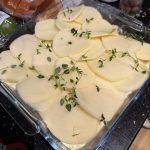
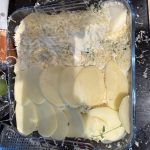
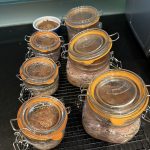
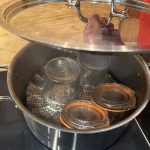
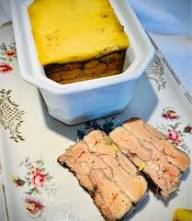
- Put the foie in the terrine and push well so there are no air spaces
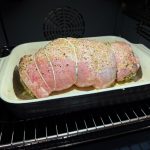
- Cook in the oven at 120 degrees. I use the top and bottom modes to keep it gentle. (Use a bain-marie if your oven is not very precise and you are worried that it would overcook)
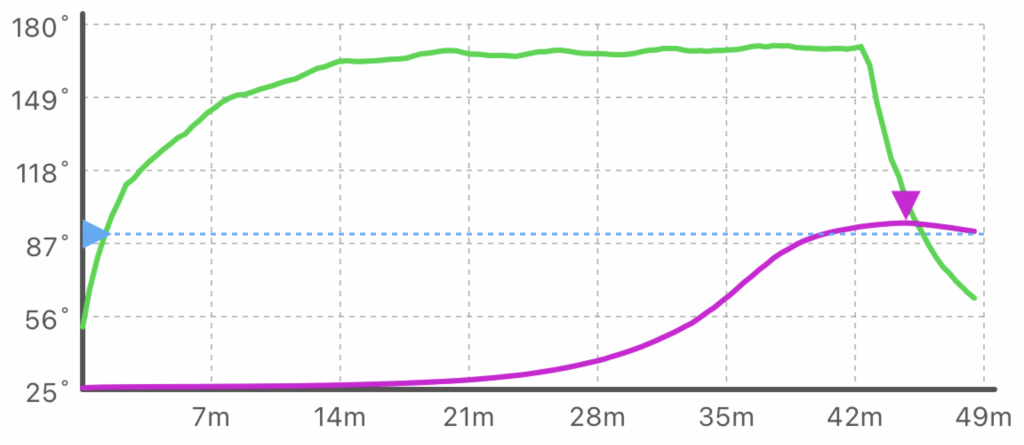
- Use a temperature probe to check the inside temperature of the foie.
- Cook until the centre of the foie reaches 48 degrees Celsius.
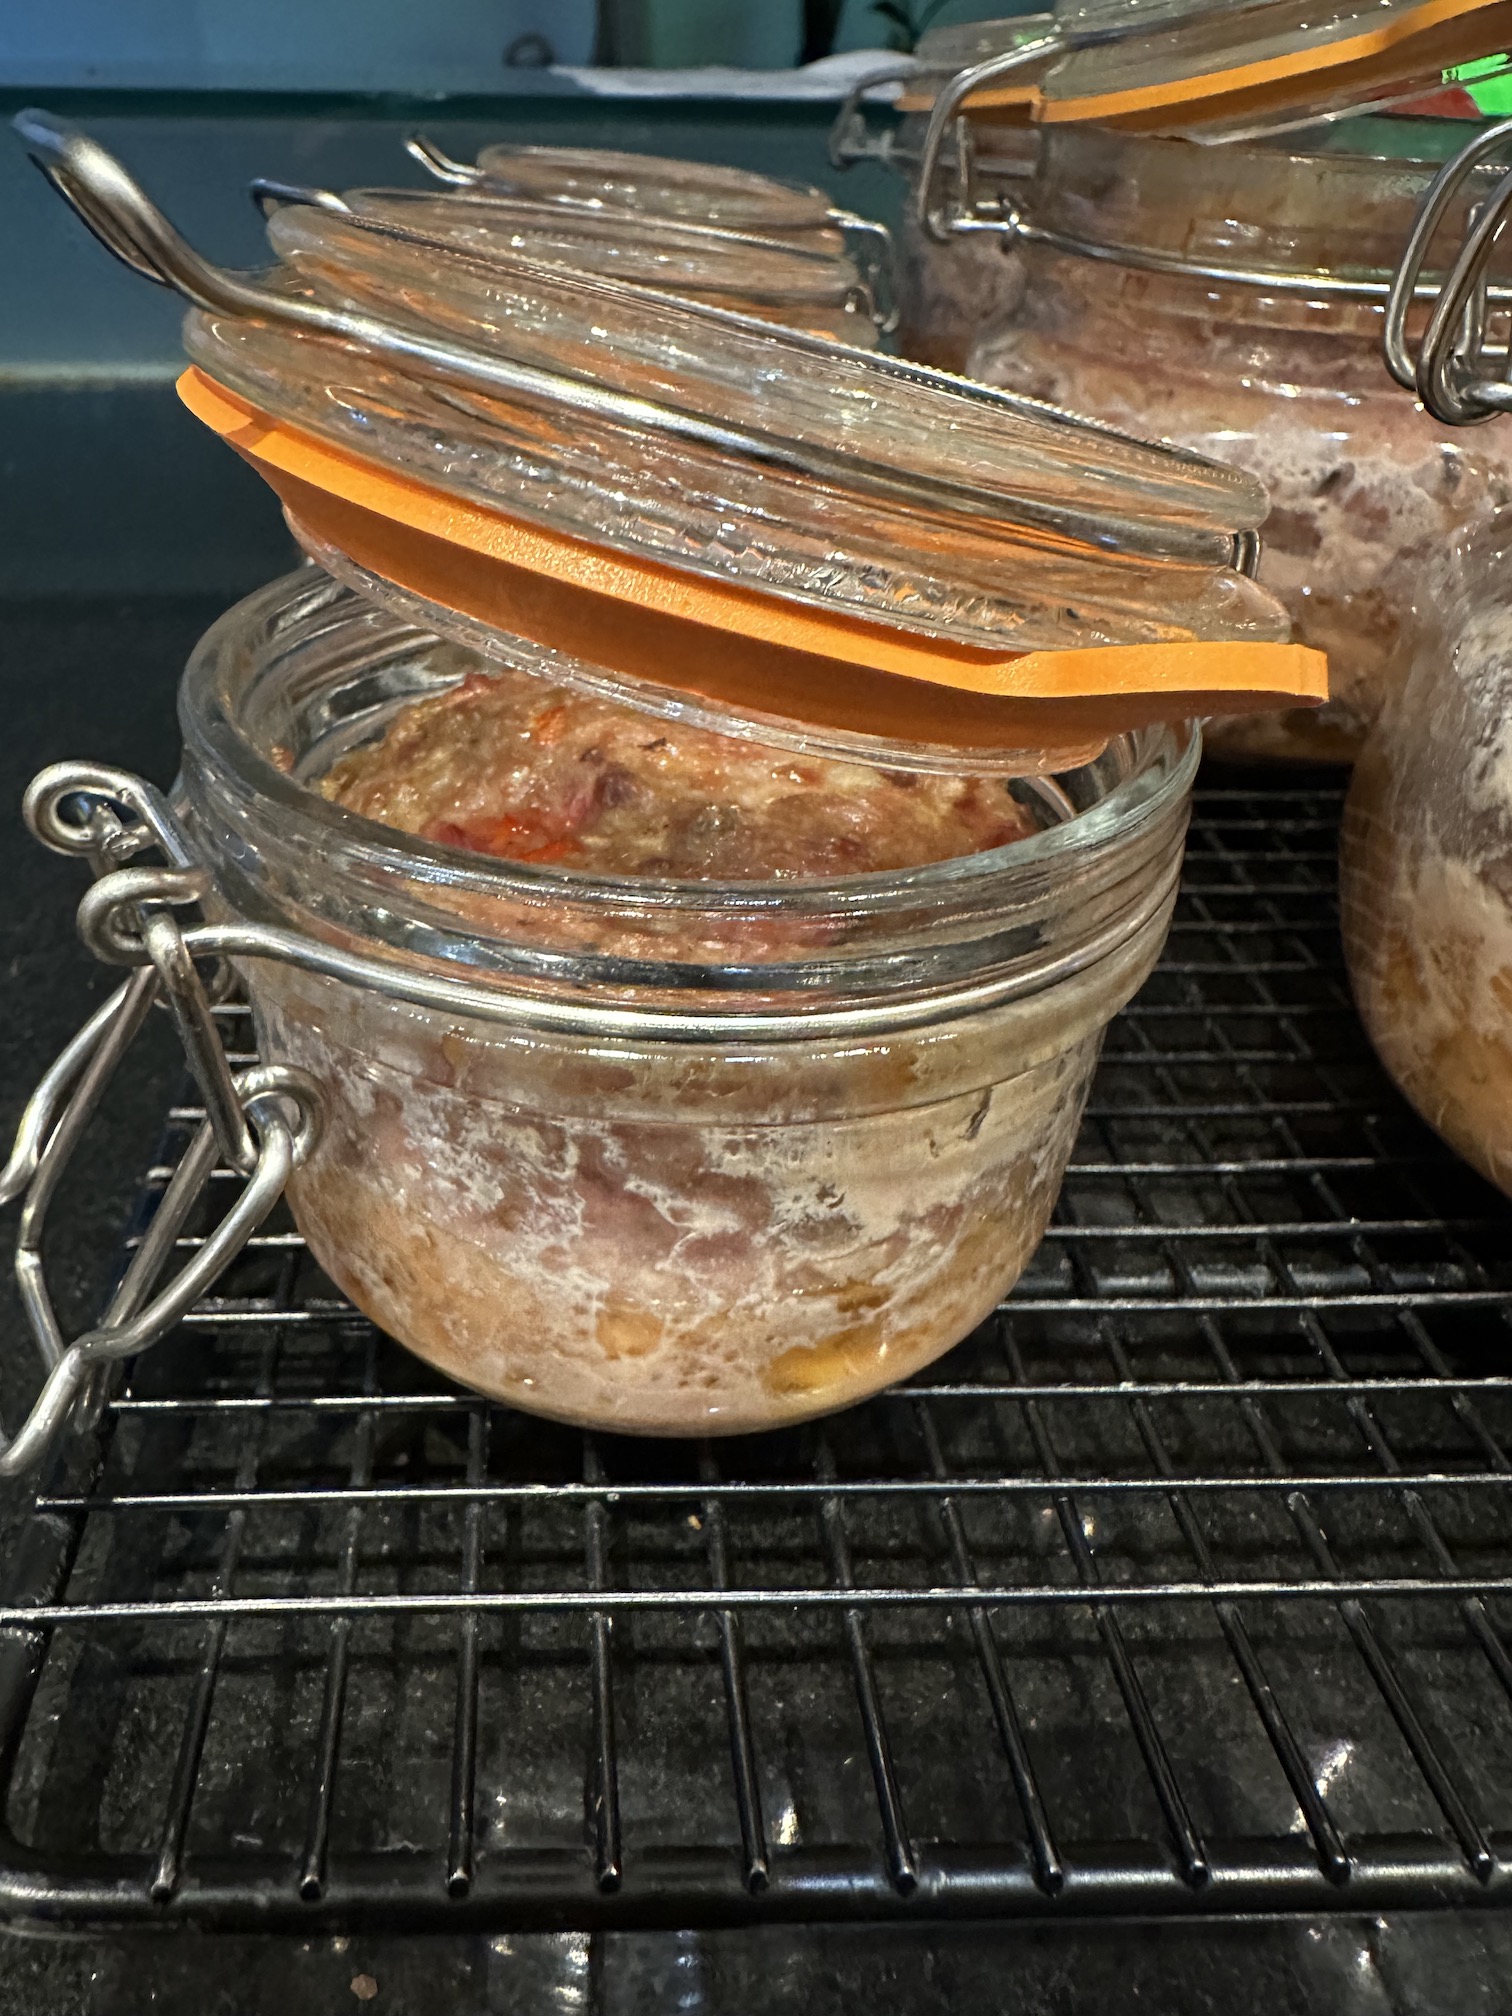
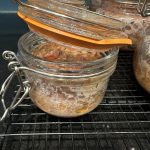
- Cool down with a weight on the top of the foie to ensure it fills the terrine properly.
- Put into the fridge for a few hours to firm up.
When serving to eat, take the foie gras out of the fridge 30 minutes beforehand so it can be sliced more easily.
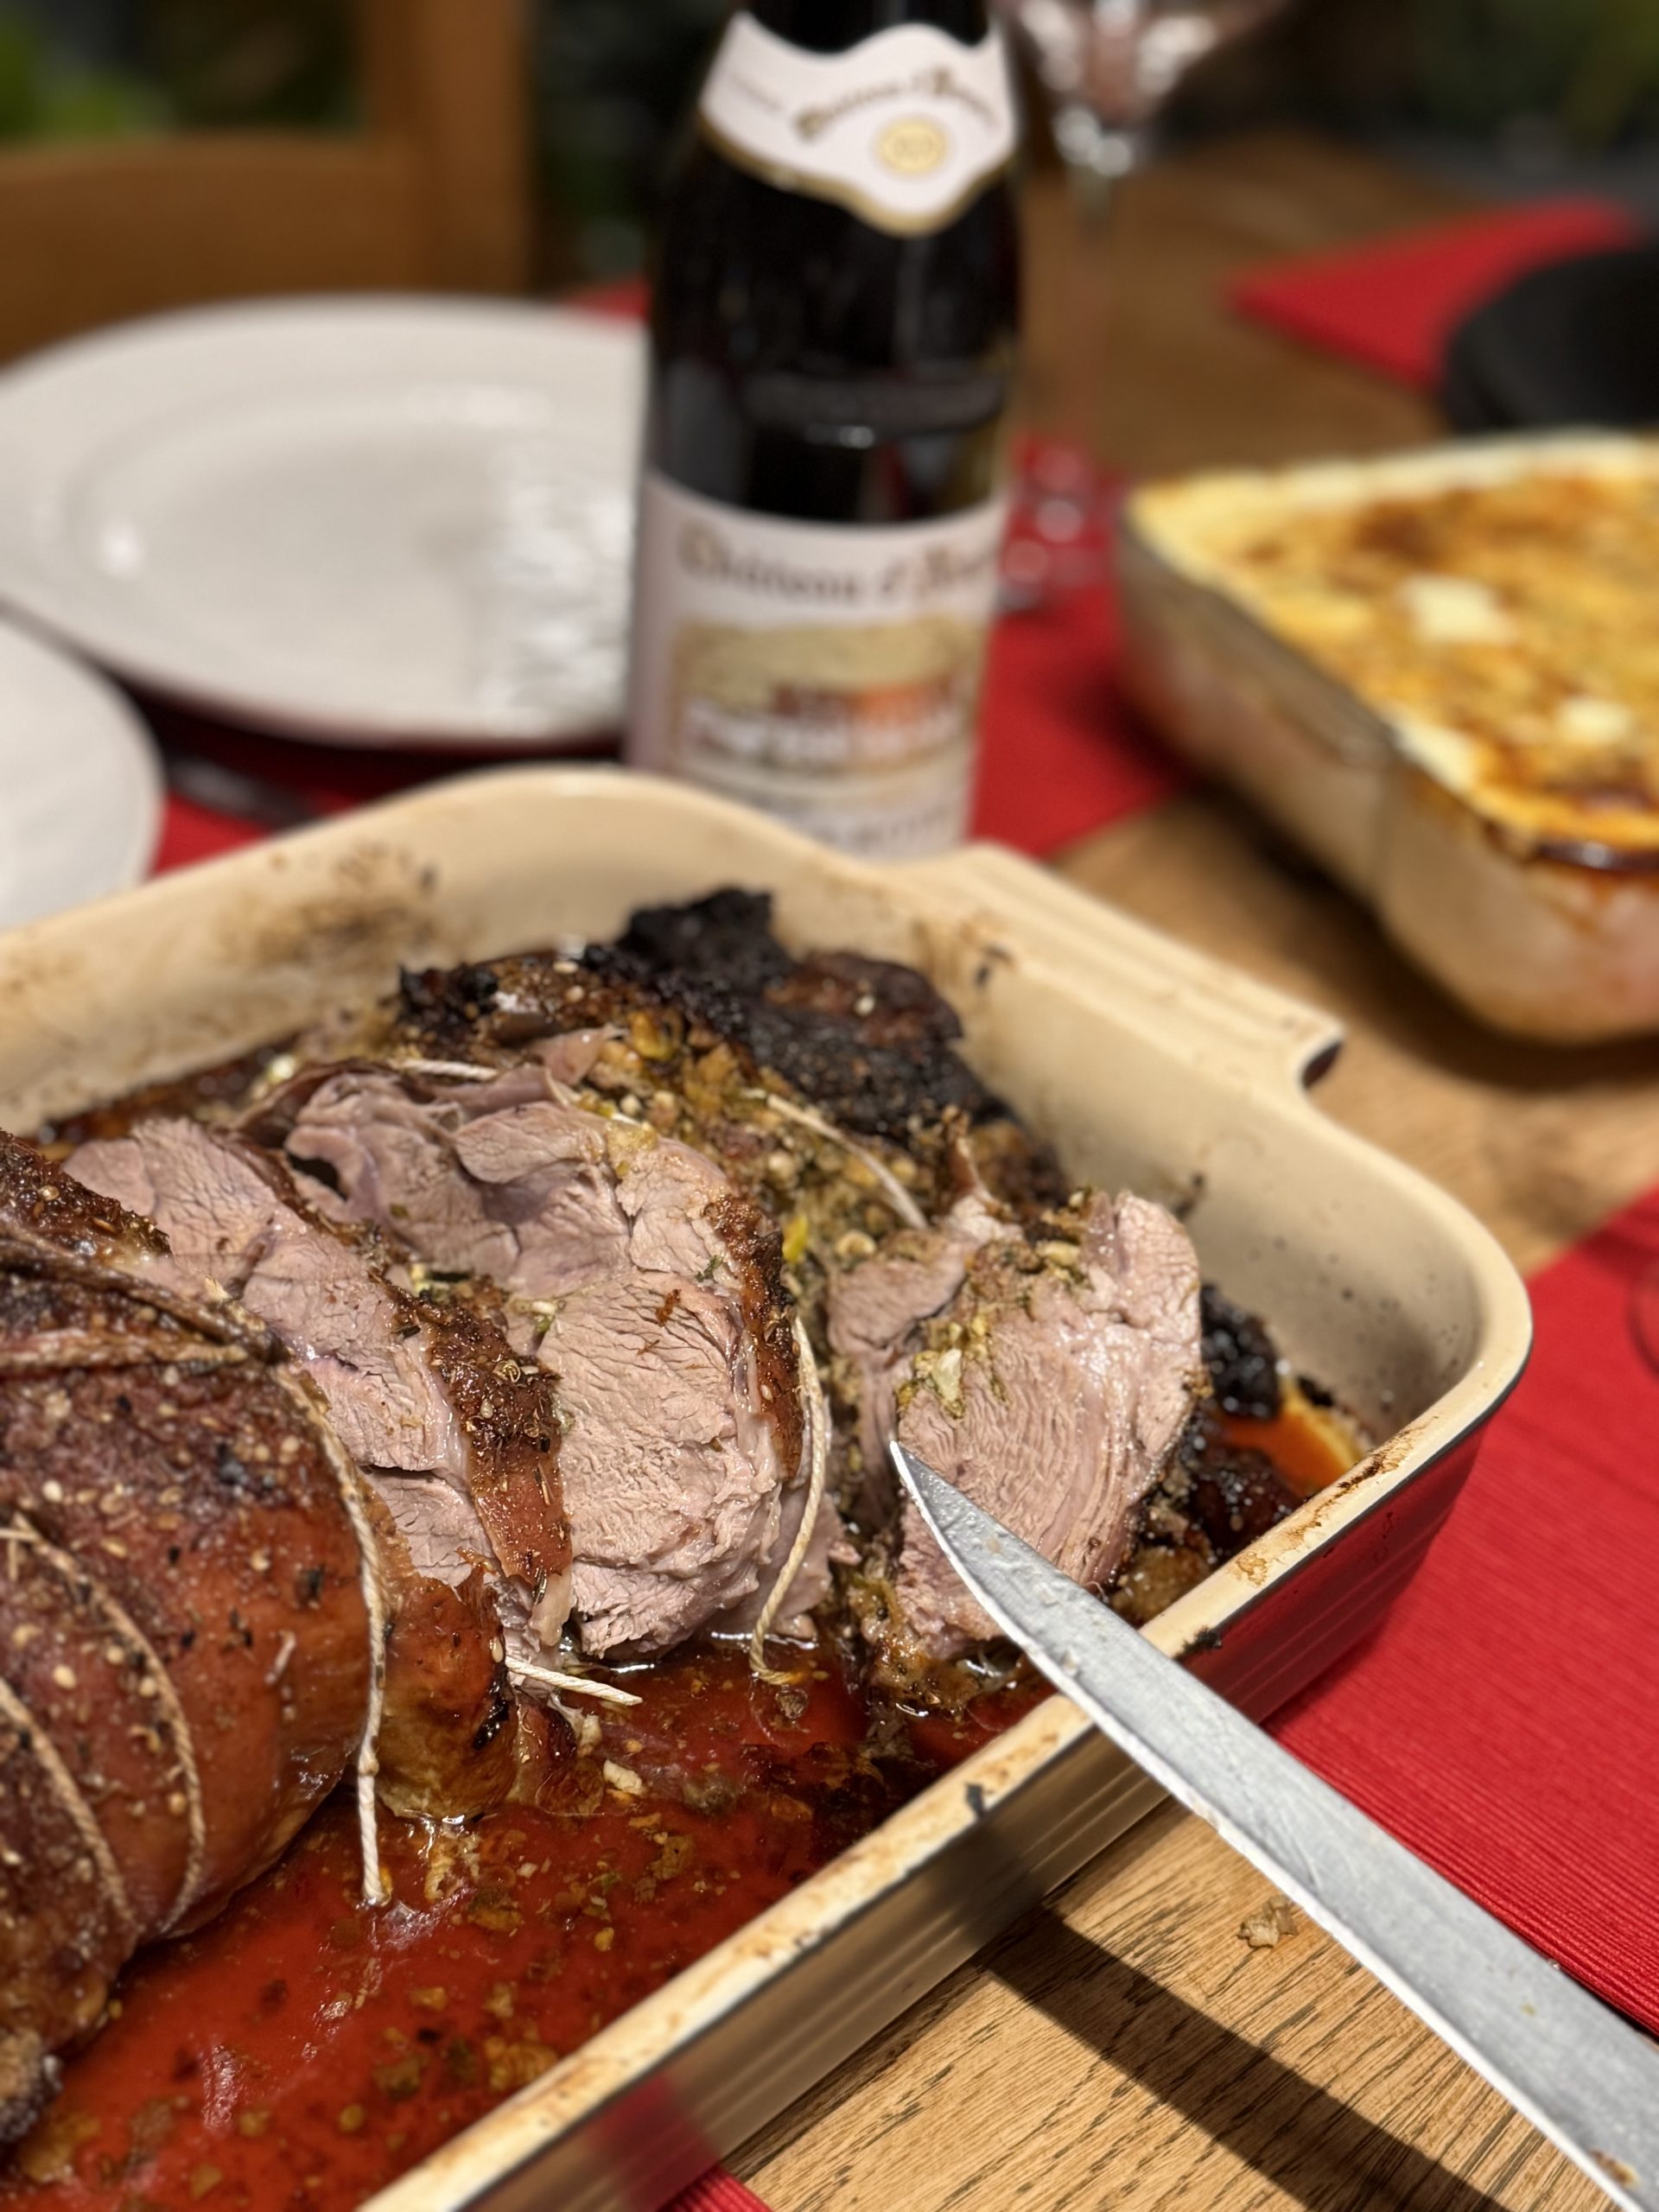
Serve with bread and a sweet wine like a Montbazillac or a Sauterne.