Over the last few weeks, I got myself involved in trying to help the NHS to cope with the Corona Virus outbreak. It feels a bit more practical than just the clapping on Thursdays. There is nothing more satisfying than a few smiles and a picture of your stuff being used on the front lines.
It all started with a plea from the NHS staff that protective equipment was not available. It started with shields then gowns. Now, straps for the masks.
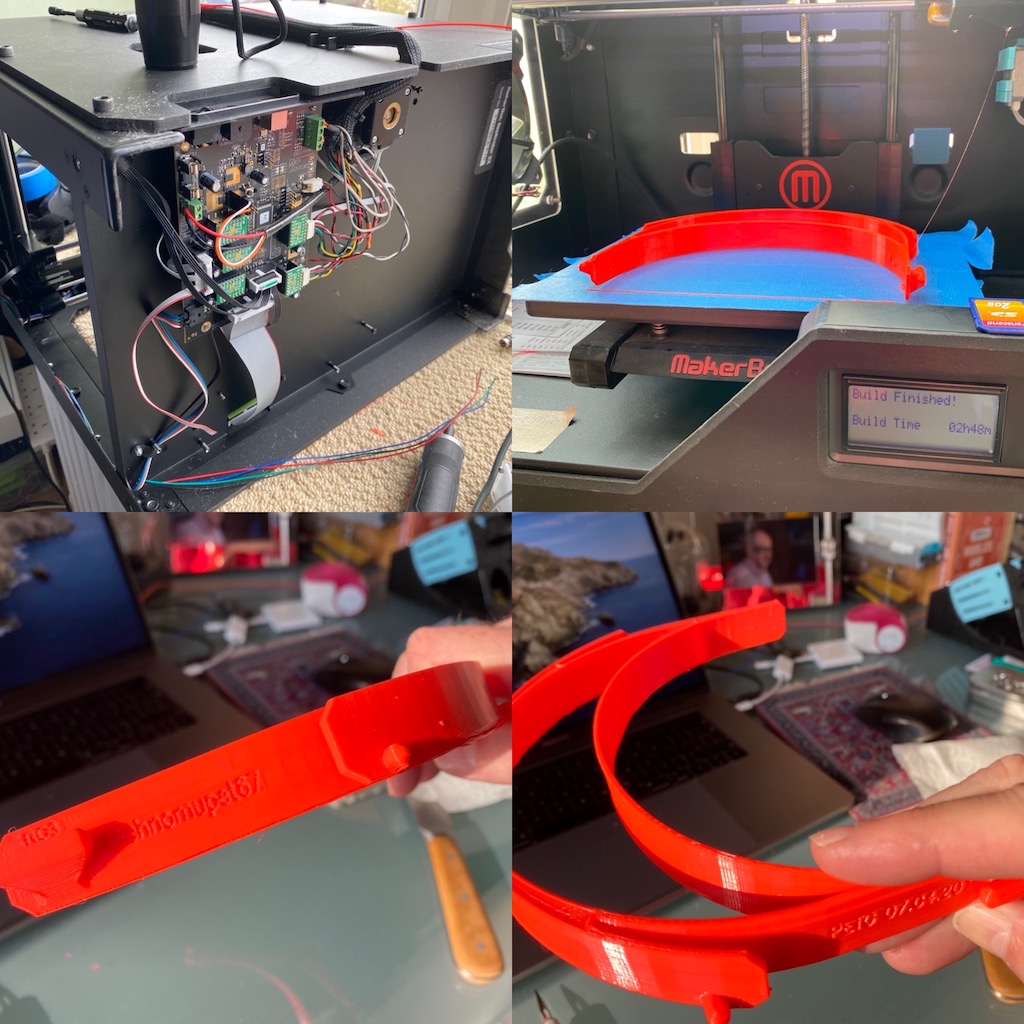
During the week preceding the Easter bank holiday, a group of people with 3D printers started to get themselves organised to help out. I joined the group and started printing.
So SLOW>>>>>> !!!!! The design was “decided” by the group and everybody started printing the same thing. With many forums of people asking many questions about how to print, best settings, where to source the filaments etc…. the creativity of people and generosity was amazing. I saw some people buying 10 to 20 cheap printers to produce 3D printed shields as a mini-factory in their living room. Printing one shield takes about 2h 45 minutes….for most home printers…
Although I was printing for the “BIG PRINT”, and delivered about 25 shields, I also explored using the laser-cutter with the knowledge that the production could be massively improved. The 3D shields require filament, transparent plastic and some buttonhole elastic band….all of which have become very scarce and expensive on amazon within days…
The worse of people is also visible in those times of stress. With some people trying to sell materials at 10X the normal prices…I find this disgusting. I would consider myself a seasoned businessman who had to make difficult decisions to drive profit. In a normal environment, if somebody can get away with pricing ridiculous levels simply because of supply-demand dynamics I fully understand and would admire the business modelling.
However, I also think that ethics trump everything else in life. It is one of the reasons I could not stay at Xerox anymore. And as such, I find despicable the behaviour of some people profiteering from the misery of others. It is so easy to forget that “lives” are actually at risk…you are just selling some plastic on the internet…luckily in my experience, there is always more strength and personal conviction and drive and energy and compassion in the people that have the ethical and moral standards than the weak slime that will always live in the dark. “Karma” always finds a way to keep the good stuff on the winning side.
Back to laser cutting, I started a small production shop in my garage, making jigs to punch holes in the transparent plastic, coding the X-Cave CNC machine to cut round edges on the shields, sourcing materials in the wrong sizes to avoid the silly prices… I have now managed to get the production to about 50 shields for a day of hard work. Unfortunately, I have quickly run out of transparent plastic having made about 150. Still, as I connect with friends we find unlikely sources of materials or odd shapes and use our creativity to get things moving.
Recently we have engaged with a larger laser cutting company who had to furlough staff and would prefer offering real work to their employees. We have found that it is possible to get people back into work, produce useful products for the NHS and make some good for the front line staff.
I designed a 3D strap for a “Cambridge challenge” which ended up being a scam from somebody trying to profiteer from an “open” group of people ready to share their ideas openly etc…although I was initially disappointed for being fouled, I now have a design to give to the laser cutting company and get them to produce them in larger quantities. Amazingly these things sell on the internet at “normal” price for £0.40 apiece, but currently are being sold for £1.85 !!!!. My design is 50 pieces for a sheet of 600X400mm, my material cost is “between 50 and 100 times less than that…”
Within days, a few people went from chatting online to prototyping, to small batch production in garages and sheds, to now full-blown mass production with small businesses
Getting to work on this project allowed me to learn a few new skills in programming, design, organisation, etc… it is making confinement a little bit more bearable. It also gave me the boost to install the internet in my garage….something I wanted to do for years but simply could never find the energy to run cables through walls and garden. (2 days work by the way).
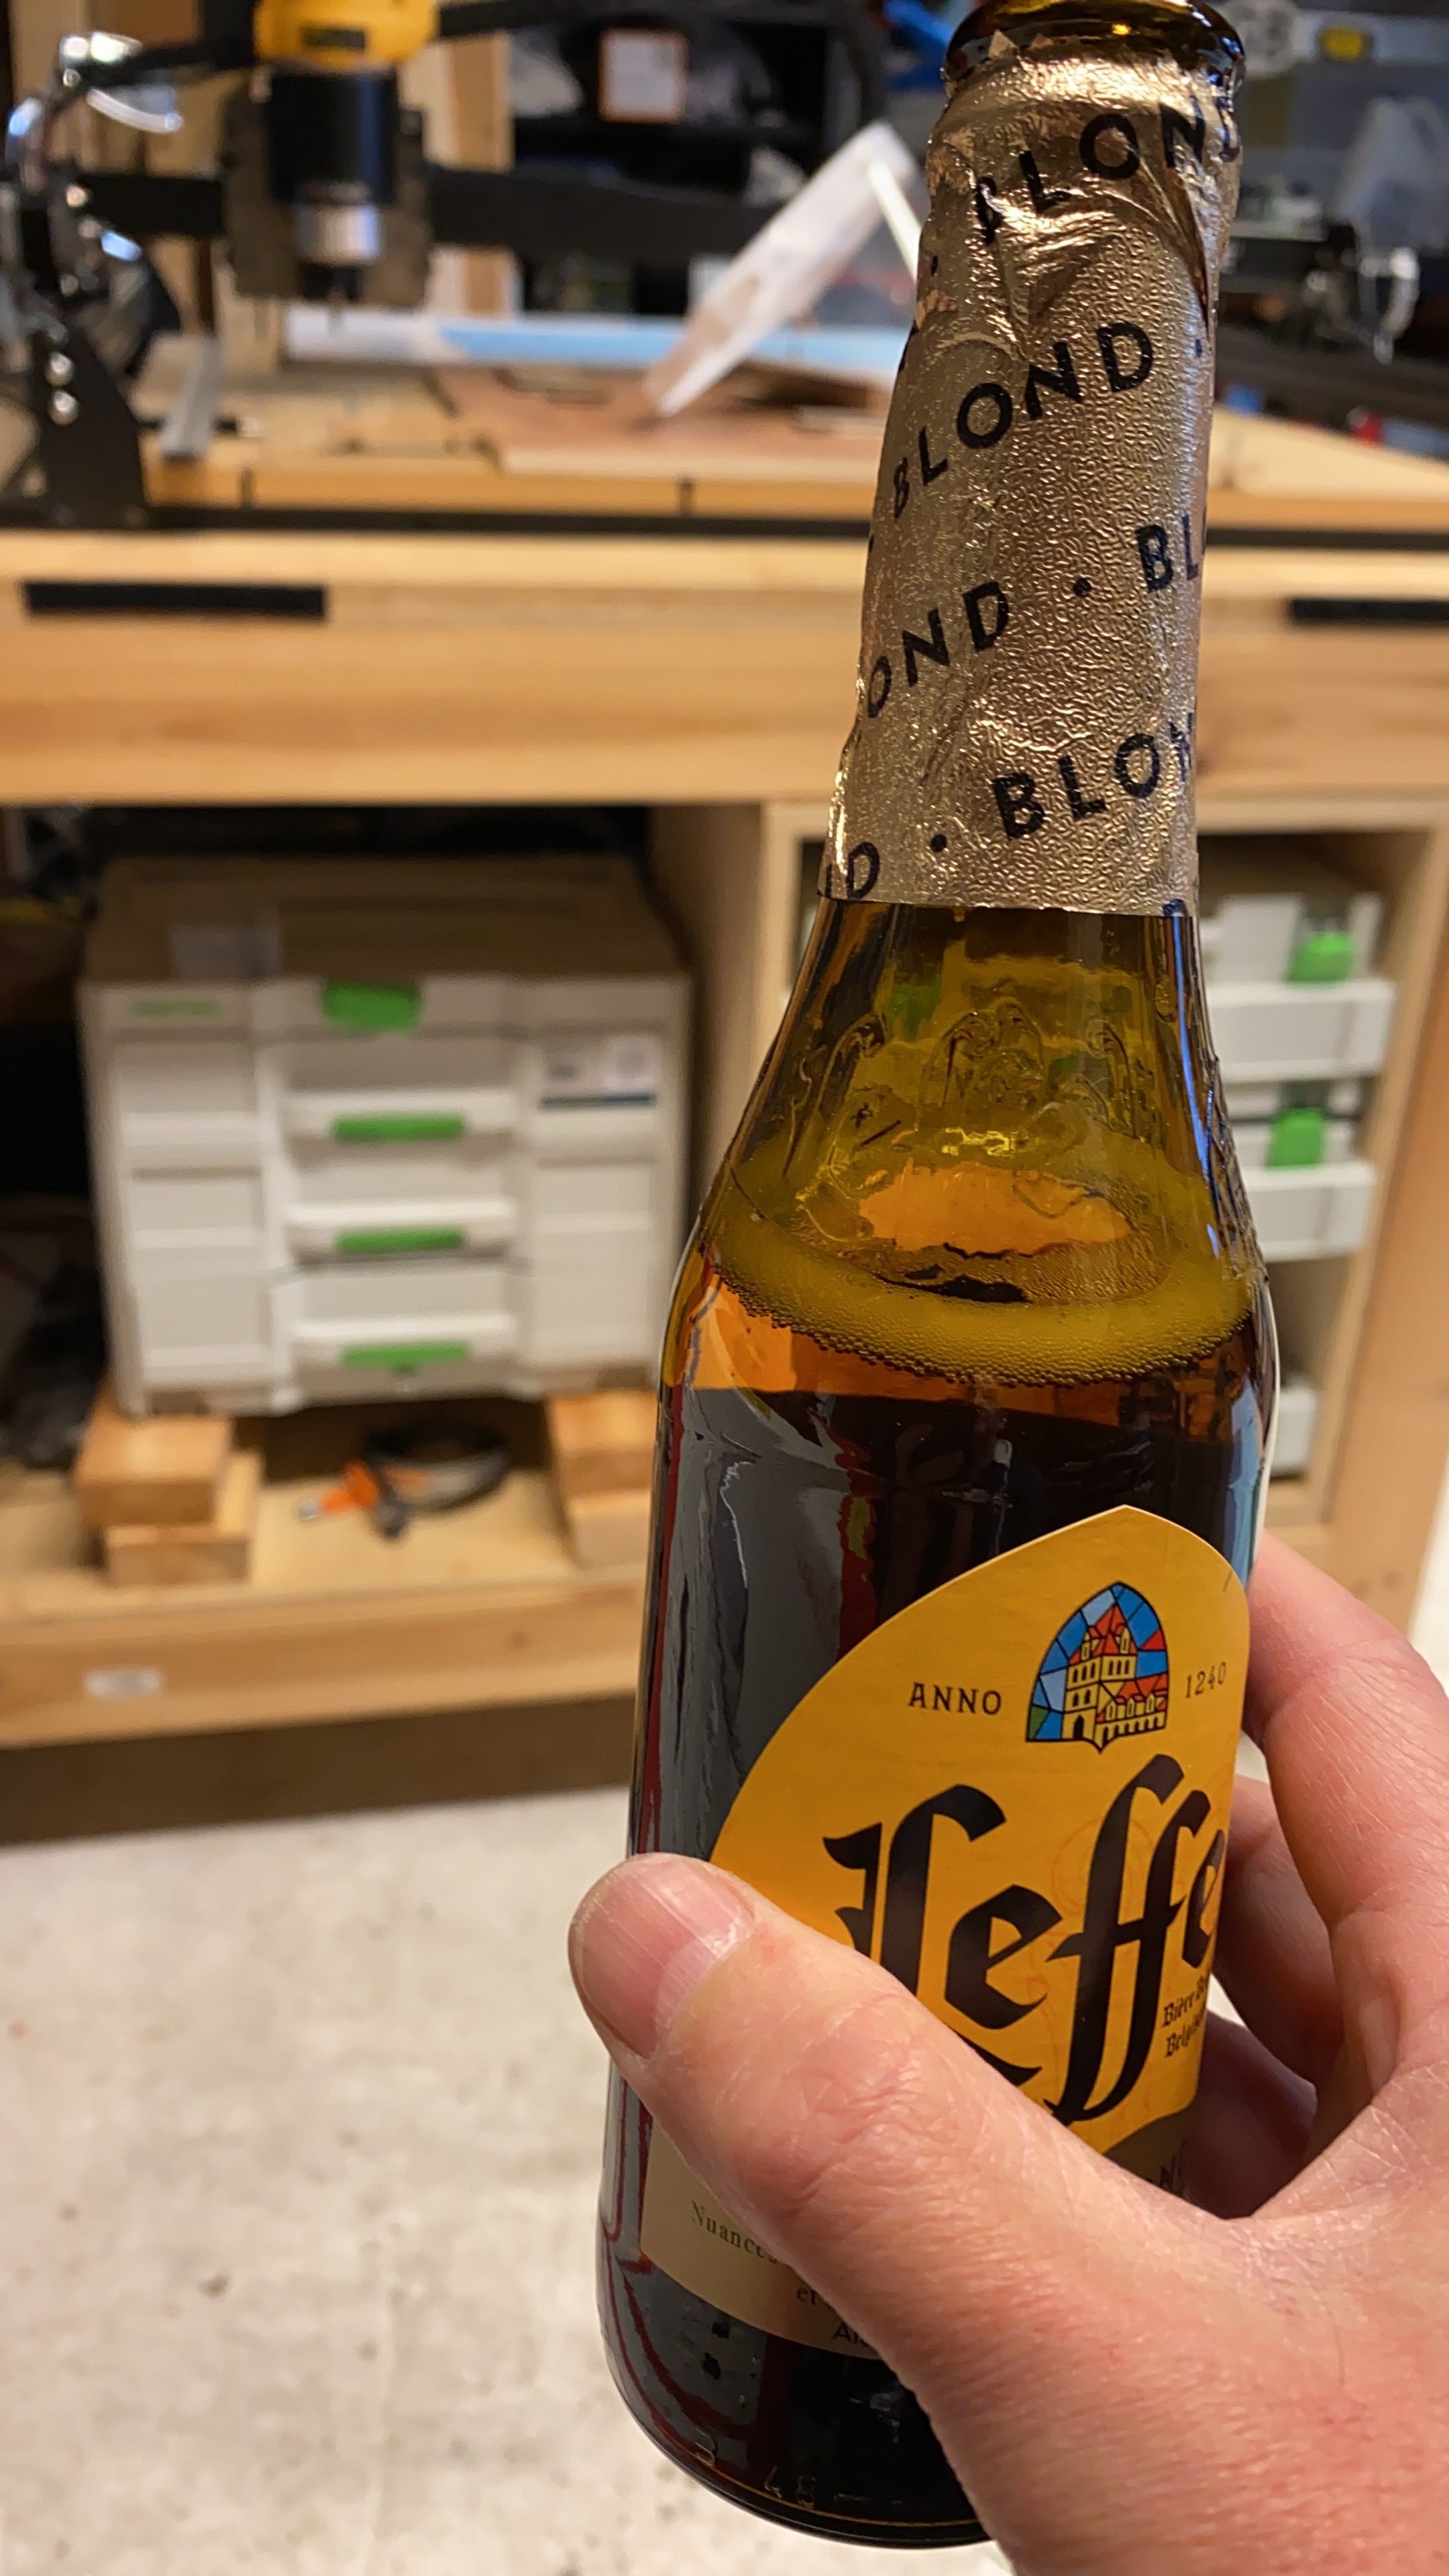
It is nice to feel that my garage/shed/man-cave who has always been a bit of an eccentric playground has found meaning in a time of crisis. Although the coronavirus has created a big problem for my hopes in finding a new job and making a fresh start in life in general, I always finish the day with a beer thinking how lucky I am on balance and continue to marvel how so few people can make such a big difference.


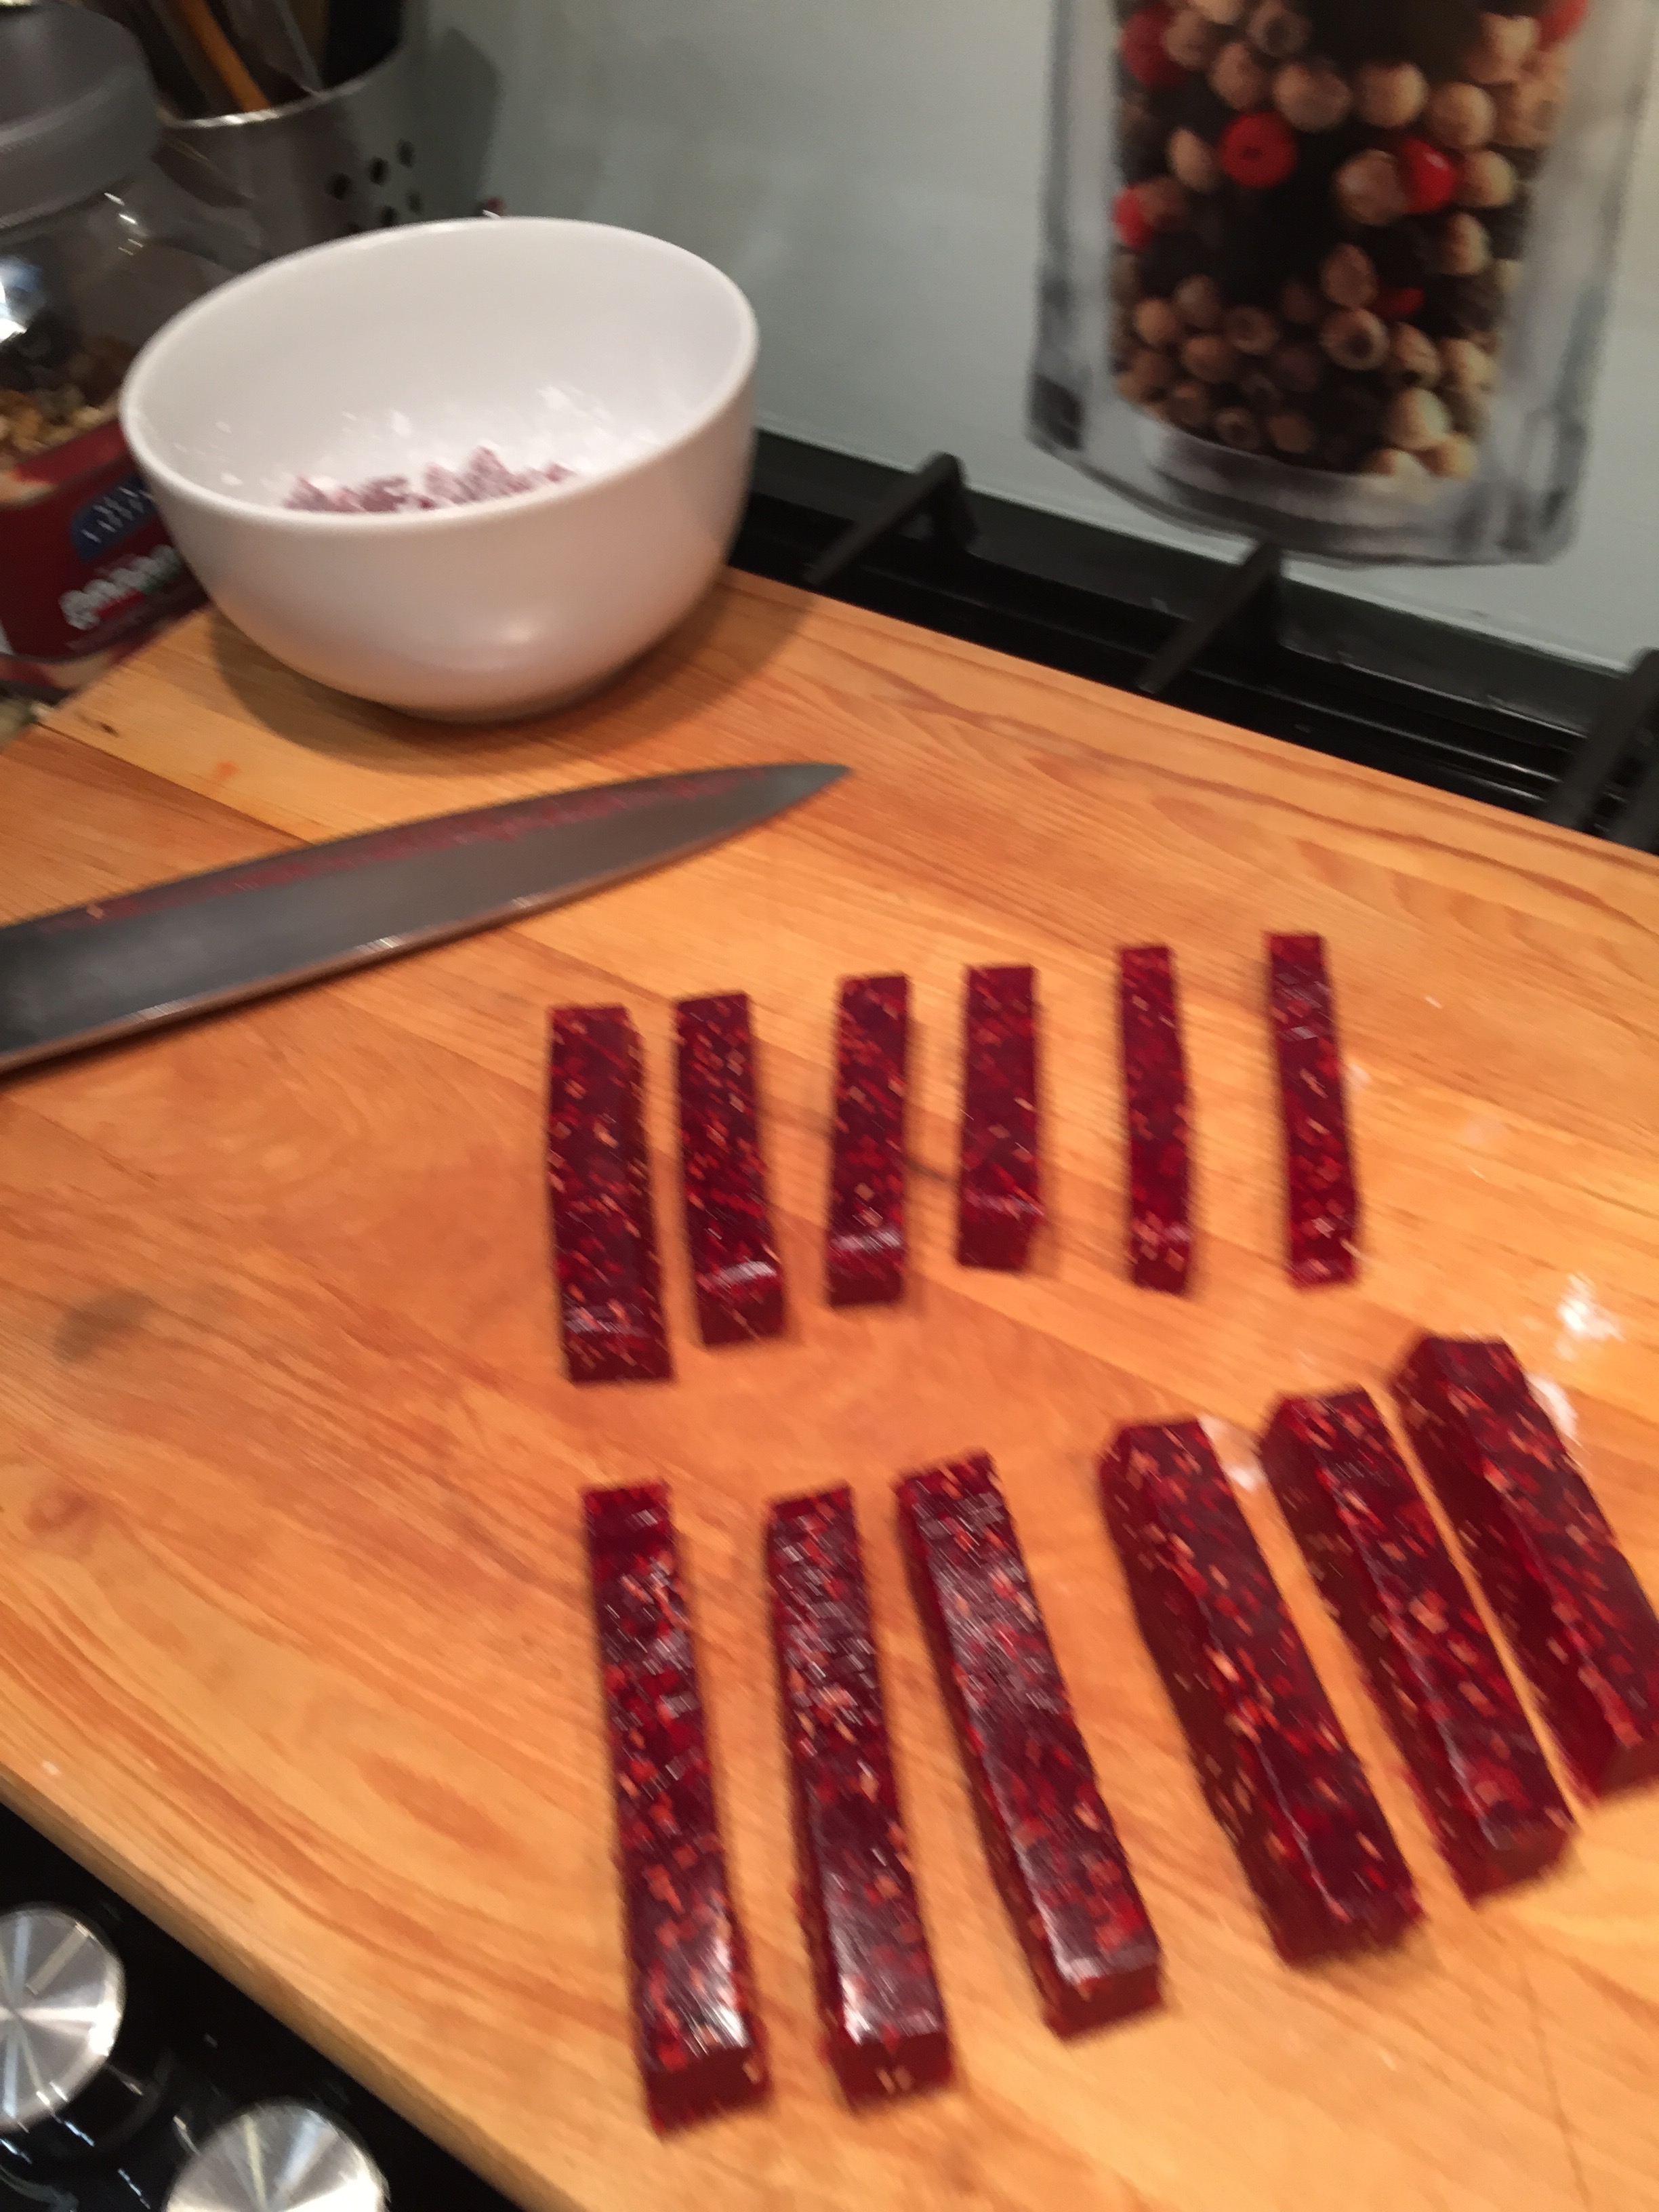
 So simple to do and delicious with Pitta Bread or just crisps and a glass of wine.