Made this today
 Last weekend I wanted to make some ham from scratch. Bought a large piece of pork and started the process.
Ingredients :
How to make it :
Make a marinade with water, and all the spices. Poke the meat with cloves. I also decided to tenderise the meat with a “spikes” utensils.

This allows for the marinade to go through the whole of the ham.Leave in the marinade in the fridge for at least 12 hours or overnight. You need to make sure the piece of pork will stay all together, so it is a good idea to twine the whole piece. Bring the BBQ to 275 Fahrenheit or 135 Celsius, put the wood chips into water to soak. Put the wood in the smoker and in the BBQ so that it warms up and eventually starts smoking. Cook the ham in an aluminium tray for 2 hours or more. It is a form of slow cooking, so do not hesitate to leave it longer. Once cooked, leave to rest and cool down. Put into the fridge for a few hours. It is obviously possible to do this with an oven (minus the smoking).
Once the meat has cooled down, you can slice it thinly and use for your sandwiches or as a nice appetizer with a glass of wine. This was my first try, the final product was good but I was a little disappointed that the smoking had not gone all the way into the ham. The smoking process was very nice because the smell of the wood was very nice in our garden for the whole afternoon.


 Made some medals for the office charity event from the Graduates. Don’t know yet how the event went but I a sure everybody had a good time !
As usual, I used the laser…
Made the design with Inventor, then loaded into illustrator CC, then saved as an “old file format” of illustrator so that the Laser software could understand it, then laser cut, then light pass of sand paper to take the flame out away, then paint with a coat of primer, then paint with silver, gold and left blank wood for the bronze medals. A few hours work for charity all well worth it.


Very nice day cycling with my brother in Saint Albans. Lovely and pure fun when the electric motor kicks in for the hills….
Pure pleasure !


 I have been using my laser cutter quite a lot recently !
One of my recent design was from a request from my wife to have a small simple stand for her ipad mini to use in the kitchen.
Although it all look very simple once done, it is actually a bit more complicated to design so that it is stable, simple and looks reasonably nice, need access to the button, can be easily moved around the table top, cuts quickly, etc…
I asked Noe to help me and he accepted to cut short one of his internet games to come and help me glue it all together.
I had a few requests for copies from family and friends and obliged…


This is a typical thing that I would think about during the week and then make during the weekend.
As I have to review Selling, Admin and General Costs (SAG) all the time in the office, I wait for the weekend to go on my amazing electric bicycle.
One of the setup you need to do when riding those fancy mountain bikes is to ensure that the SAG on the suspension is set correctly for your weight and riding position. This is done by measuring the amount of use of the full travel of the shocks when sitting on the bike at rest.
The typical value is 15% to 20% SAG on the front shock and 30% on the main rear shock. The exact value depends on the brand and on the model of the various shocks etc…
20% would give you a plush ride and 15% a firm ride.
A small rubber ring is attached to the shock and allow you to @see@ how much sag you have. However you must measure it with a tape measurer and then do some calculations to validate the correct level of SAG. Length of the travel at rest compared to full travel capability of the shock.


Nothing better than the Laser cutter to convert a small piece of wood into the perfect measuring tape system for the bike.
I made many drawings every evening of the week refining the design to what I wanted. Finally reached the weekend and made the part. Attached it to my bicycle keys and went for a ride and burn a bit of the fat around my waist….and the stress of solving the SAG problems in the office !
 I continue to love my laser cutter. Probably one of my preferred electric tool in the workshop. It is bulky, and a bit scary to use but it feels like cheating or magic.
It is the kind of tool that make your mind explode with ideas. I know I will never have enough time in my lifetime to use it properly. It seems like a waste of money when you think that some people build entire businesses on the back of one of these machines. I find so much satisfaction in using this tool that it is all worth it.
My life at work is all about process, control, analytics and unfortunately making some unpopular decisions.
I find in my workshop the opportunity to spend time free of constraints and simply let go some creative juice. At the same time, the tools I use are challenging intellectually to make them work properly. Sometimes it is very frustrating as the tools do not work as you think they will, or something breaks, or something trips the whole electrics of the house and everybody in my house hates me ! (…a bit like in the office then)
Net net, I learn new skills every time I use one of my tools in my digital fabrication laboratory, I do not necessary make anything special but I like to compare it to playing the guitar for most enthusiasts. I do not intent to create a new “Purple Rain” but simply let myself go with the flow.
This weekend, I was determined to create a Laser cut lamp. Using one of my LIFX light bulbs.


I wanted to replicate one of those designs that you can find at John Lewis or some trendy designer stores. I made the design in Inventor and then laser cut the parts. It is only 3 parts. A bottom ring to hold the light bulb, a top ring to hold the shape and 20 blades to go round the overall design. I signed one of the blades to keep a souvenir of @when@ I made this lamp.
I am already planning a taller brother to this lamp design. Just need to find a bit more time to actually make it….
[UPDATE] I finally got some time to make the taller version. I am very pleased with the overall project. I love the “Mother and son” type of relationship between the lamps. Although the picture here is showing the very colourful lamps, it actually is nicer in my opinion with more simple colour schemes or some off-white colours.


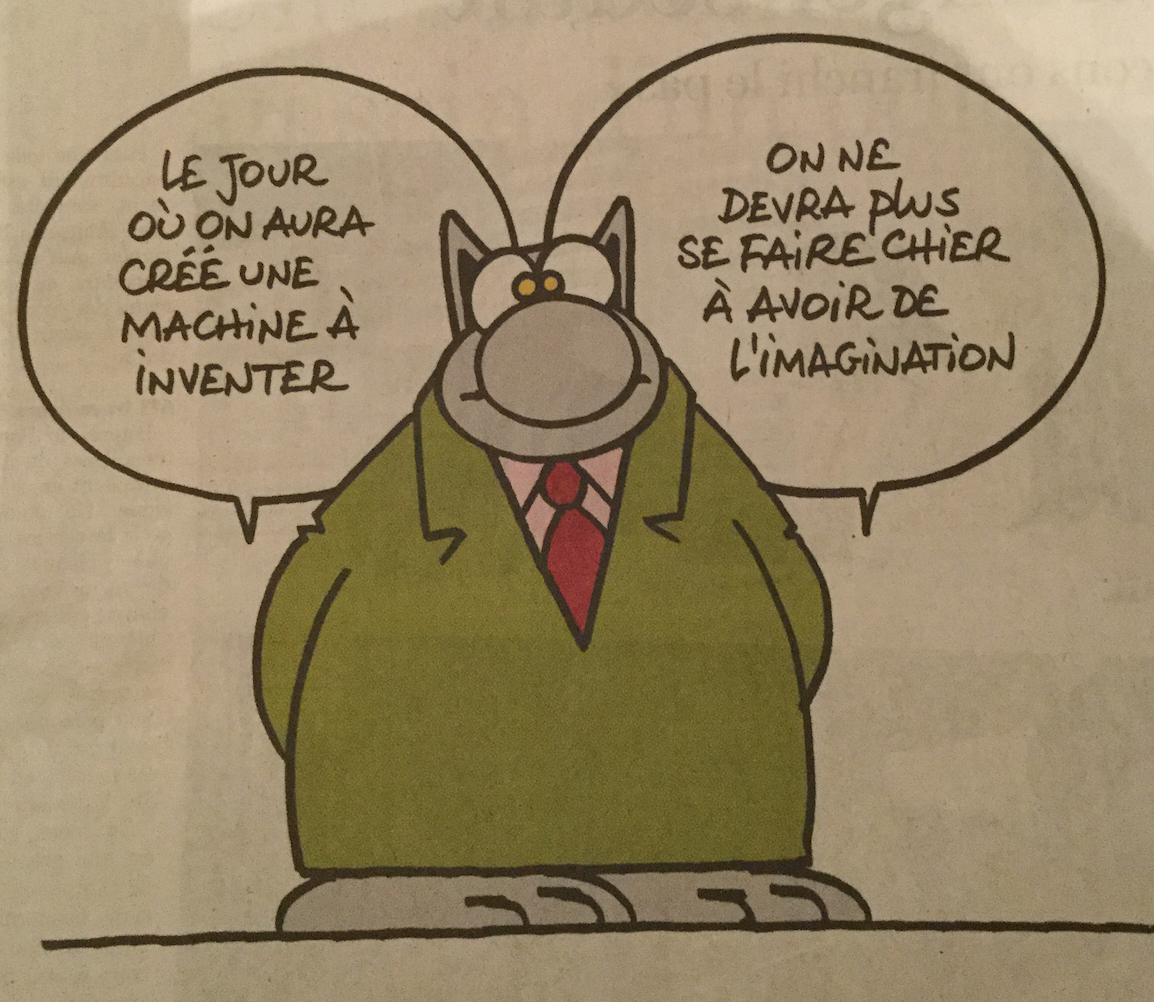
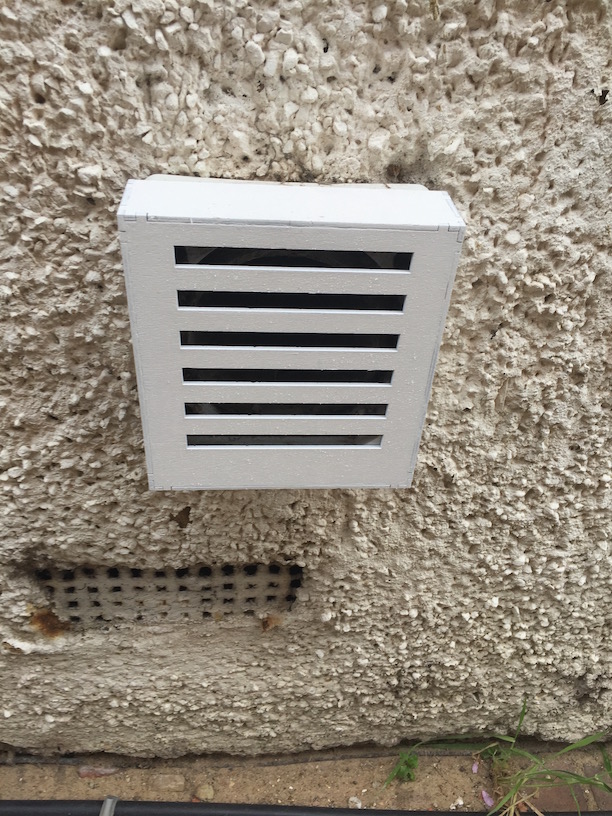
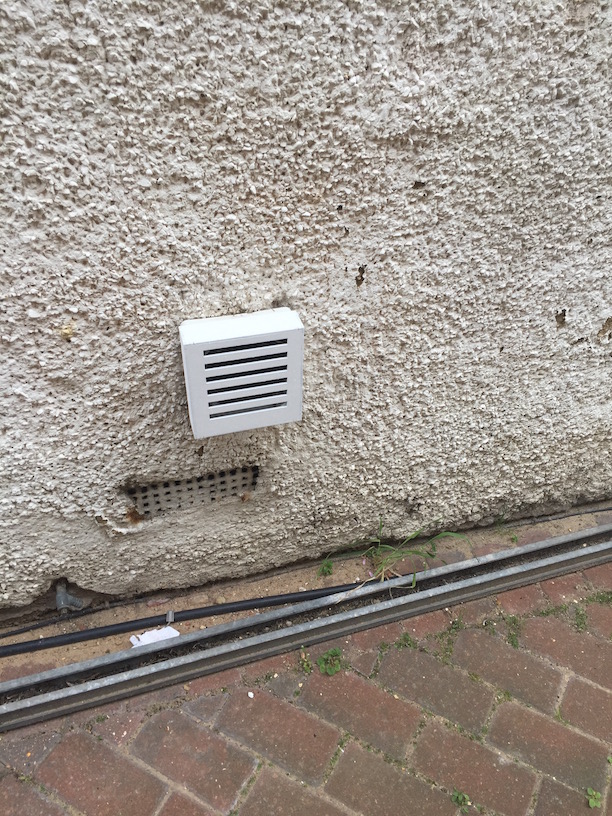
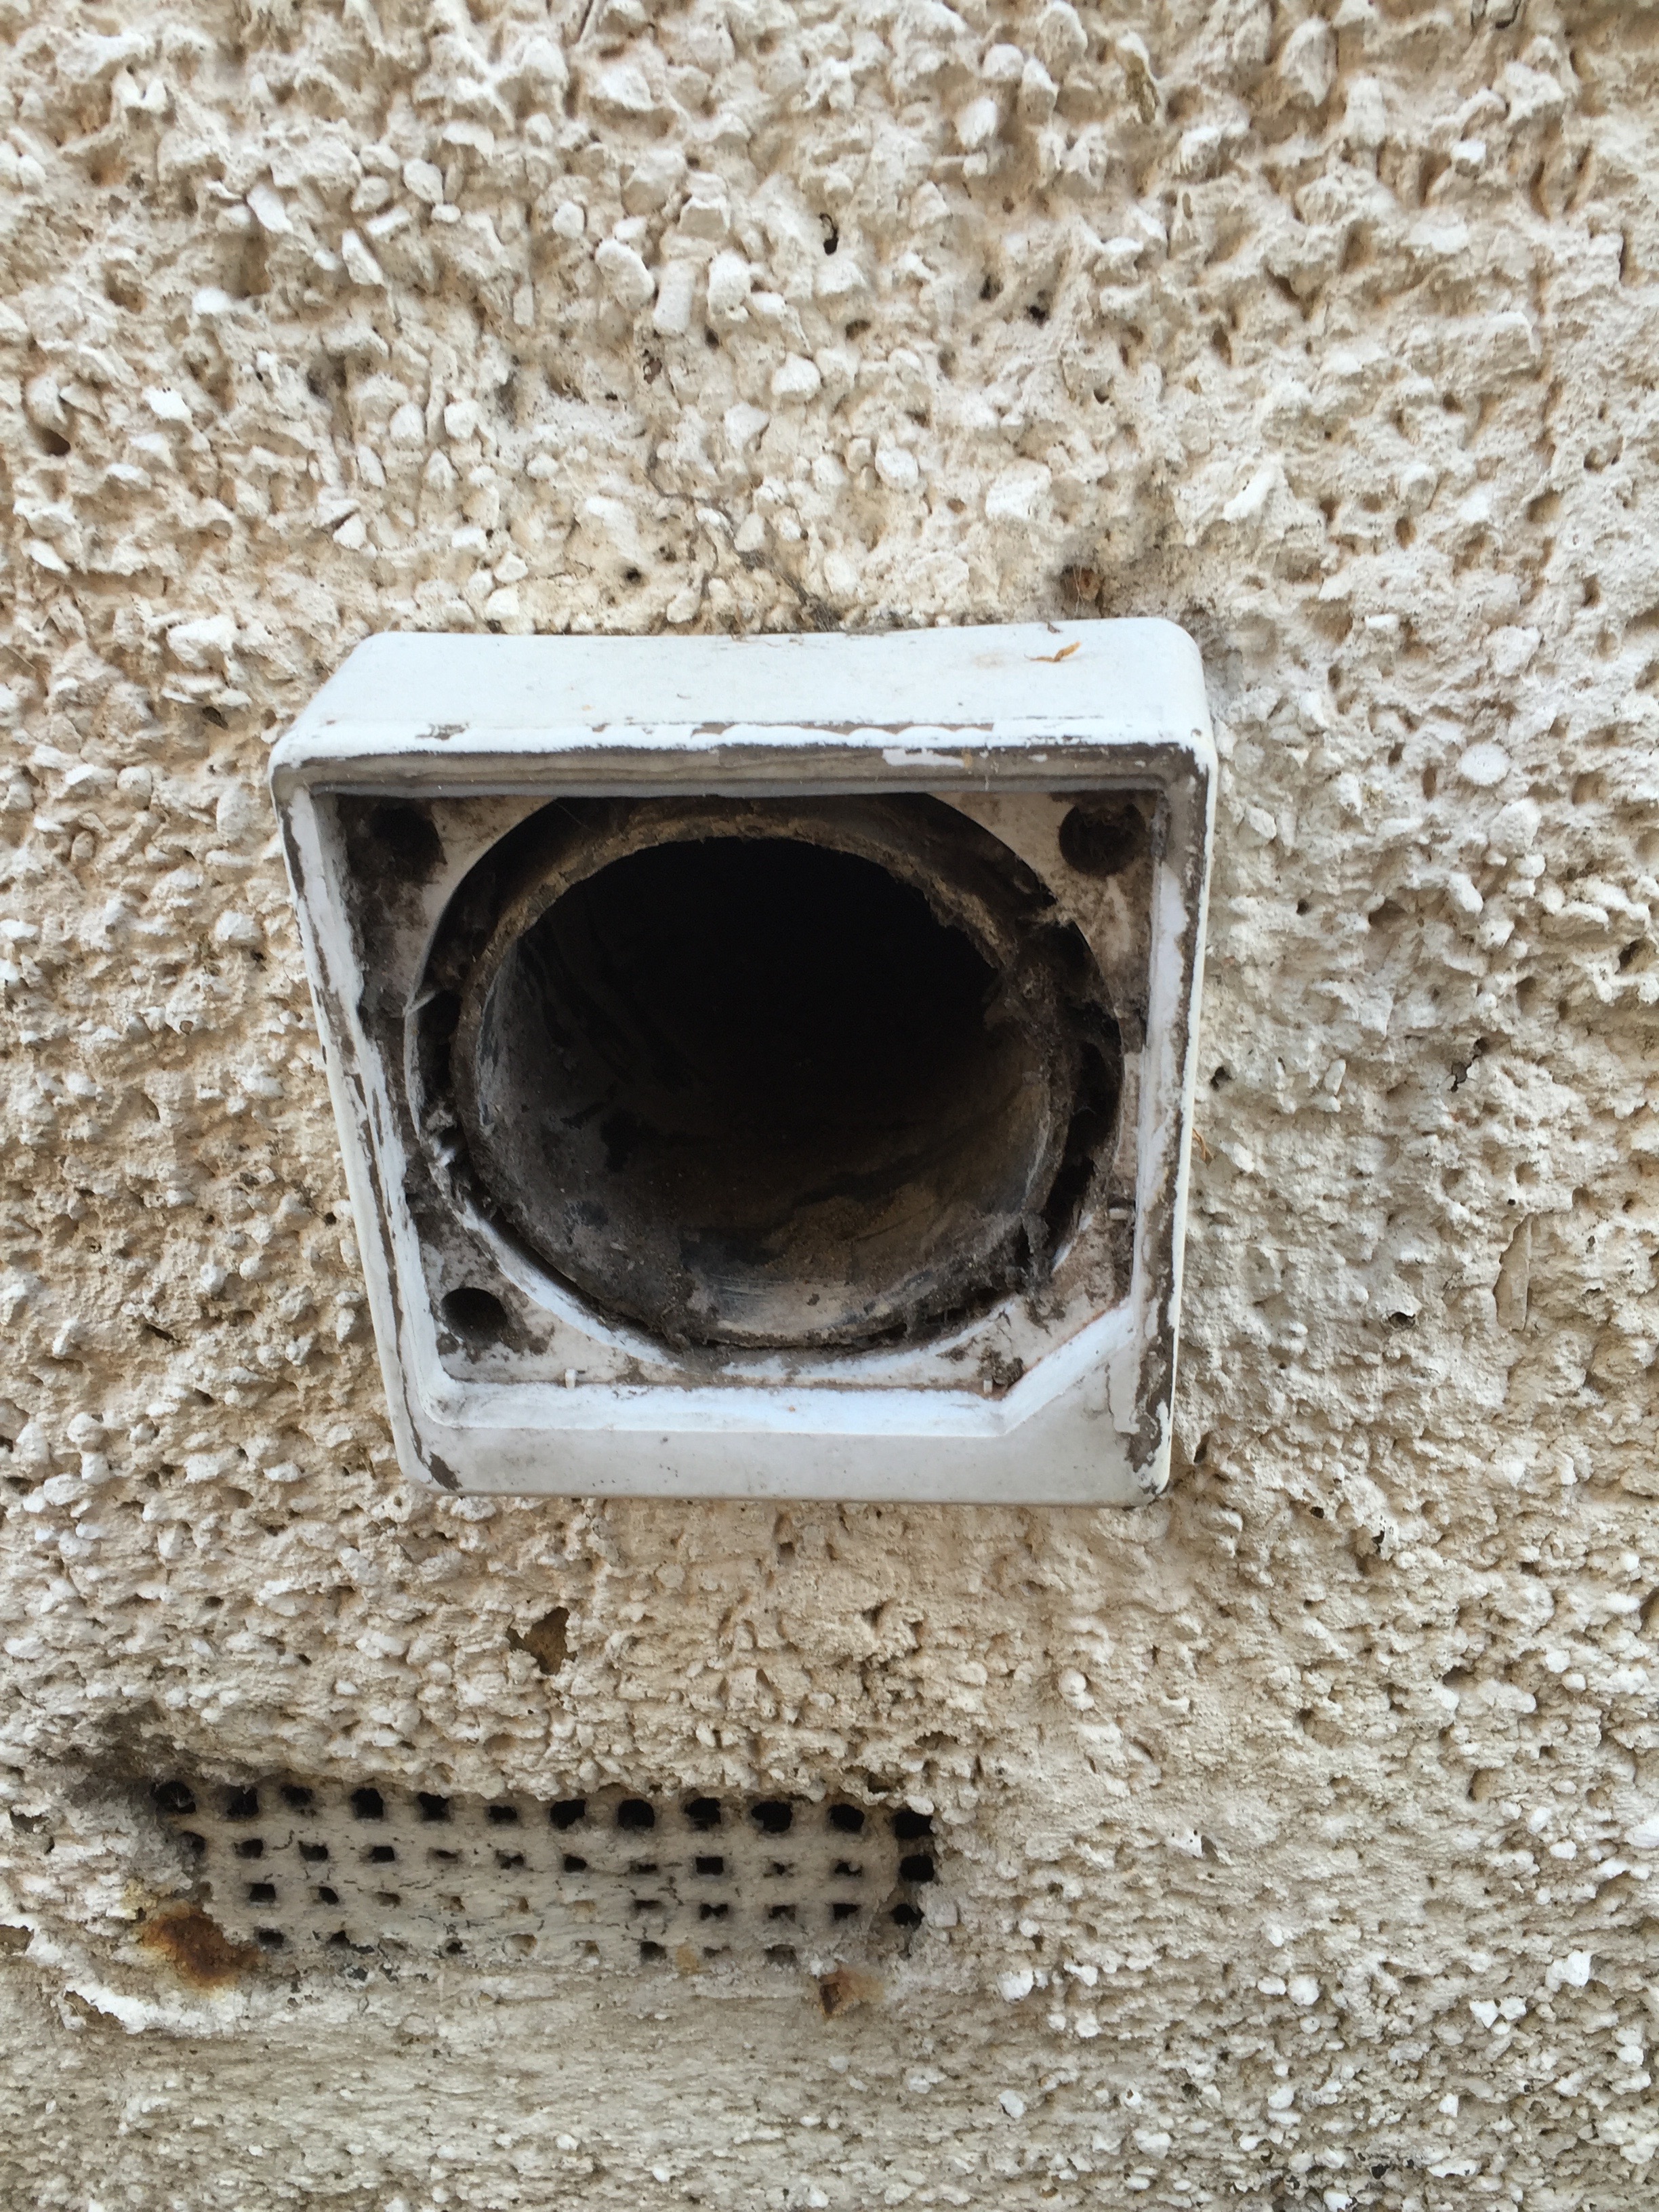
 I was washing the outside glass of the conservatory using a water hose attached to a broom…yes I know…I am not usually a fan of those Jerry Rigged setups….
Well, I am glad I did not fall from the roof, however the broom did and I broke the attachment from the handle to the broom.
Long story short I decided to re-build it. We can save this broom.
Noe helped me make the design in the inventor software, exported it to Makerbot, waited for the print to come out. Noticed a slight mistake in the design. Re-design in Inventor, re-print.
Et Voila ! Almost as good as new.
Fairly impressed with the strength of the part. I printed it with 75% infill in PLA and it is strong .


 Wanted to add a new plant to my hydroponics experiments. I have had plenty of setbacks recently with my lack of attention to watering….!
I really need to get moving on that Raspberry pi controlled watering system, it has been in the works for probably 12 months or more. Jules has already made a proof of concept and the code is ready for deployment…still need to make a box and work out what exactly we are going to do with that project. It is a lot harder than it first seem to program a machine to measure the soil humidity and provide the right plant with the appropriate amount of water. All this for another post in the future.
I wanted to print a 3D part that would make it easy to germinate an avocado seed. After a few web searches, I settled on the design in the pictures. It allows for the piece of plastic to sit nicely in a glass of water and allow for the roots to start….well hopefully.
I will post pictures of the thing at work, but first need to eat an avocado ! Did I mention that I was playing with this project at Easter ?


 This is definitely comfort food! (Please read again, this is not for anybody on a diet or anybody with high cholesterol…)
It is a traditional French Savoie dish made with Reblochon cheese.
I have not made this recipe many times yet so I am currently perfecting my preferred recipe. The current one is amazingly tasty but maybe a bit too runny or liquid. In any case it is absolutely amazing !
Ingredients :
8 to 10 Potatoes depending on size, 2 onions (I use red ones but you can use normal white one as well). Use buttery or creamy potatoes.
- Pancetta or Lardons
- A Reblochon, either a full one or a half one is ok
- A glass of white wine. (I actually do not use any)
- A mandoline (to cut the vegetables quickly)
- Black pepper, Nutmeg
Peel the Potatoes, then slice them approx 5mm thick. Put them in a bowl of water so that they do not go brown and also you loose a bit of the starch. I use the largest setting on my Japanese mandolin.
Slide the onions using the same setting.
Put the lardons and or Pancetta into a pan and lightly cook. Once they start taking a bit of colour and the water is evaporated and only the fat from the lardon is left in the pan, take the lardons out and put aside. Now cook the onions in the pan with the fat of the lardons.
Do not “FRY” the onions, just cook them gently so that they take a bit of colour, that is it. If you are using white wine, you should add it here and make sure that all the water of the wine evaporates or gets absorbed by the vegetables.
(If you are not using creamy potatoes, then you might need to cook them a little bit before putting them in the oven proof dish. Maybe boil the potatoes for 5 minutes max).
Take a oven proof dish and layer the potatoes, then the mixture of lardons and onions, poor a bit of cream on this. Season with a bit of black pepper. Then another layer of potattoes, then another layer of onions and lardons and a bit of cream. Go easy on the cream, you just want the potatoes to stay creamy. You can then grate a bit of nutmeg.


Keep going until you have used all the onions and Lardons and finish with a layer of potatoes. Then take the Reblochon and cut it in half through its thickness so that you get 2 pieces with skin. Lay the reblochon on top of everything skin up. Sorry I forgot to take the picture of the final dish before going into the oven…
Cook in the oven at 160 degrees with a fan assisted oven. Check the cooking so that the top goes nice a brown and the potatoes are cooked through. Maybe 20/30 minutes.
Enjoy !
 I played with my laser cutter today and got into the Xmas spirit…made a couple of fun things below.
1 – An overlay screen for my Raspberry Pi frame… Need to code some sort of animation to play behind it
2- Some name tags for the presents of 2015 Xmas at my parents…only a week to go now before we travel to see them.
Manu is playing the Xmas songs on the spotify and the garden is full of coloured lights.


Merry Christmas to all.
 I built this last week. It is for my brother’s Xmas gift. It is a small game, where you need to put the pegs into the slots but the numbers cannot be connected to each-other if they are consecutive. It all looks simple, but when you start playing with it, it reveals it difficulty. Still need to finish it and find the solution….might need to code a small program to solve the conundrum. Will post here the code and final picture of solved problem when it is all finished.
I used, Inventor as usual and adobe illustrator for the lines and text.

Laser cut the whole thing in 3mm birch plywood.


Made the pegs from multiple layers of small 20mmX20mm square cuts. Laser engraved the top with numbers on one of the sets.
Made some sort of closing mechanism for the top lid to rest on the front of the box and is articulated enough to open fully. Used the usual tabs and slots to keep everything square when I glued it all together.
The whole thing fits onto a 60cmX40cm sheet of wood, so it would be a good project for schools to do the lasercut and the programming of the solution.
I finished it with Danish oil, “Canadian Cedar colour”. Made a small design logo as well…
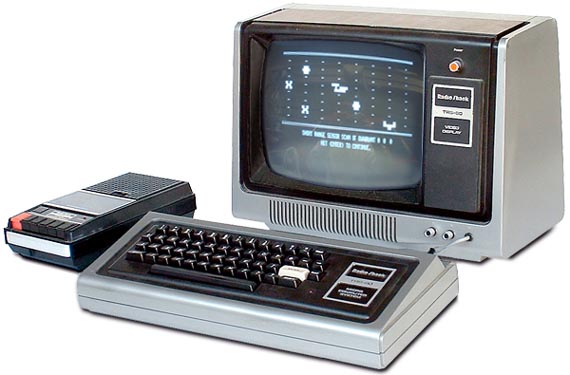
 When I look at this magazine, it reminds me of the days I used to play with my TRS-80 from Tandy…
You must visit this page if you want to get a bit nostalgic and code for a few minutes in BASIC !
Start with 2 Returns to the initial question marks ?
Then start coding !
If you can’t remember how to do it, read the manual…
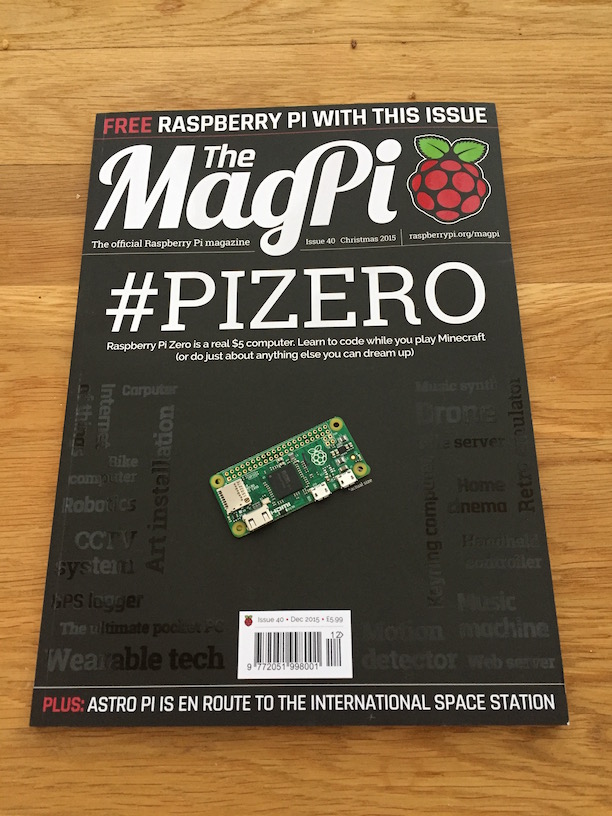
 The Raspberry foundation is doing some extraordinary work to bring computing and coding back into the mainstream and drive kids to like to code.
This $5 computer (yes $5 not $50 or $500), is simply a fantastic way to bring computing to everybody.
With the issue 40 of the MagPi magazine, the small computer is attached to the front page and comes for free…This is a £5.99 magazine !
The magazine itself is also a great example of a great teaching tool. You can follow page by page some examples of code etc… just perfect.
Did I say that the magazine can be downloaded for FREE from the foundation website. Essentially, if you can’t afford to buy the magazine (a kid with little pocket money), then you can still get the great content, if you can afford it, you buy the magazine and help teachers and educators to get the right training and equipment.
Needless to say, I subscribed.

 I purchased some cardamom plant a few months ago and have managed to keep it alive. It is doing well although some of the leaves are yellowing. It might be because I left the plant outside too long into the very wet season. It is now in my garage for the winter. Initially, I had it straight under the hydroponic lights but it did not like that and now I have moved it a bit away from the light so that it is a bit protected from the power of the metal halide lamps.
I couple of months ago, I also split the main plant into 6 other plants. I have re-planted the little shoots into small pots but also put a couple of plants outside in a raised bed. I would like to see if the plants are better outside for the winter or within the garage under fluorescent lighting. (And the warmth of the propagator )
As I was doing some research on optimum lighting and heat setting etc…I realised that cardamom is actually a very valuable plant and the spices that it can produce are very expensive per weight. I have not had any pods yet, so will probably have to wait until next year for it. (Update : It actually takes 3 years before the plant will produce its first flowers and therefore pods. A bit more to wait then)
I recently donated a plant to my brother…a further proof that we are getting older and possibly wiser…?
Also need to start a cumin plant from seeds. Not sure if I can use the ones in my spice rack…must try.
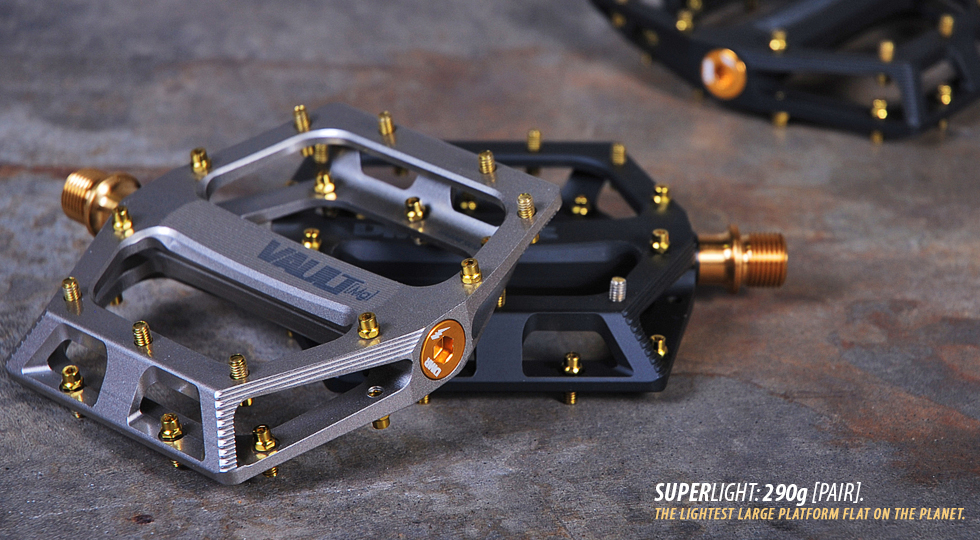
I just changed the pedals on my mountain bike, I thought I would get something lighter to help me go further and go up those hills with more elegance.
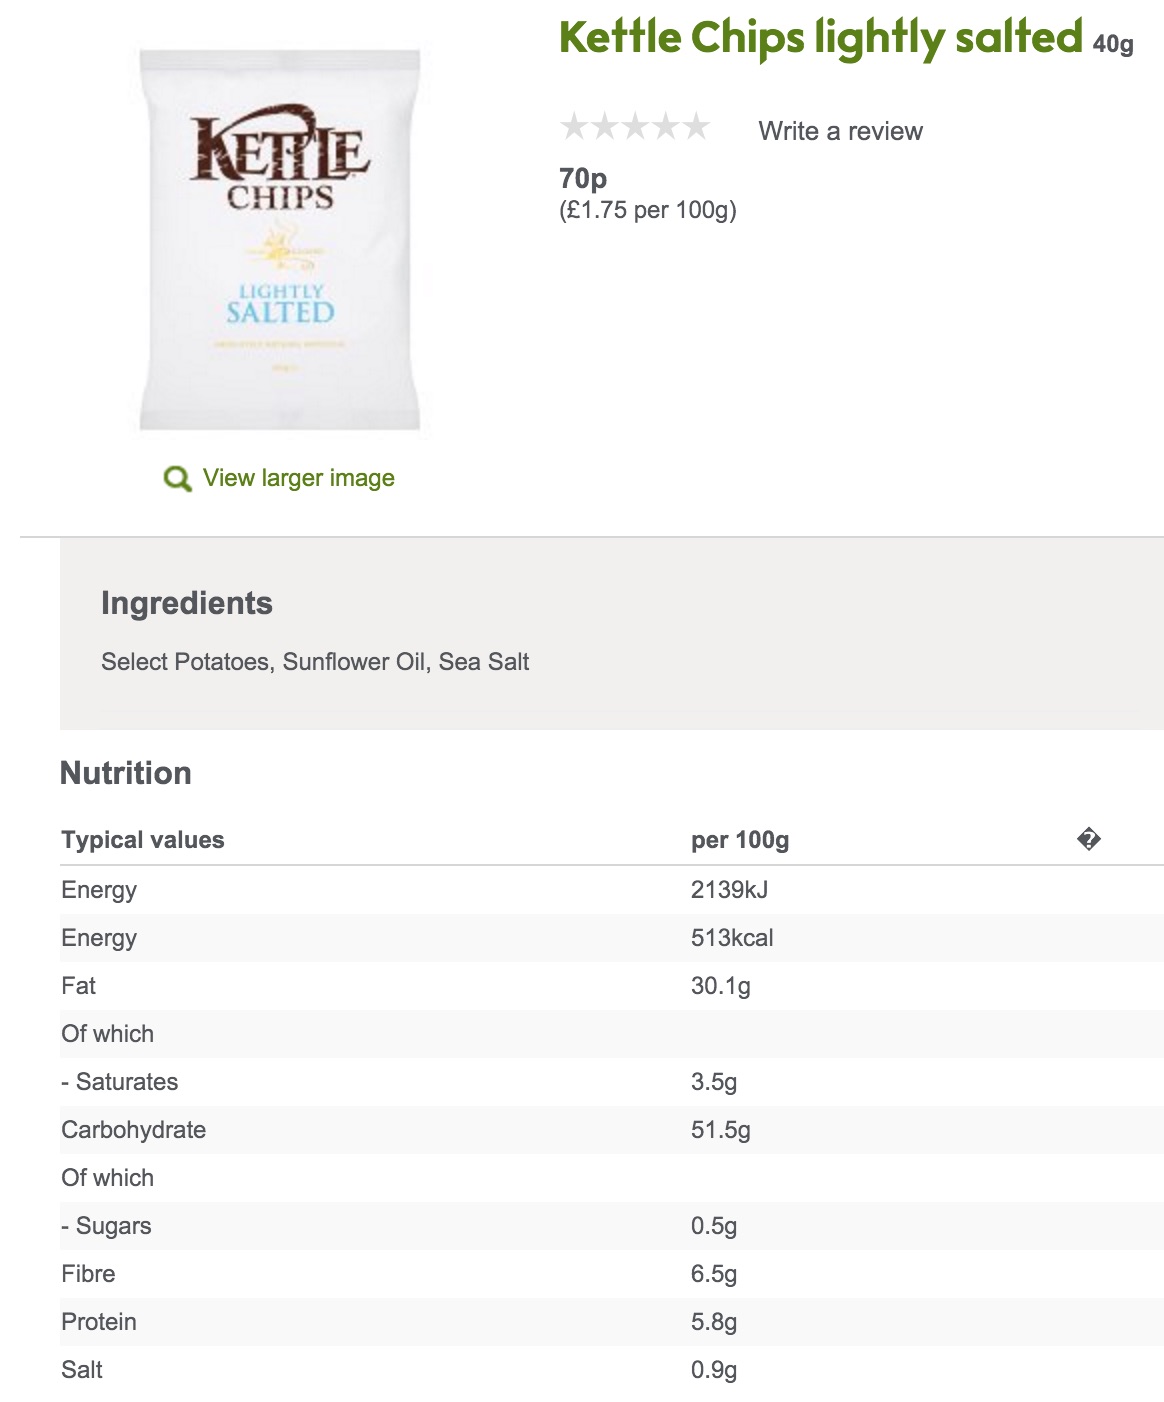
I swapped the already light Haibike pedals for the lightest in the world !…it is almost 50g lighter…the equivalent of a pack of salt and pepper crisp…
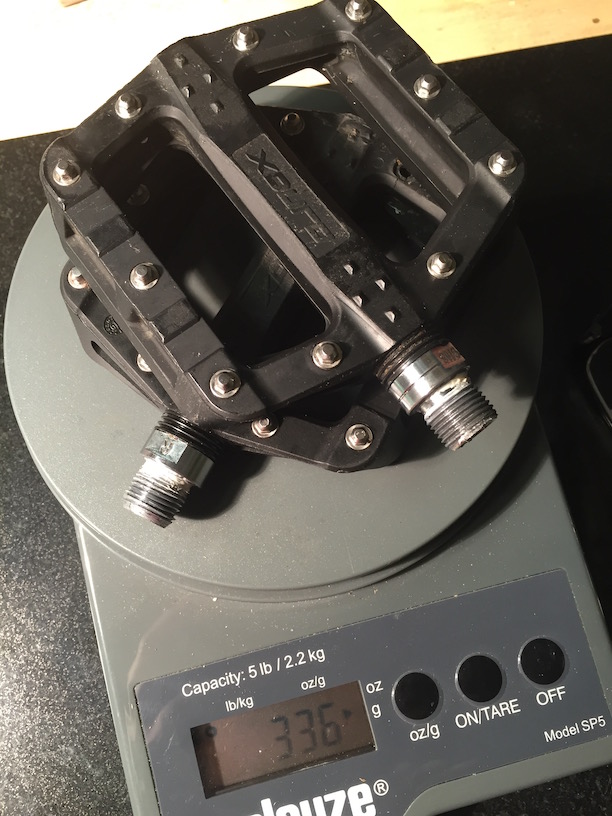
Very pleased with the pedals but very disappointed that my uphill elegance has not improved at all. Maybe I should concentrate on taking the weight off me rather than off the bike.
 It was a long time coming. I purchased this baby from the USA in the early spring ! I probably was one of the first few coming out of the Inventables team.
It took me a while to build it and make a nice table to keep it in the garage.
I made my first cuts last weekend
I went for the full options X-Carve.
The software is nice a very easy to use if you compare to the Mach3 of the sherline CNC Mill. Link to the software here.


 We are all makers at heart, building something from scratch is so much more rewarding than purchasing from the Internet. With recent technology enhancement, machines that would have been only available for big companies with deep pockets can be purchased by the weekend hobbyists.
A couple of months ago, I purchased a digital sewing machine….yes I know….
I was planning to purchase a sewing machine to make some repairs on garden furniture chairs and potentially make some new covers for my living room sofa. I thought this would be a good winter project and purchased the various bits required. I discovered a new world of materials and techniques that I had not explored since I made my first kites with my mums “brother” sewing machine.
I decided to follow the theme of my hobby for digital manufacturing and purchased a computerised sewing machine from Janome.

As for many of the new technologies, there is a huge gap between the hardware capabilities and the available software to control it. For the machine I purchased, there is essentially no software included to create the embroidery. You can download freely designs that other people have made, or use a very basic on-machine fonts, but that is about it. Very frustrating when you come from a very open source world of 3D printing. Some of the digitising software can cost thousands of sterling. Simply ridiculous and essentially exploiting a niche market. The software is very average, using very old programming and extremely fragmented in terms of capabilities.


I am still exploring which software I want to use and have not done very much with the machine other than an oversized pencil pouch !!
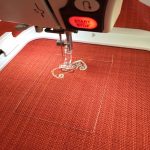
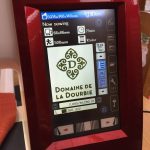
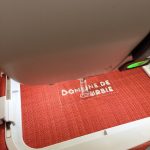
Recently a friend of mine asked for some help with embroidery of a few designs on a couple of different material. I converted a few JPG files into the proper format and resized as required. I also noticed that the files were better imported if converted first into SVG format. I also reduced the number of colors to 2 (black and white) and ensured that the various paths for the sewing of the stitches was going to be ok. Most of the designs result in approximately 5000 to 10000 stiches, depending on the size of the stitches chosen. The designs take approximately 30 minutes to “print”. There is a little bit of finishing required to remove the “move” stitches, but overall I am pleased with the results.
I also tried to use the good old trusted laser, to see if it was possible to “Laser engrave” the material without setting fire to the material or the garage (!). A fine adjustment of 10% power was just right to make a print on the material without damaging the fiber of the material.
Here is a link to a short video of the whole process : link