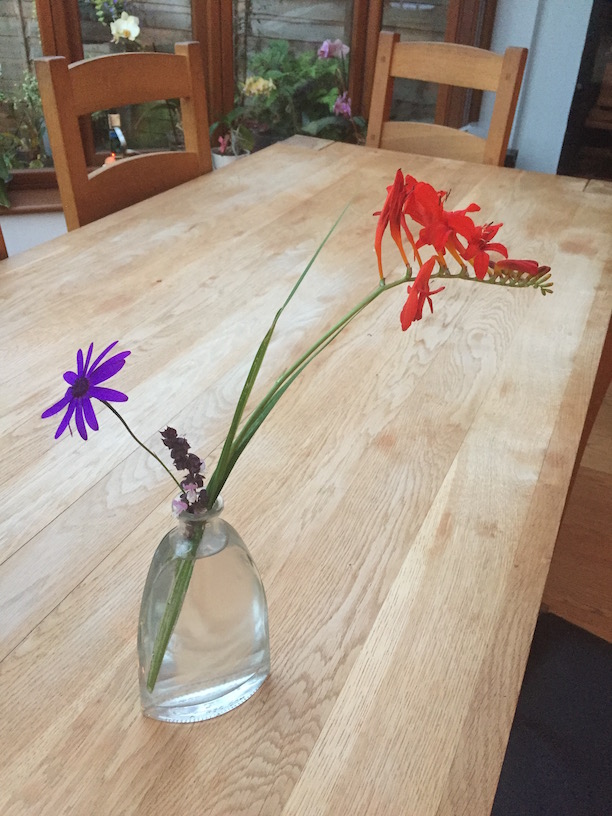
Spring is here !
Well not in the office…
Lots of changes and nothing feels good. Hopefully we can start with new seeds and rebuild.
Recent news in the Press :
” Xerox Corp.’s Ursula Burns is giving up the title of chief executive when the 110-year-old company splits in two later this year.
Burns, 57 years old, has spent her entire career at the document company XRX, +0.99% , working her way up from an internship in 1980 to become the first black woman to lead a Fortune 500 company. She is one of 20 women who held the CEO position at an S&P 500 company as of Feb. 3, according to Catalyst, a nonprofit research group.
The CEO’s voice briefly wavered Friday during her annual shareholders address in Norwalk, Conn., to a small gathering of executives and investors, which she called “a sad day for me, but a happy day as well.”
She will continue as chairman and CEO until the separation and become chairman of its legacy hardware business under the new structure.
Burns has run the company since 2009 and announced plans in January to split Xerox into two publicly traded companies. One will sell and manage office machines, and the other will provide back-office services.
On Friday, Burns also warned of more layoffs in the coming months.
In April, Xerox said its first-quarter profit fell 85%, and executives cautioned investors that preparing the company to break up would cost more than expected. The stock is down 14% this year.”
Weekends are a great opportunity to forget it all and spend time learning new things.
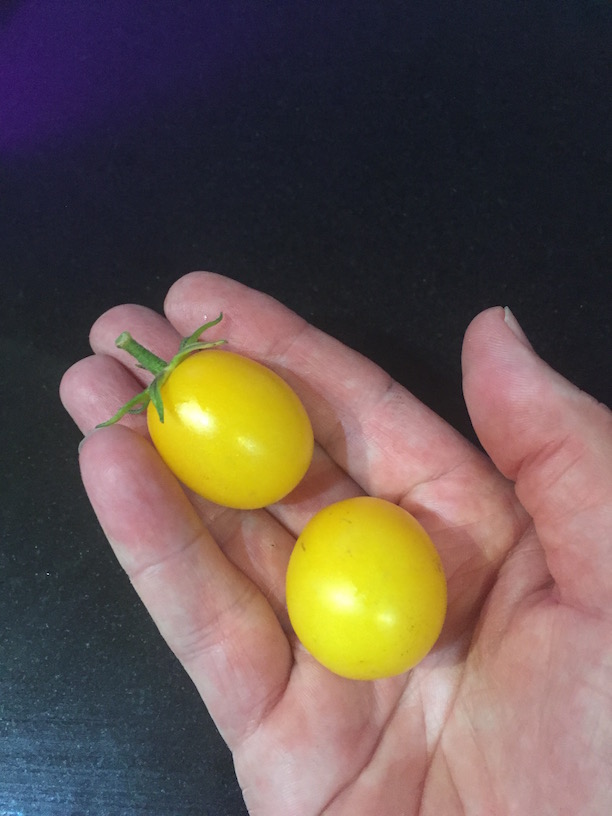
For example, I was trying to understand the various brands of fertiliser available for purchase. Although the European laws are making it easier to understand what is inside the bottle, it is still difficult to workout in store which is best for what. I am currently trying to test each one to see what they do and how my plants adapt of change. The most amazing one so far has been the citrus feed for my Kaffir Lime Tree, one week after feeding the plant with the feed, I had brand new leaves and a very healthy looking plant.
Still a mystery at this point but found that the ratios of Nitrate, Potassium, Calcium (NPK) are important and each one has some impact to the overall health of the plants. I find the science around plants very similar to Marine Aquarium science. A lot of experimentation, a lot of opinions and still a lot of trial and errors. No perfect answer for everything. Bugs in particular are a great mystery for me. Life is supposed to be this incredibly fragile thing and bugs appear from nowhere in to eat all my plants !
The plants in the garage with the hydroponic lamp have done well, but it is hard to ensure that they stay alive given the heat and the speed at which they can dry out because of the small pots.
I saved my Curry leaves tree. I did not provide water properly during the winter. At some point it lost all of its leafs and I had to take the plant to the garage hydroponics to give it “emergency” support. I really thought the plant was dead, but kept watering when the soil was dry and providing light. Amazingly, as the other plants started to grow for spring, the curry leaf tree started to grow its own new small green leafs. It was then attacked by bugs, and all the leafs died again ! Over the last couple of weeks, I have seen new branches growing and the plant is strong. I used a little of that citrus feed on it !
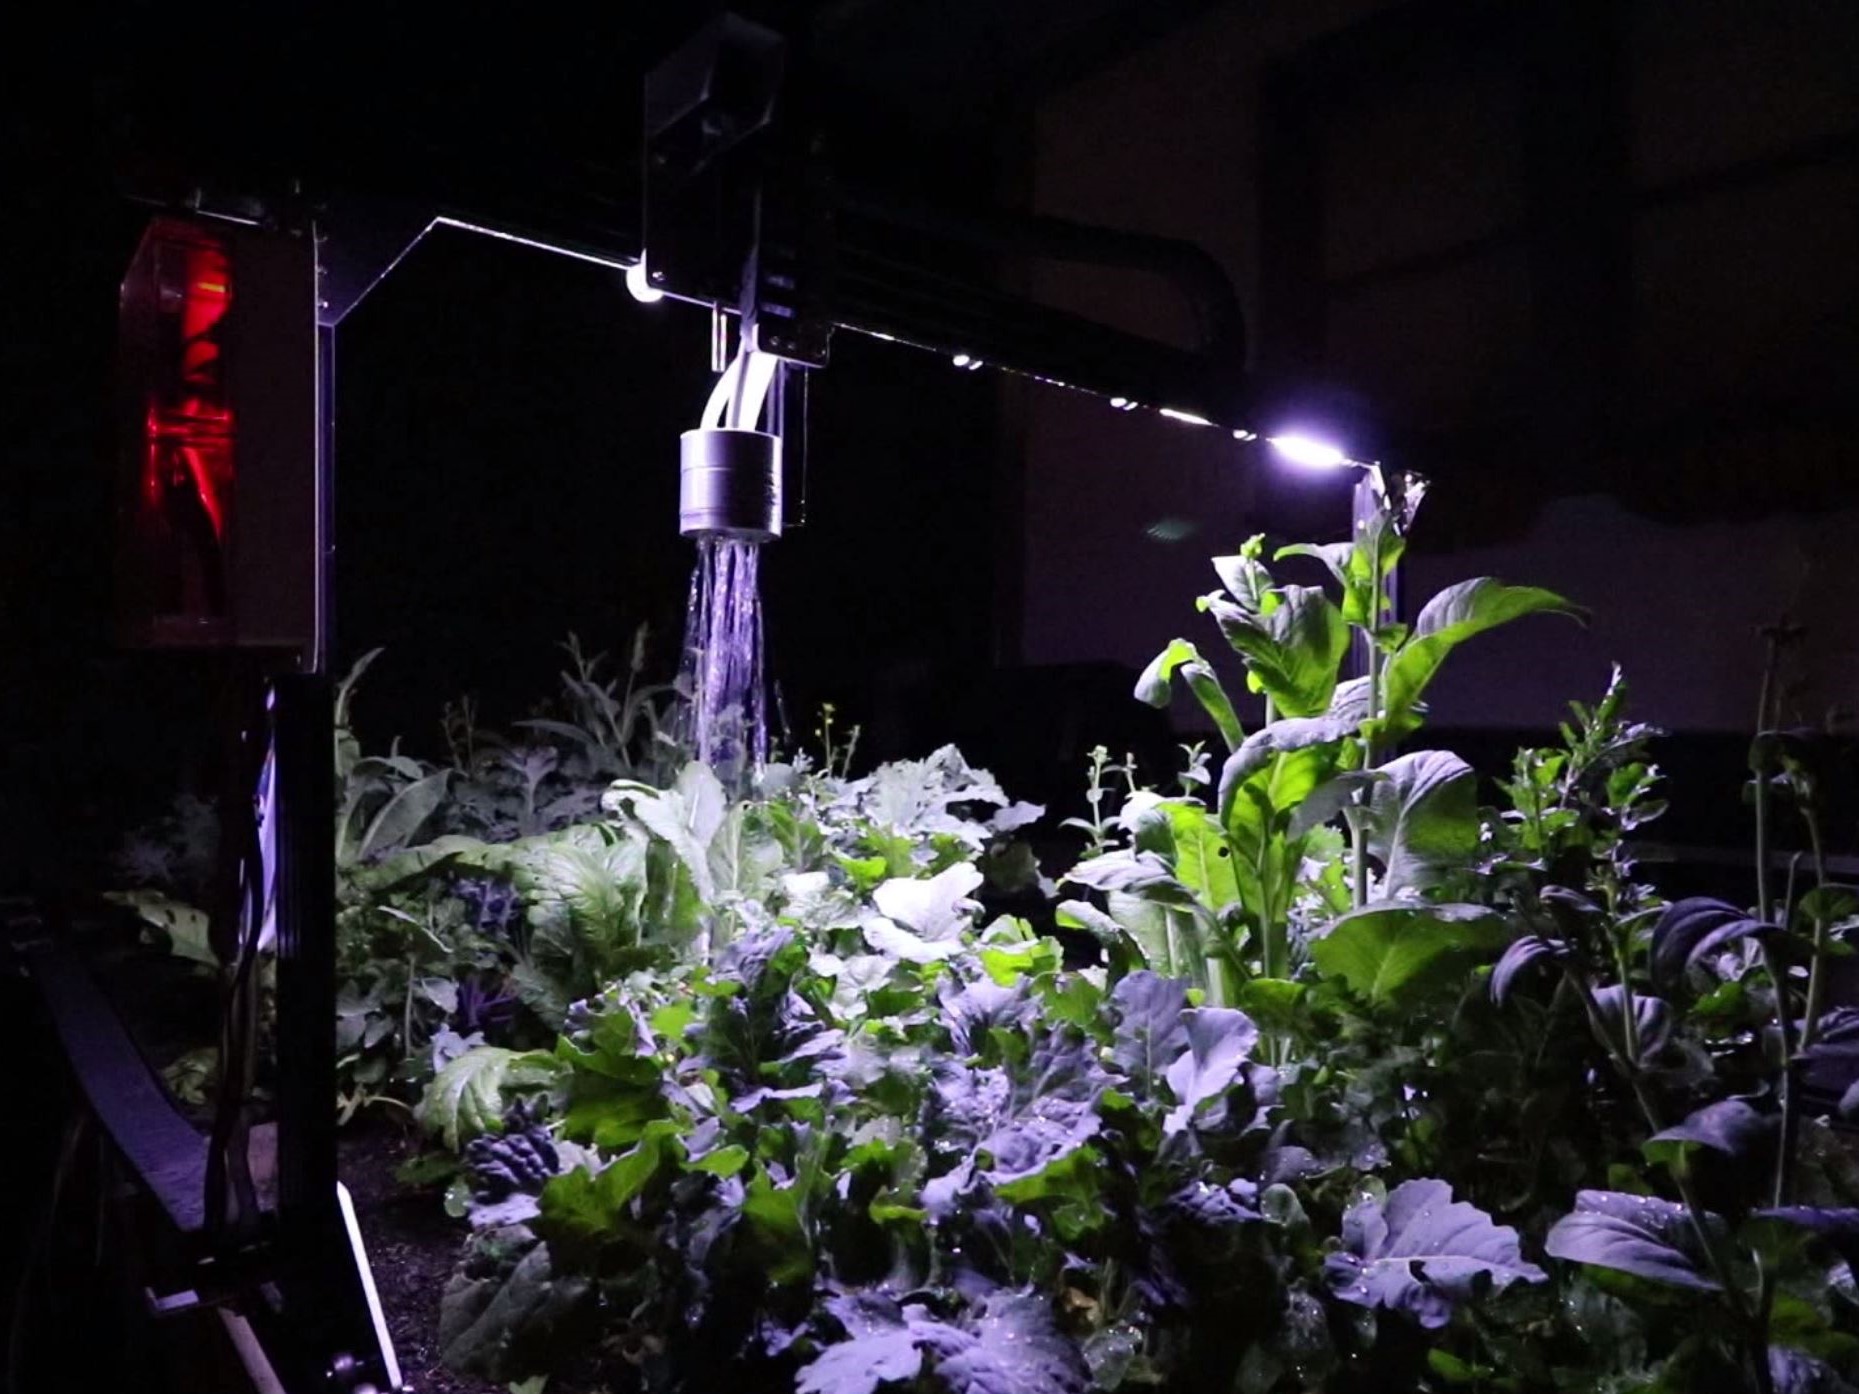
I really want to make that auto feeding system and still exploring the use of a Raspberry Pi for it. Jules made some great progress on a prototype with web access to the data and logging of temperature and soil humidity. We have to work on the water feed system as it is difficult to provide water to all the pots without creating a mess. I do not want to connect the system to the mains as I am worried of water damage and a major leak. I have tried to use a small pump and some garden centre pot watering kit, but the pressure is not high enough to make a proper spray. The balancing of the water between all the pots is also complicated as you have brand new plants and some adult plants. Ideally you would want some sort of robotic arm providing water like a human would do. Checking the needs of each plant and providing the right level of water and feed as required. It is all possible and not very difficult. However it requires time which is the most precious thing, I do not have.
This is a long term project…