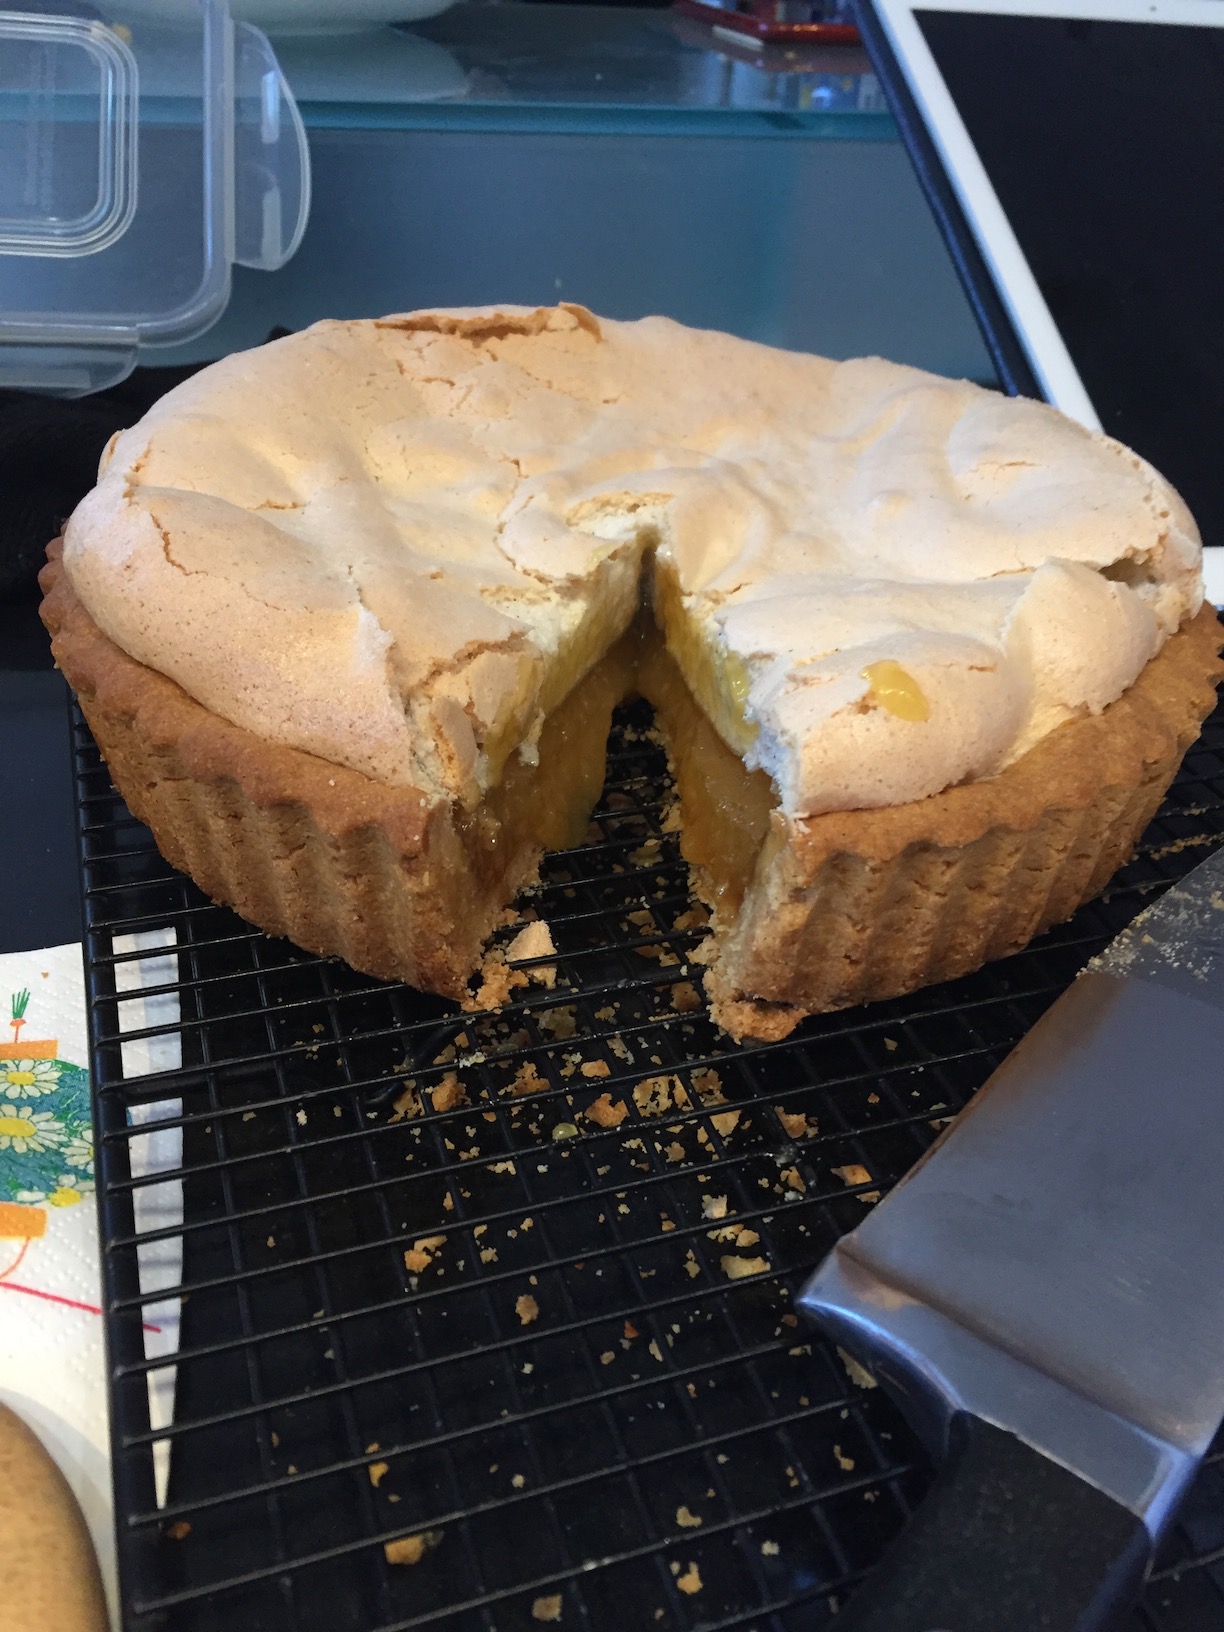
This is a bit of a complicated or more accurately lengthy recipe. It is not difficult but it just takes a few steps and as a consequence you end-up spending a fair amount of time in the kitchen…however the final product is to roll on the floor…this recipe is also fairly rich with a lot of butter, eggs and sugar. Perfect for a rainy autumn or early winter afternoon. See my notes at the very end about the amount of sugar.
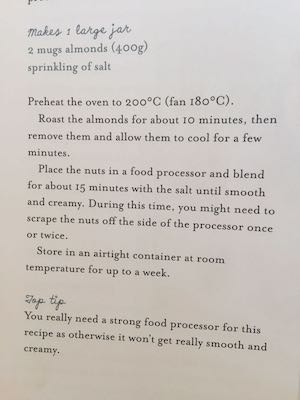
Ingredients for the base :
- 1 egg yolk (keep the white for the Meringue)
- 225g butter, room temperature
- 50g icing sugar
- 1 tsp vanilla extract
- 1/2 tsp sea salt
- 350g plain flour
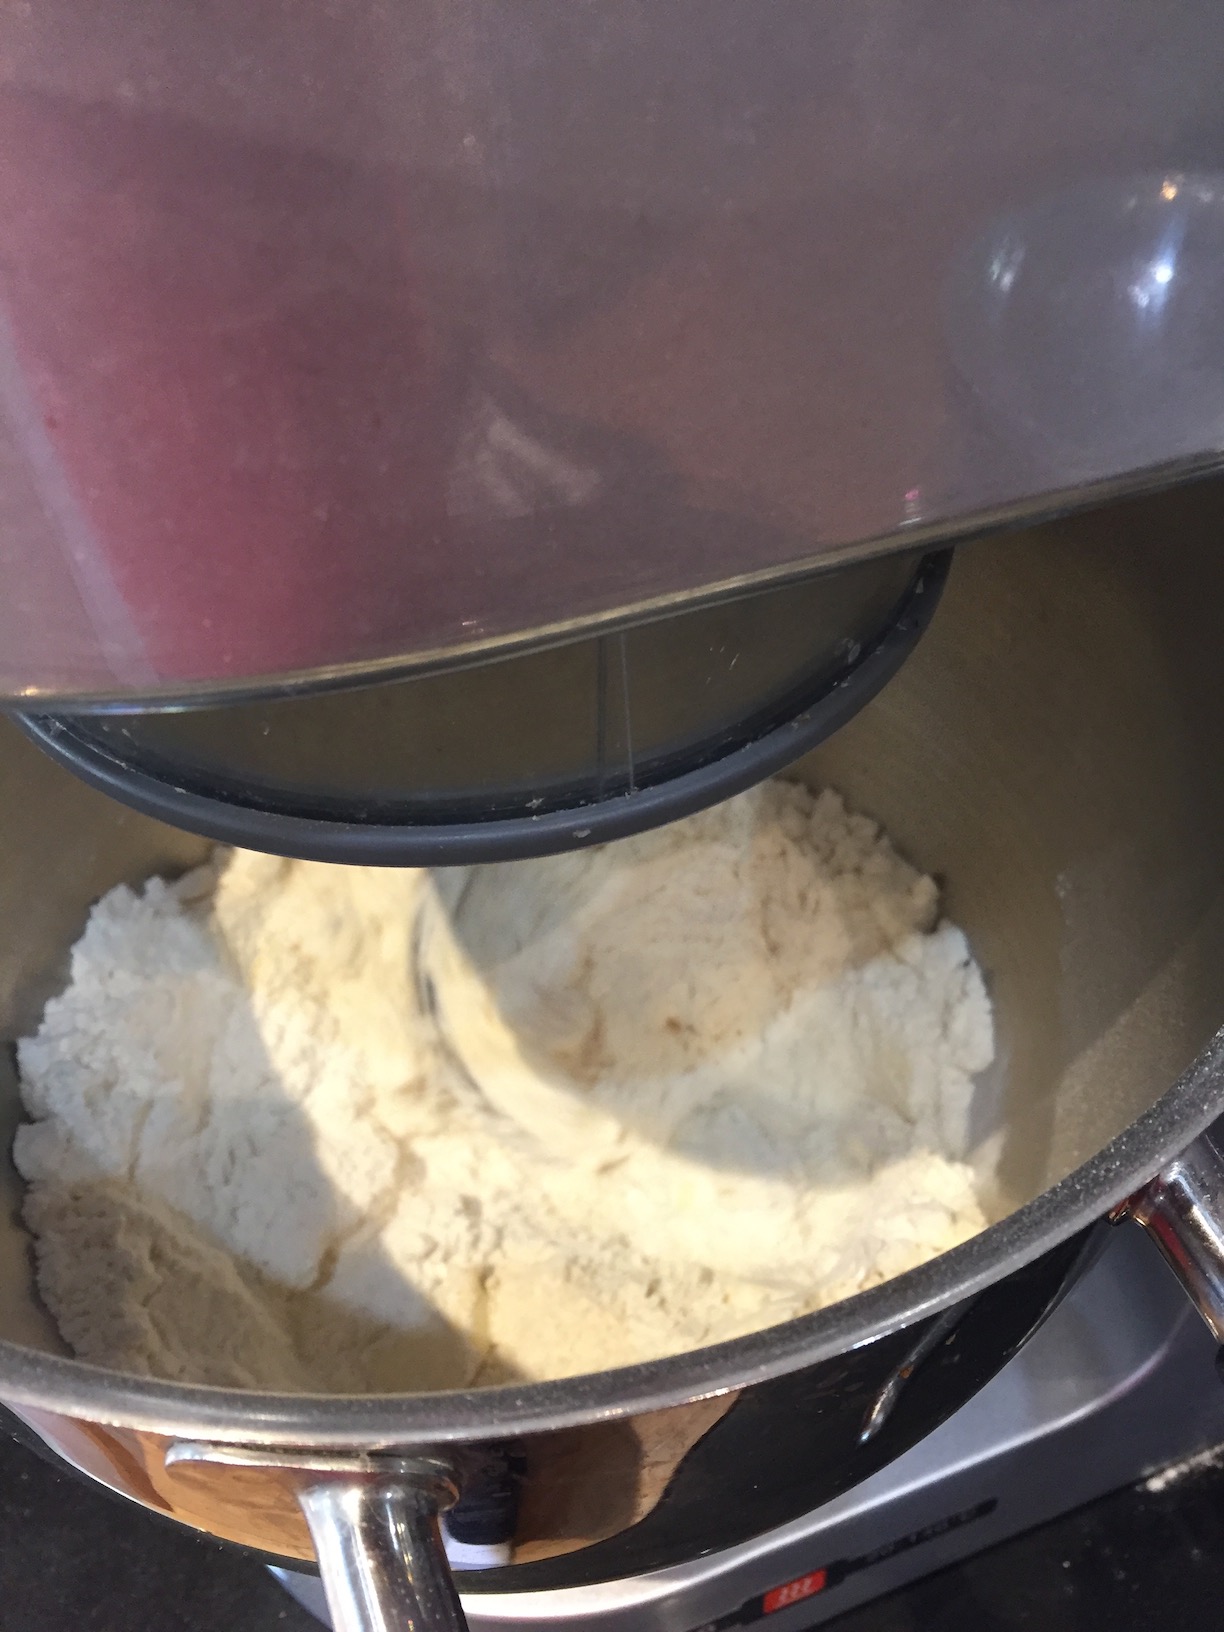
Simply mix all the ingredients in the Kenwood robot and make a dough ball. I tend to cut the butter in a lot of smaller pieces to help with the mixing. Also, ideally you want to leave the butter out of the fridge for a little while before using it so that it is easier to make the pastry. It takes approximately 15 minutes with my robot to get a smooth dough.
Once the dough is made, put in the fridge with some cling film over it. leave it to cool down for about 30 minutes to 1 hour.


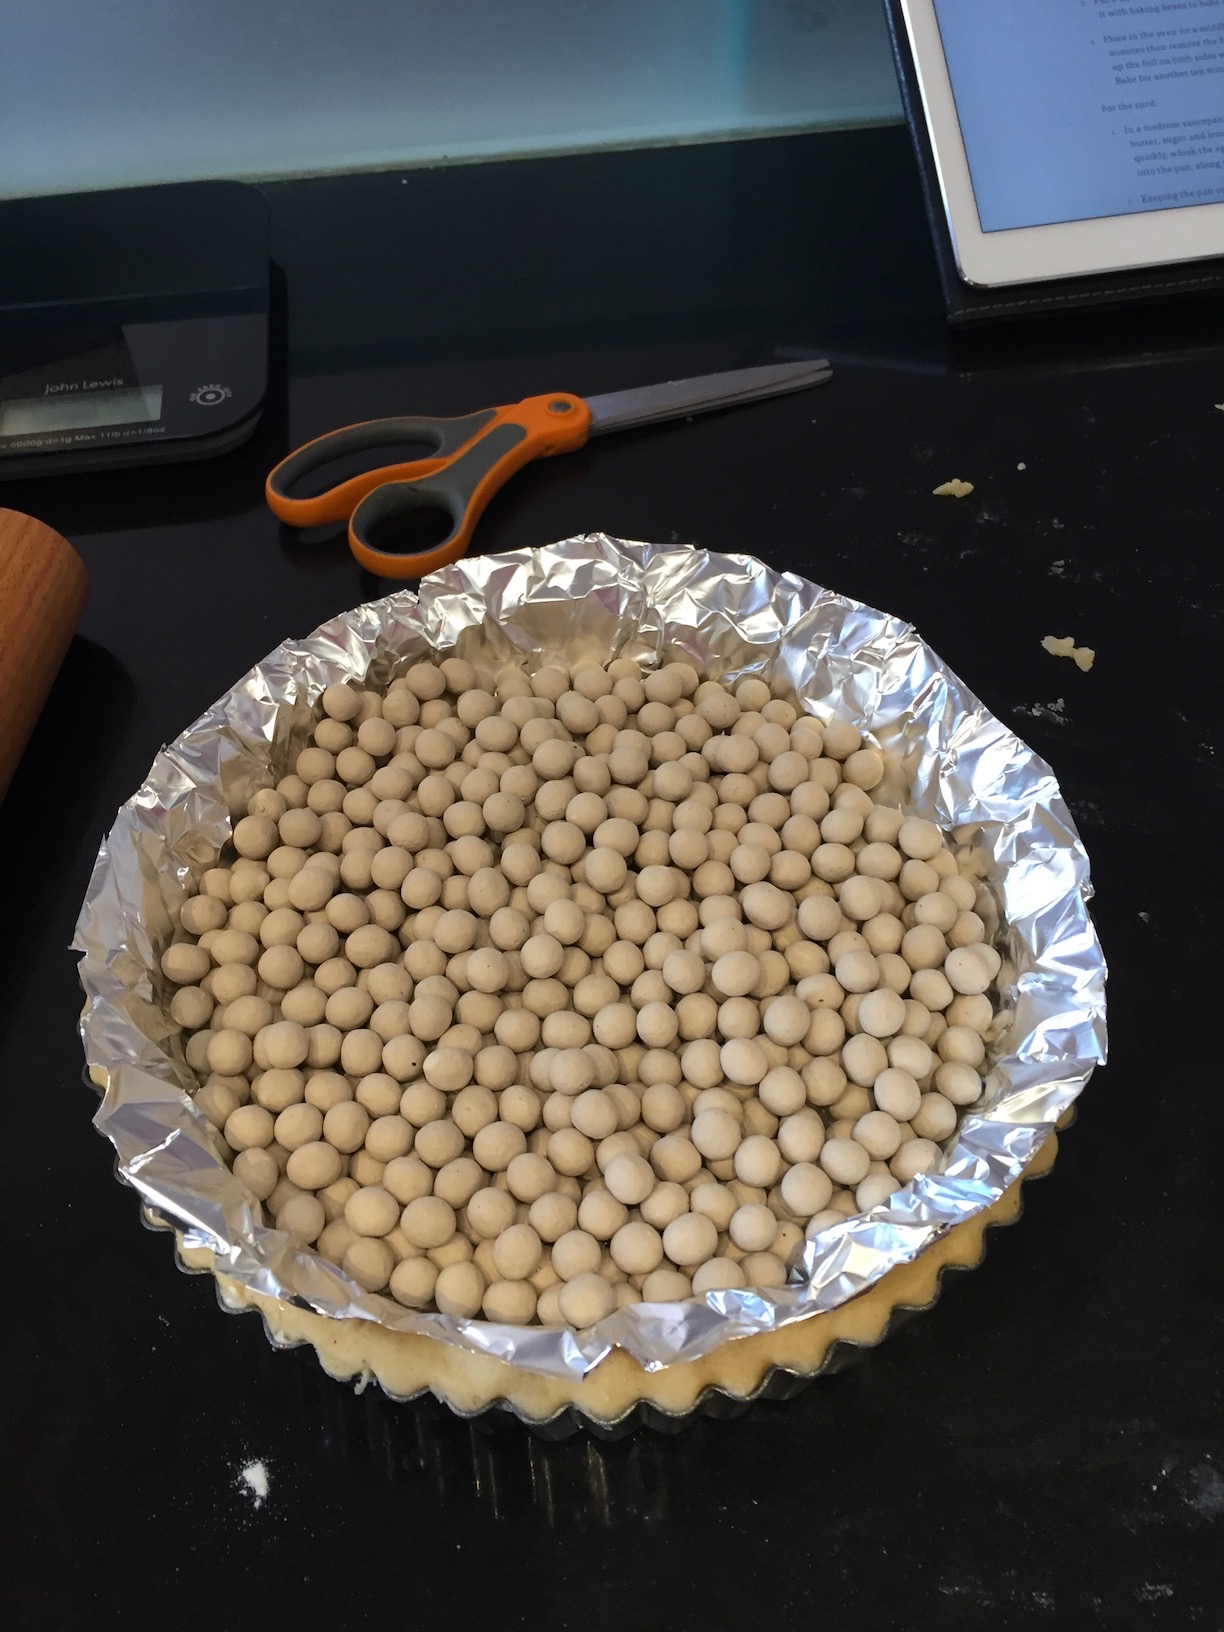
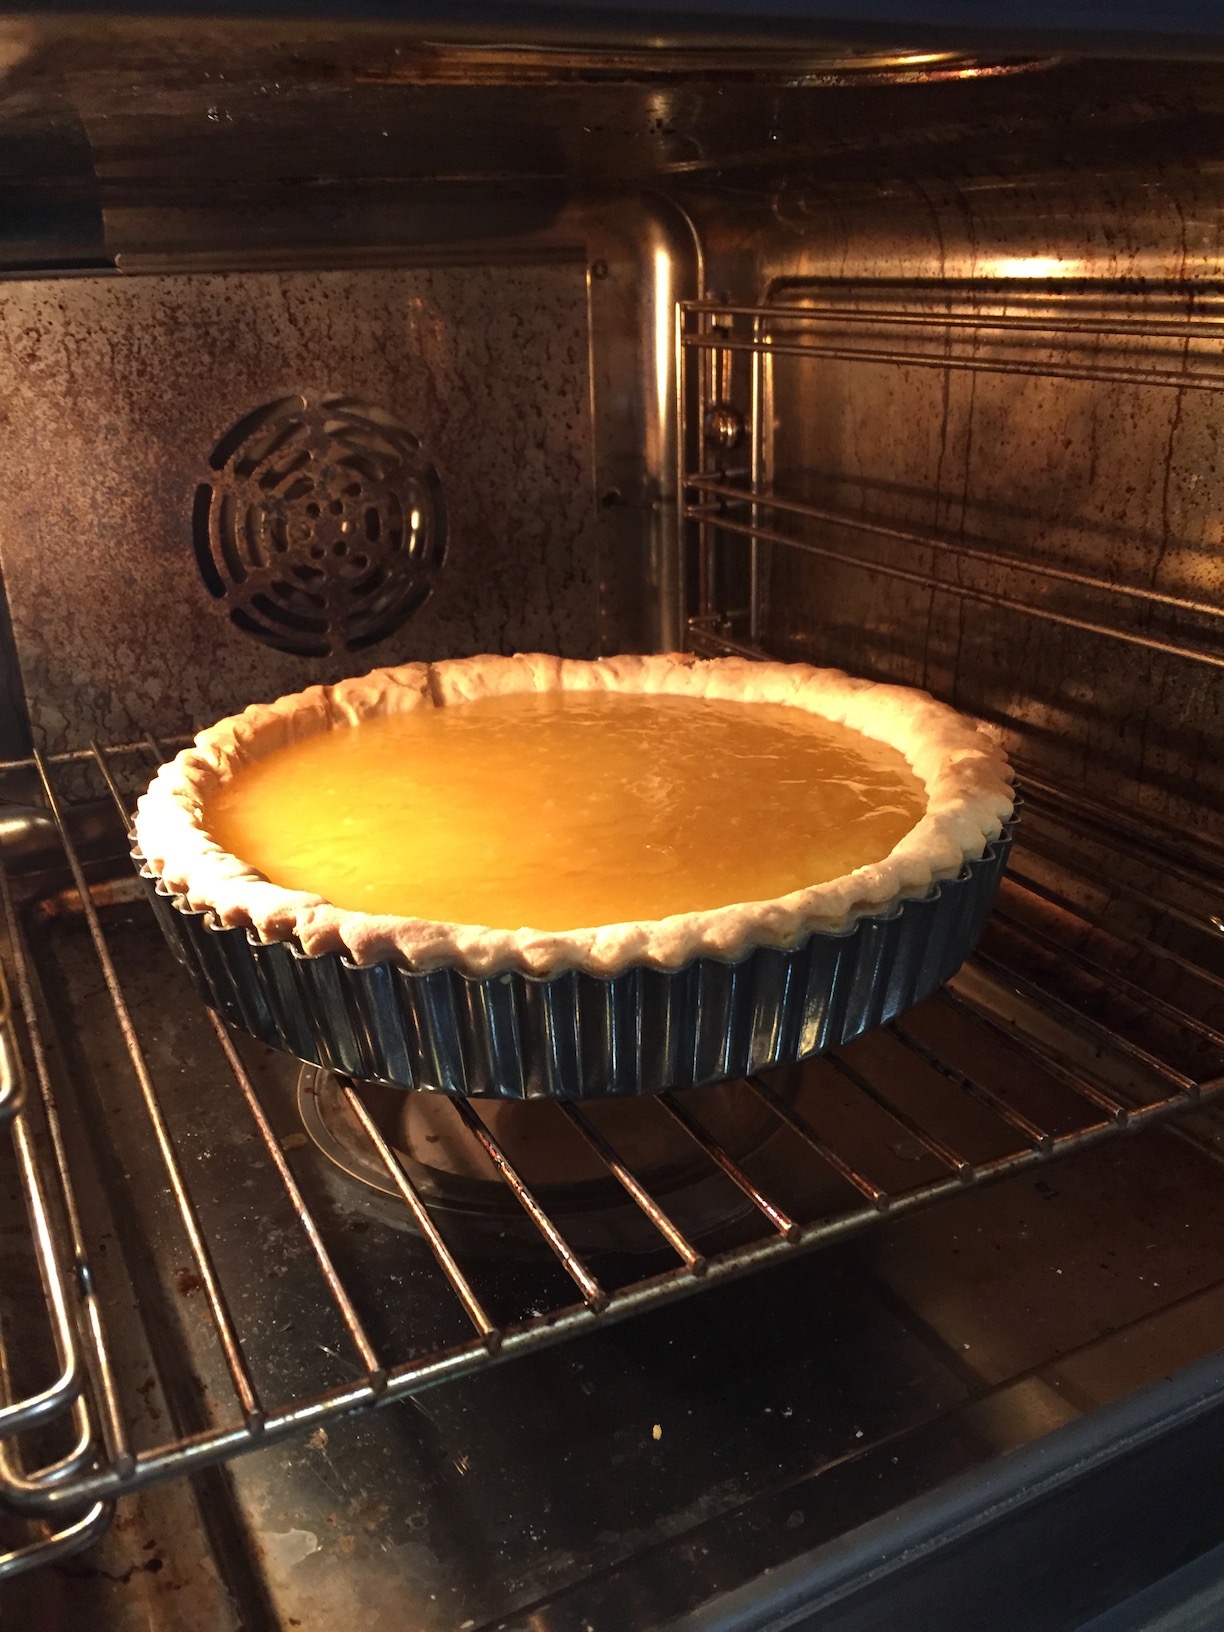
Then take a 23cm pie base (with a removal bottom). Spread the dough so that it is the correct size for the base. you should have a fairly thick base with thick sides. Let’s say about 8 to 10mm thick.
Cover the base with aluminium foil and then the cooking beans. Put in the oven at 160 degres for a fan assisted or 180 if not. Bake for 15 minutes with the beans and foil, then for 10 minutes with the foil and beans taken out.
As soon as the dough is in the fridge, you want to start working on the Lemon curd. It will take time to make the Curd and you will probably be cooking the base before you finish the curd.

Ingredients for Lemon Curd :
- Juice of 5 lemons
- Zest of 3 lemons
- 200g of caster sugar
- 125g of unsalted butter, cut into a few pieces
- 2 whole eggs
- 1 egg yolk (Keep this white as well for the Meringue)
- Pinch of salt
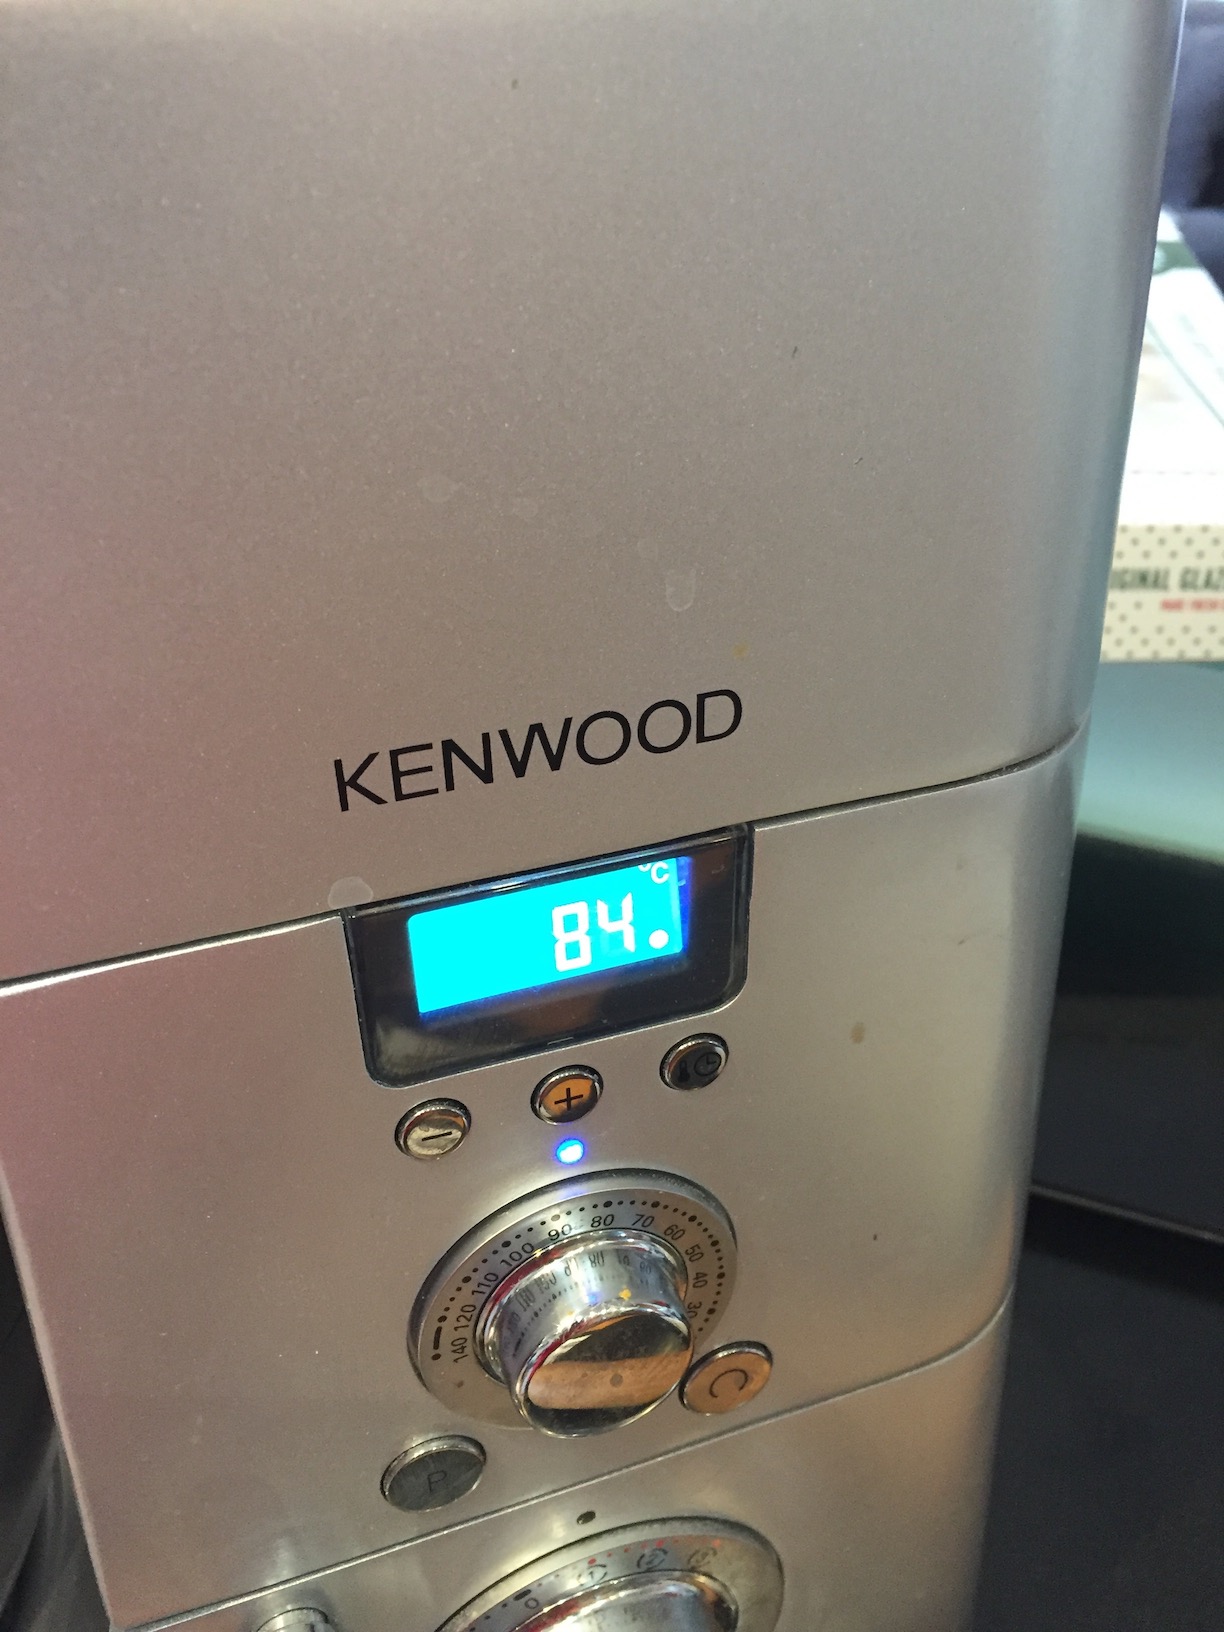
This is the part of the recipe which can be a bit annoying because you want to make a curd without having lumps and it requires a constant mixing and control of the temperature of the mixture so that the eggs don’t over cook. This is where the Kenwood Chef is really helpful as you simply let the robot do the work…
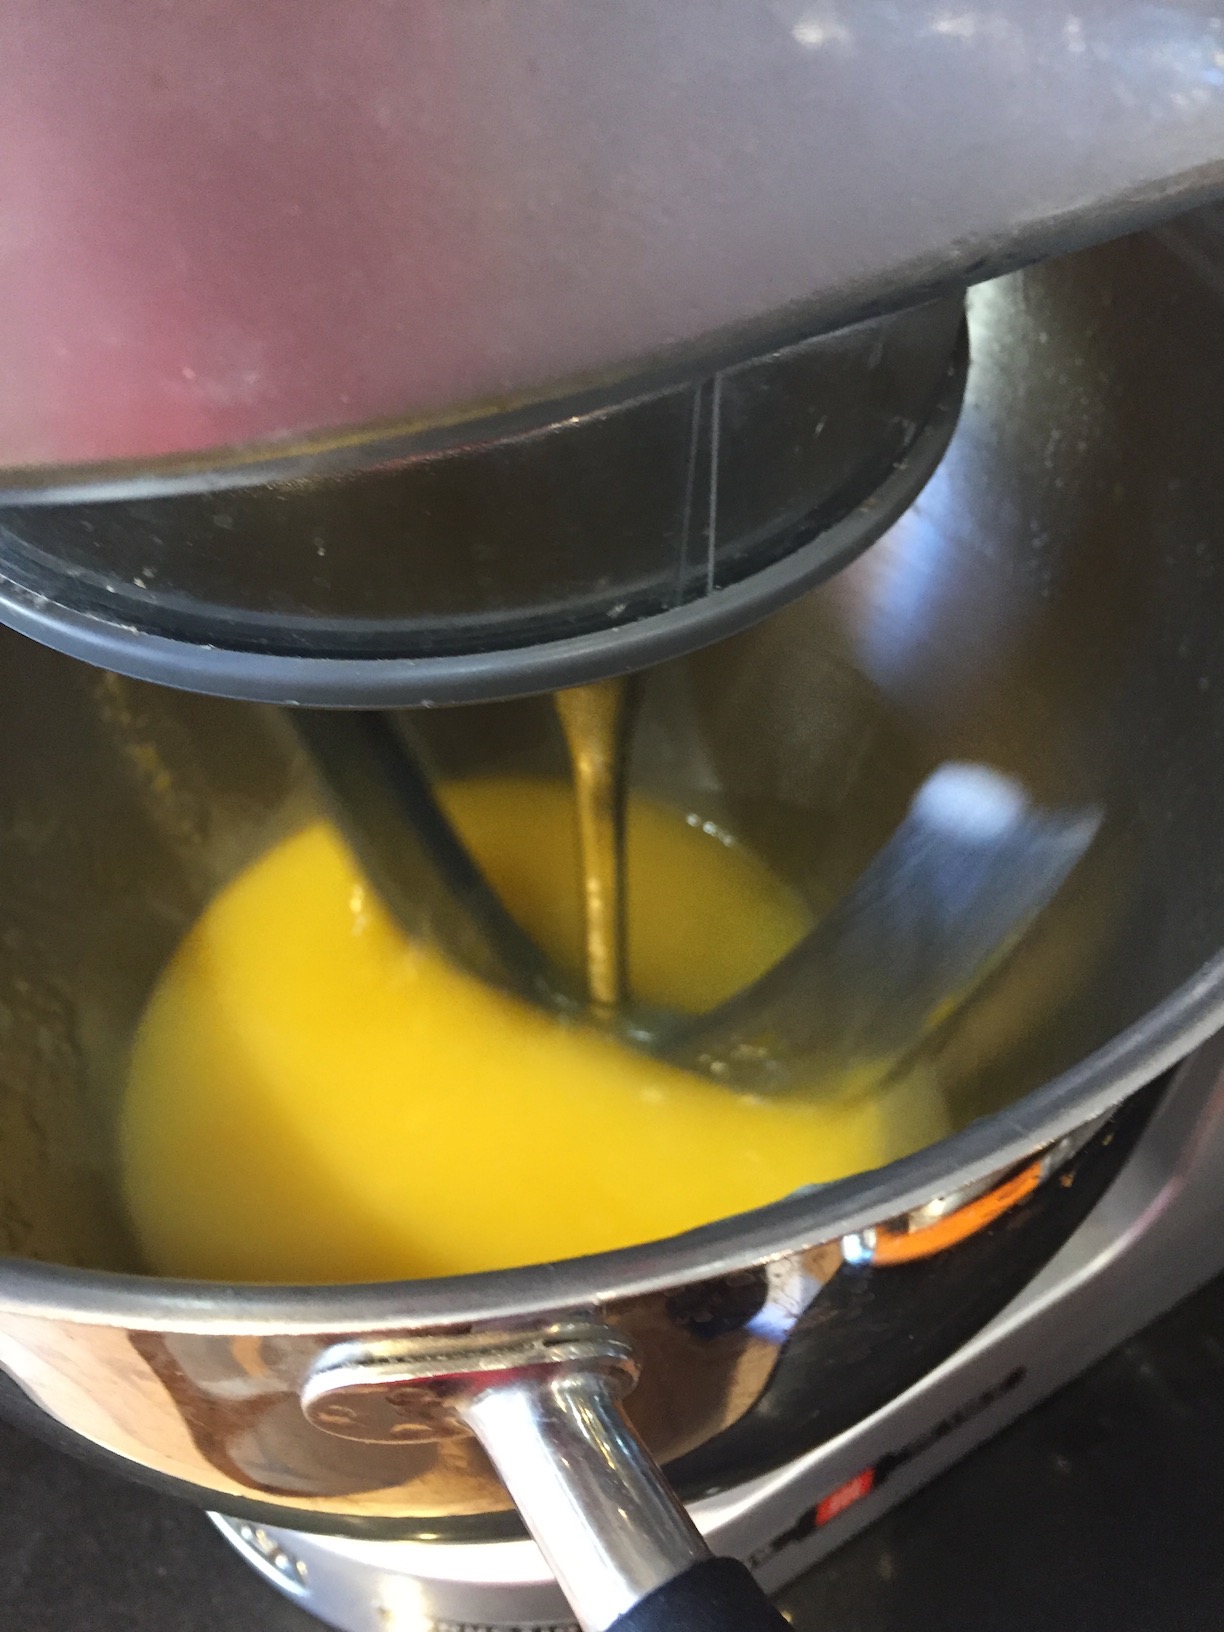
I start with taking 3 lemons Zest. Then I juice all the 5 lemons. I strain into the main bowl of the Kenwood. I add the sugar, the butter, the salt. I setup on the quickest mixing with the flexi beater. I set the temperature to 85/90 degres. It is not extremely precise, but it is important to prevent the mixture to get too hot as it will over cook the eggs if not.
Once the butter has melted and the mixture is smooth, I beat the 2 eggs and the yoke in a separate bowl before introducing to the Kenwood bowl. I keep the machine steering for a good 20 minutes. Sometimes longer to get a custard like smooth curd.
 Once the base is gone through its cooking time without the foil, take the base out of the oven and pour the warm lemon curd on the base. The base won’t be fully cooked but should be firm to the touch. (not brown, more like light beige). Put back into the oven for another 10 minutes. I usually increase the temperature here to 180 in my fan assisted oven.
It is now time to make the Meringue.
Ingredients for Meringue :
- 4 egg whites. (2 from the above recipe and 2 new ones)
- 225g icing sugar
- 1 tsp vanilla extract
- Pinch of salt
Beat the whites and the salt on full blast with the Robot for something like 10 minutes. Then incorporate the sugar with a spoon to get a silky stiff Meringue base. ( It is possible to mix all the ingredients in one go and beat the whole lot together until you get the Meringue base, I just prefer to incorporate after).

Once the Base+Curd has been in the oven for the time defined above, take the base out, pour the meringue on it, put back into the oven. Still at 180c on my fan oven. Cook for 5 to 10 minutes until golden brown peaks or you see the Meringue is ready.
I prefer to stop the oven at this point but keep the Lemon Tart in it and leave the Meringue go crispy on the top.
It is a long recipe but it is very nice ! Manu find it a bit too sweet, so next one I will do with a little less sugar to try.

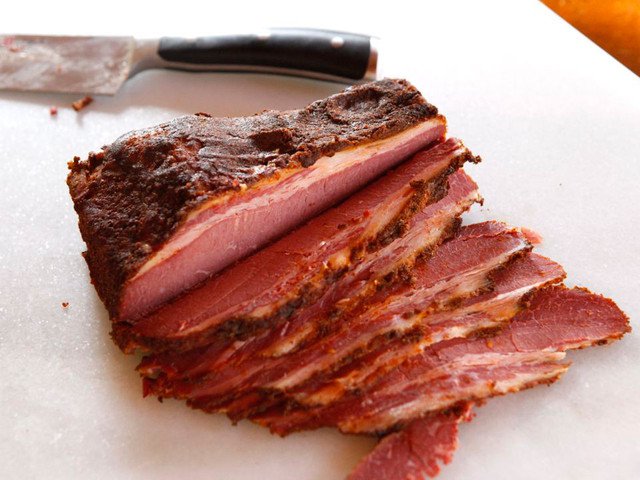
 [This recipe has been superseded by more recent versions. This was water-cooked, which is very nice as well. The main update is that the Ham should be desalted for at least 12 hours to reduce the saltiness of the final product.]